Demo Reel Breakdown
Detailed breakdown of the shots in my compositing reel with my thoughts and techniques behind them.
(shots In order of show)
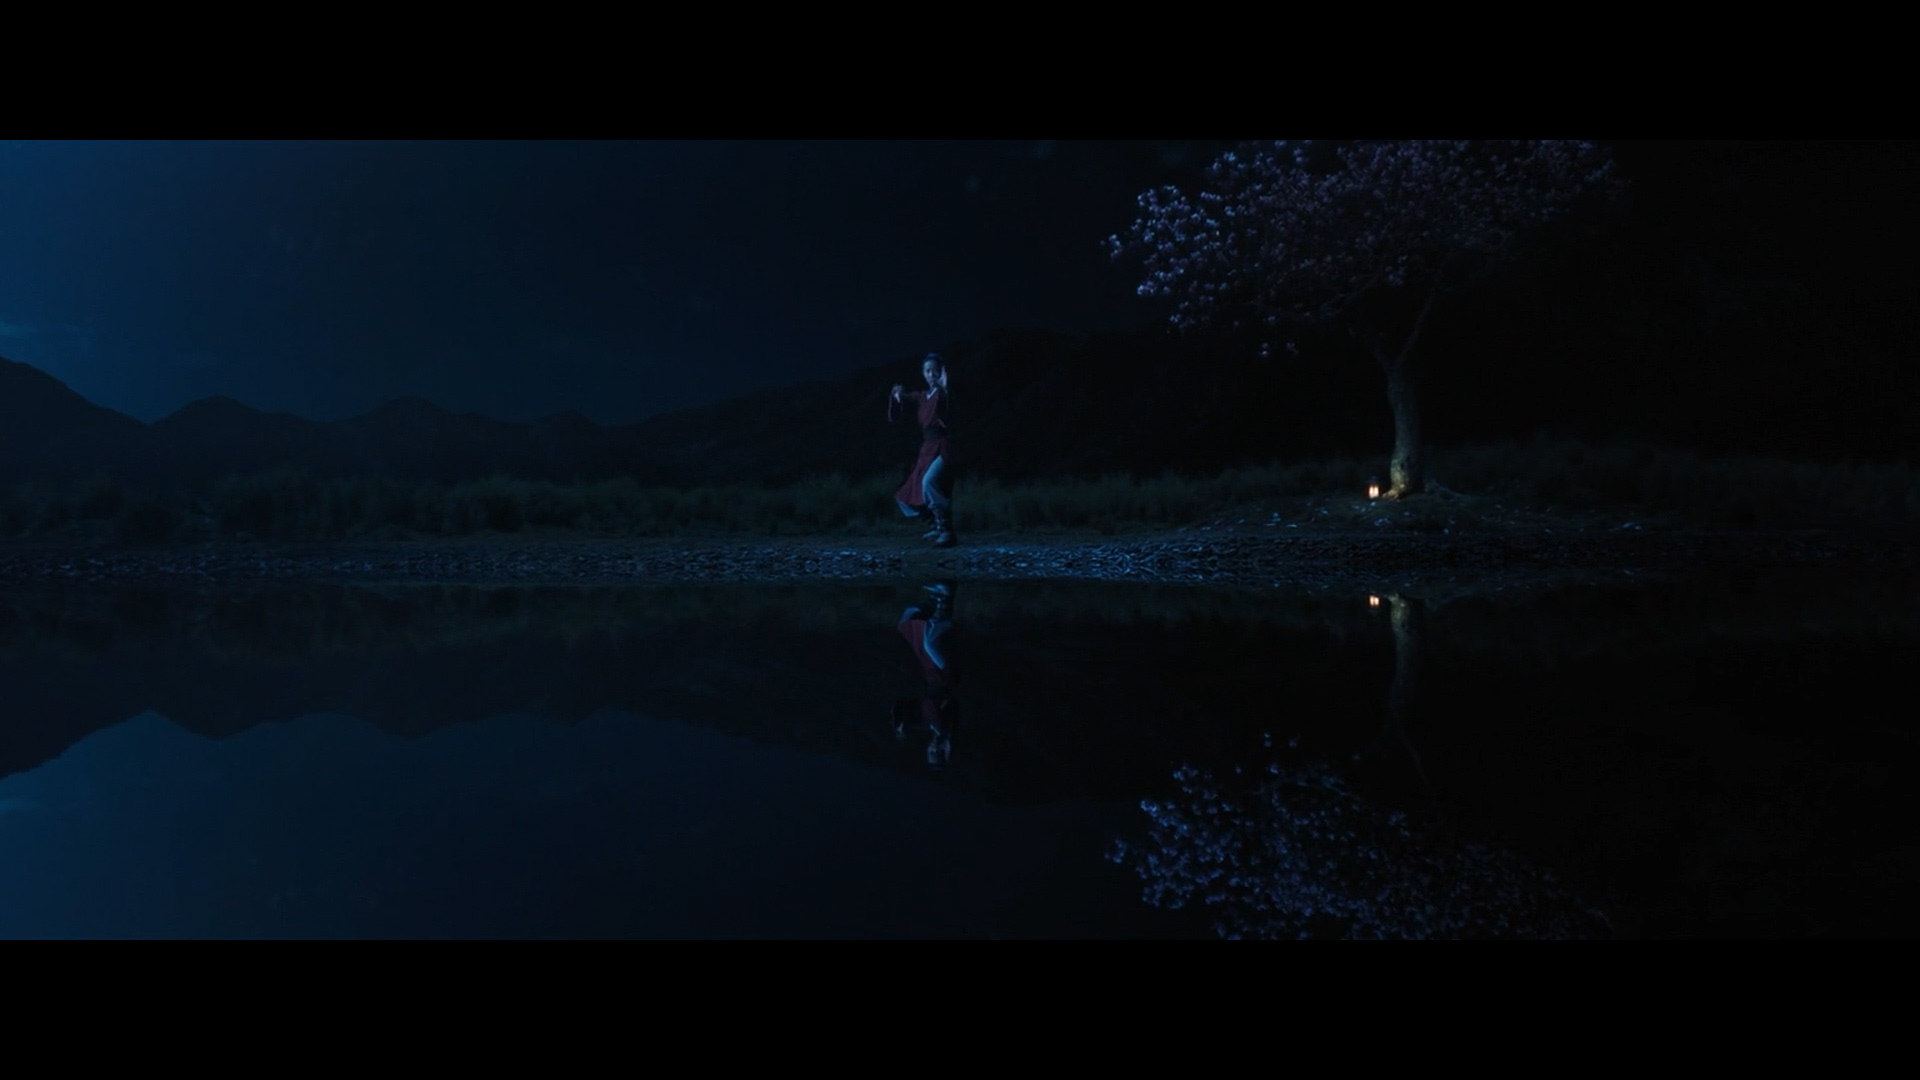
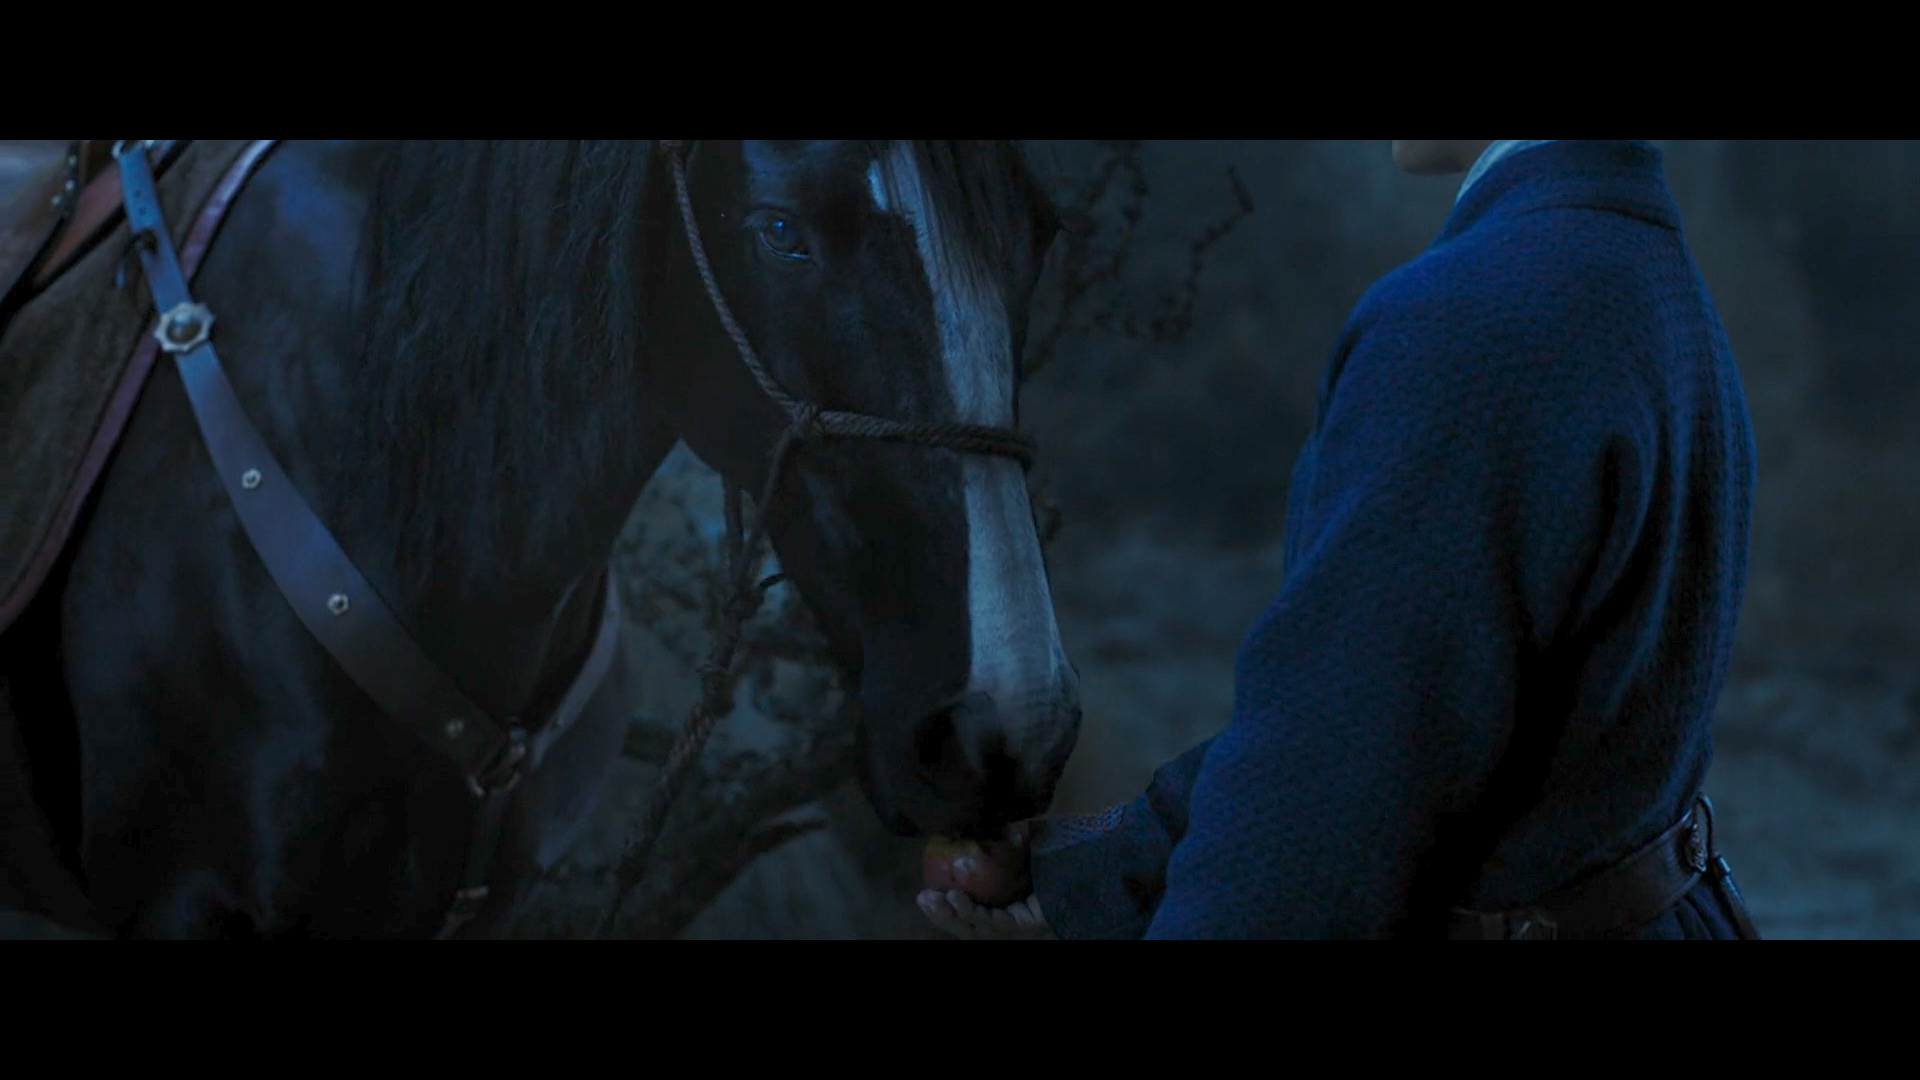
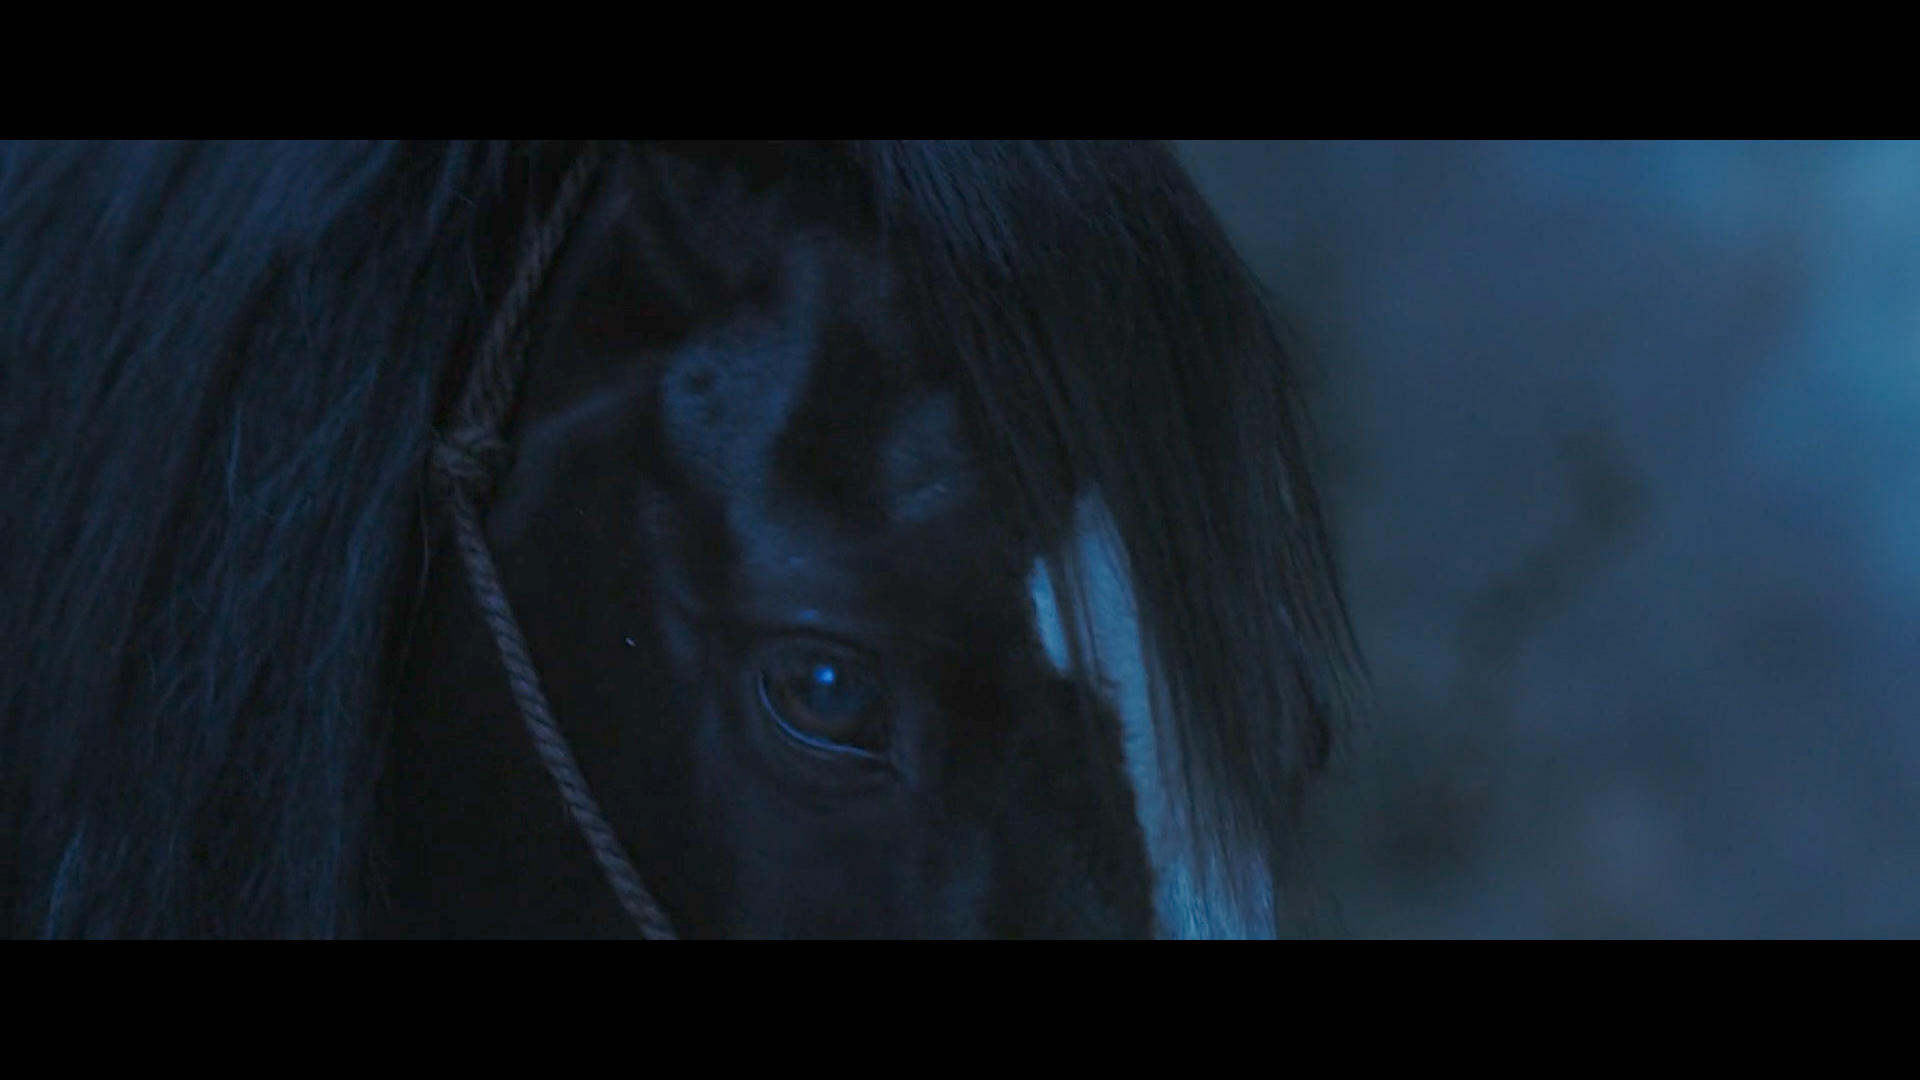
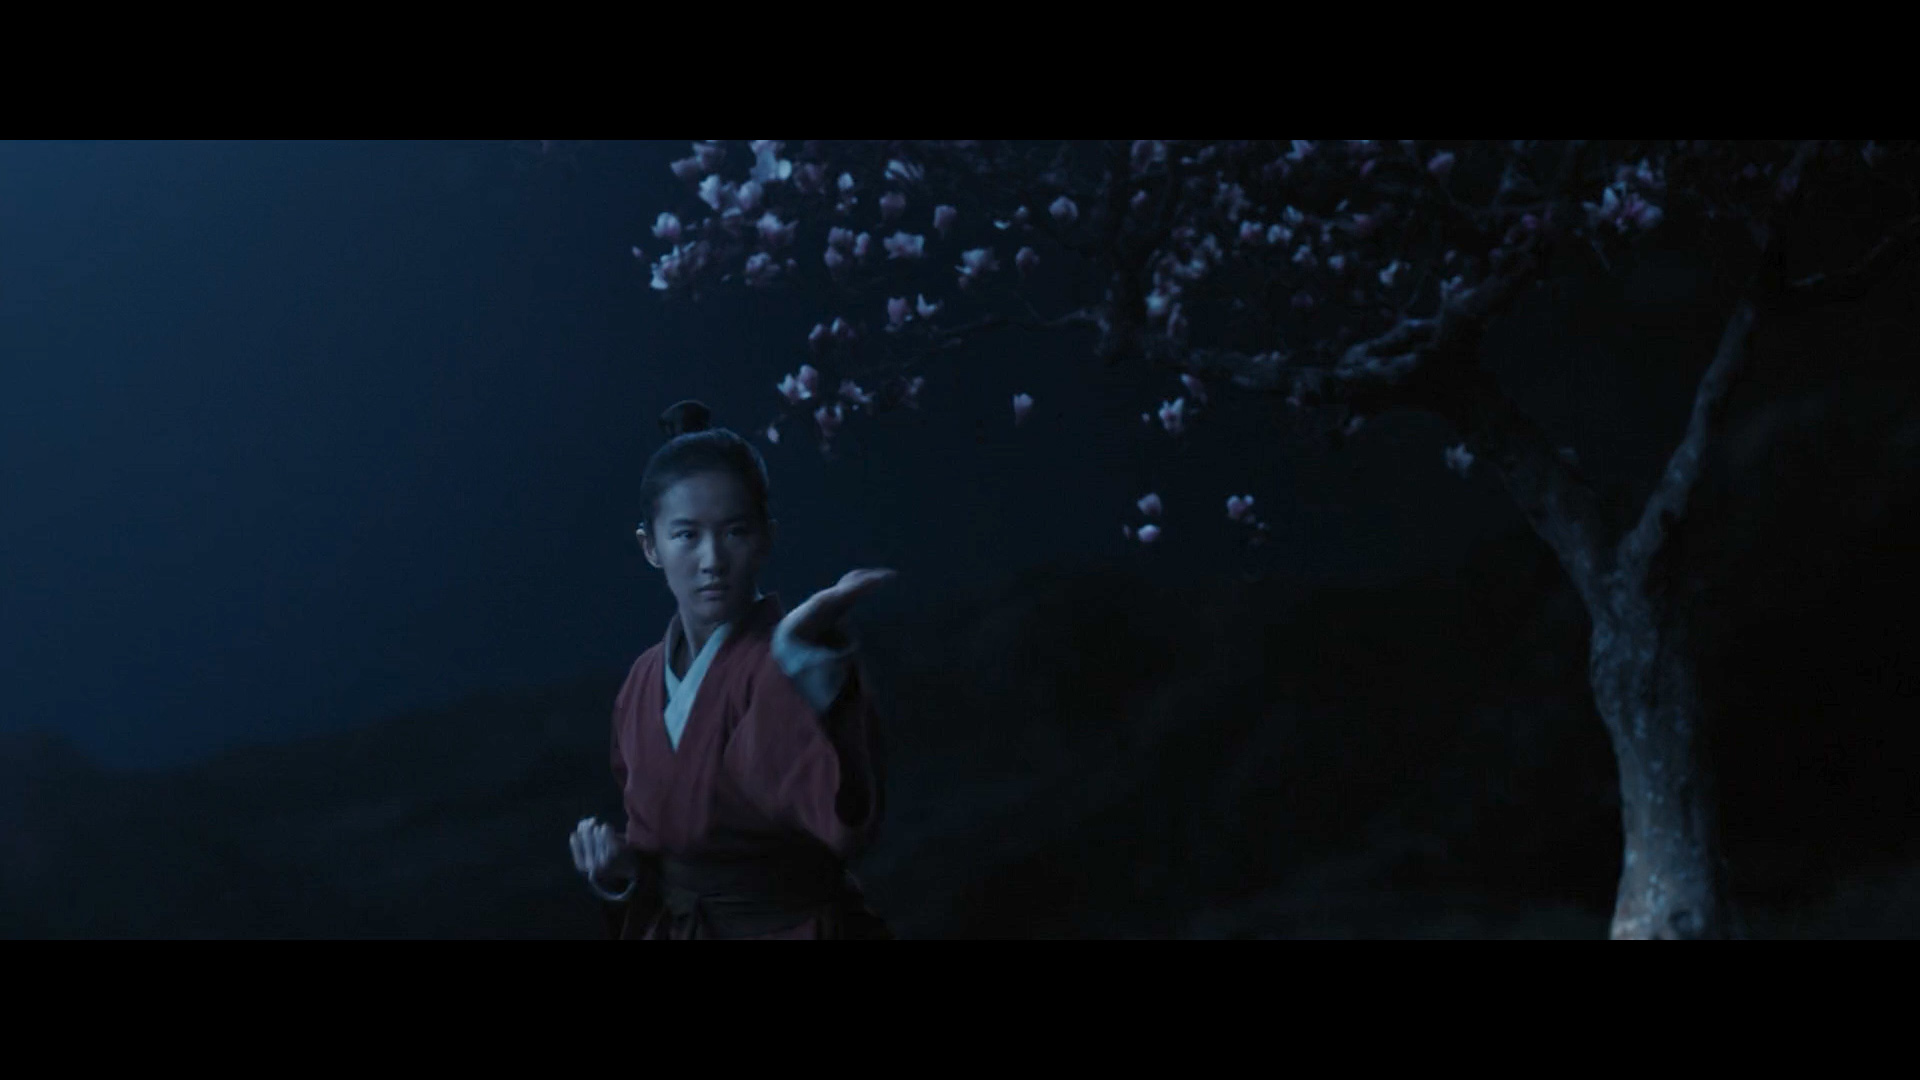
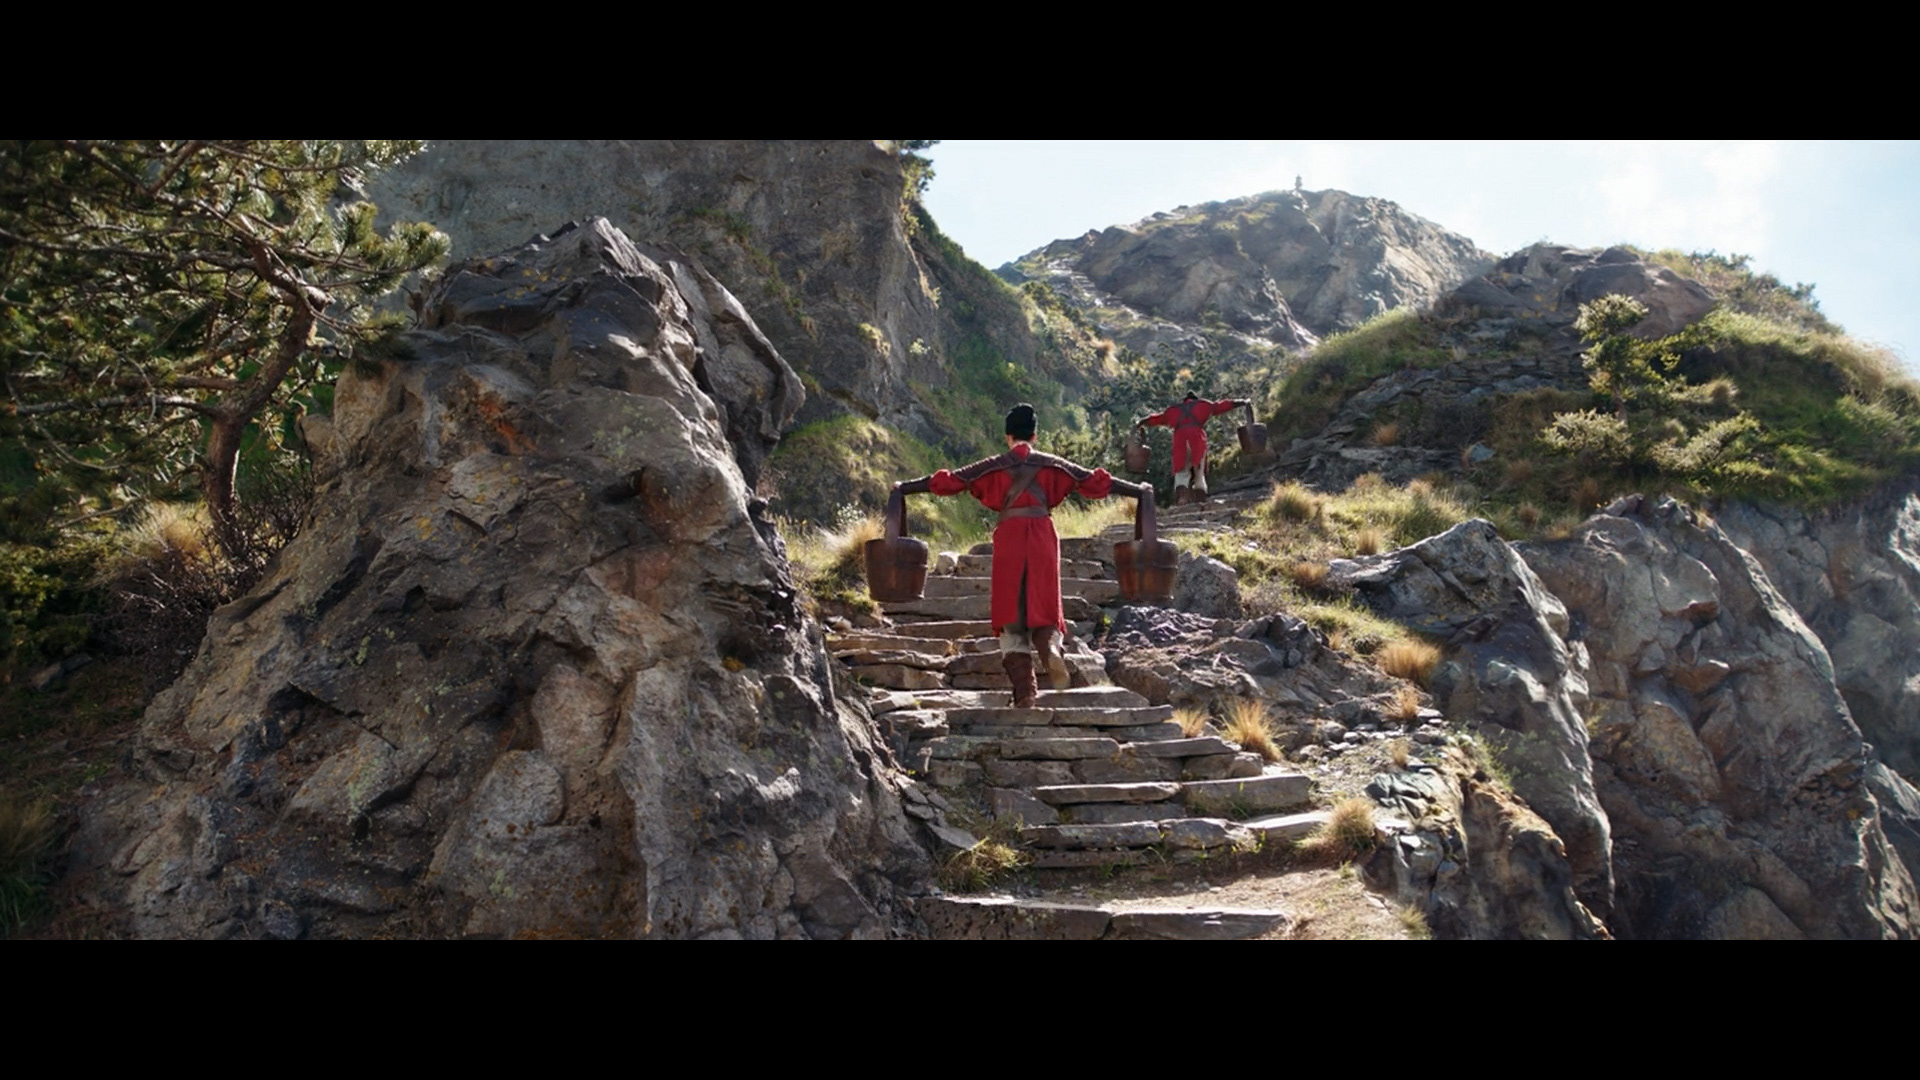
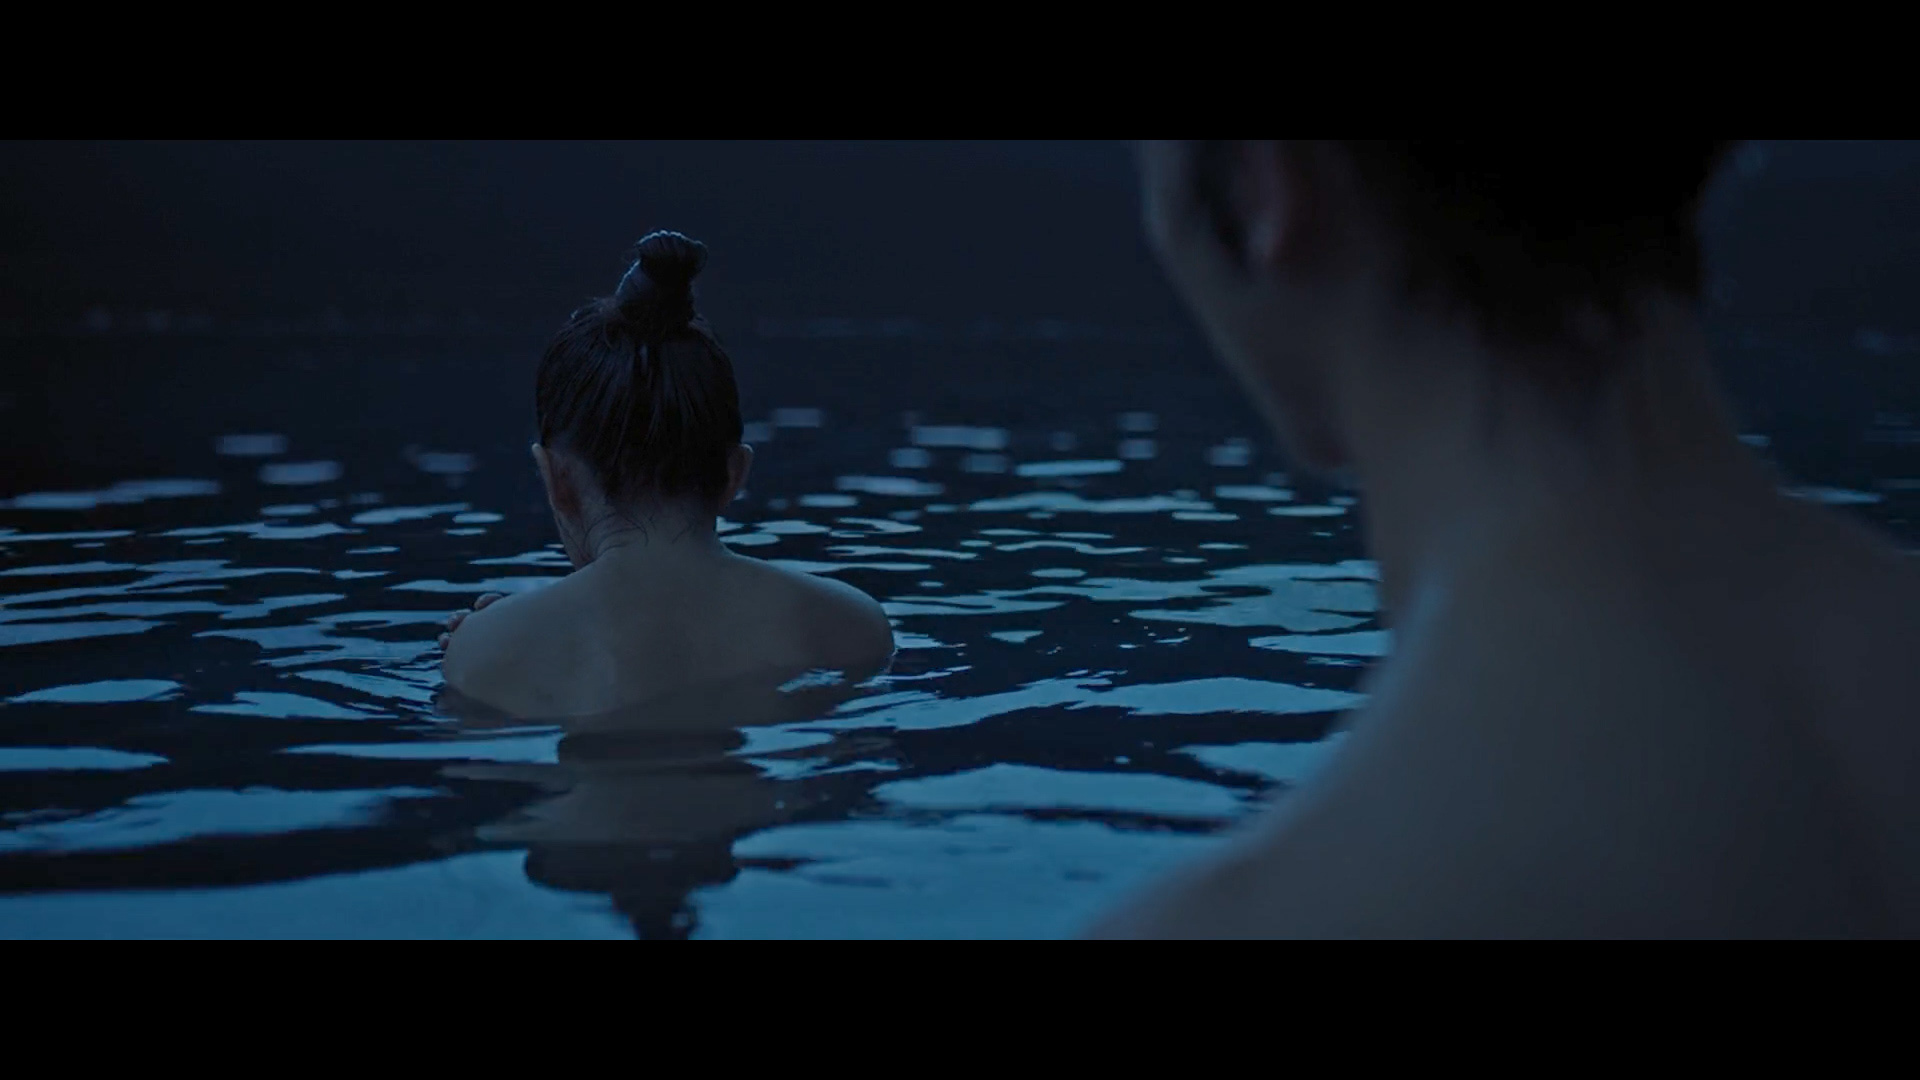
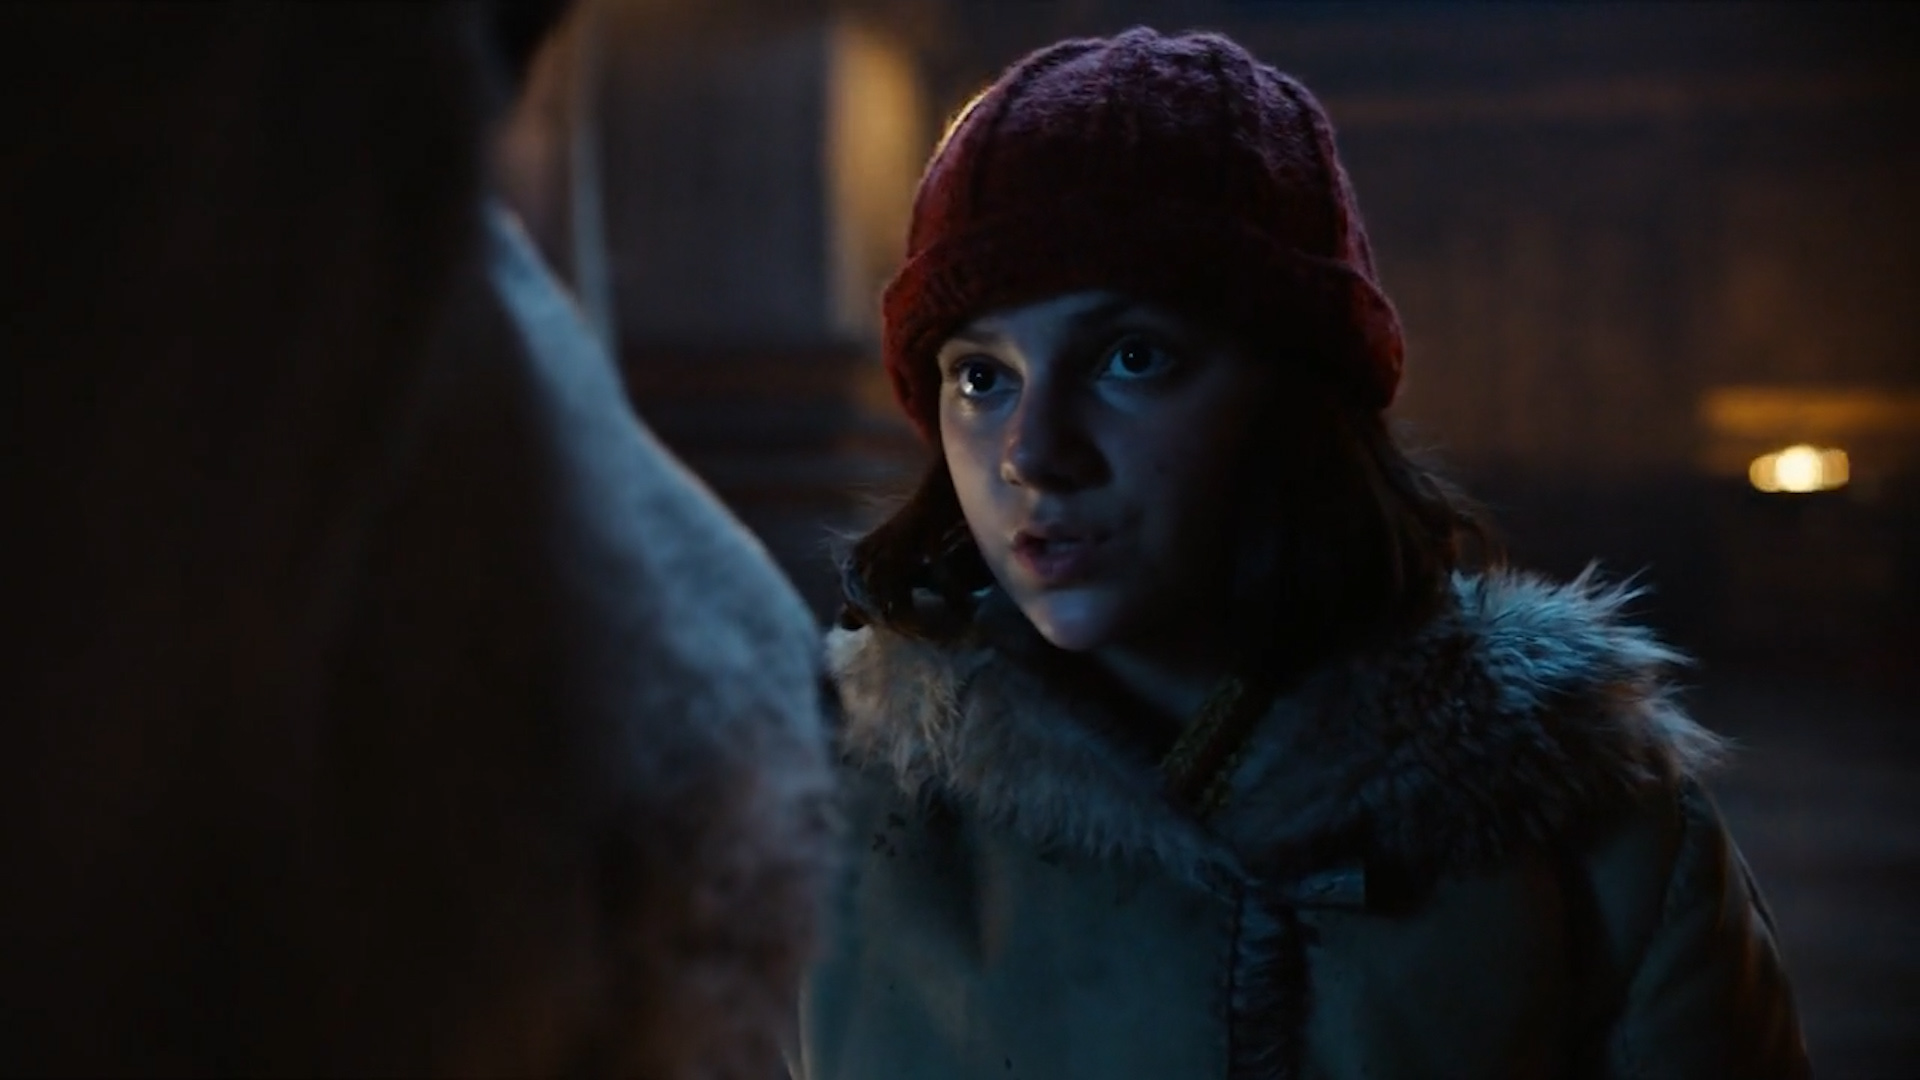
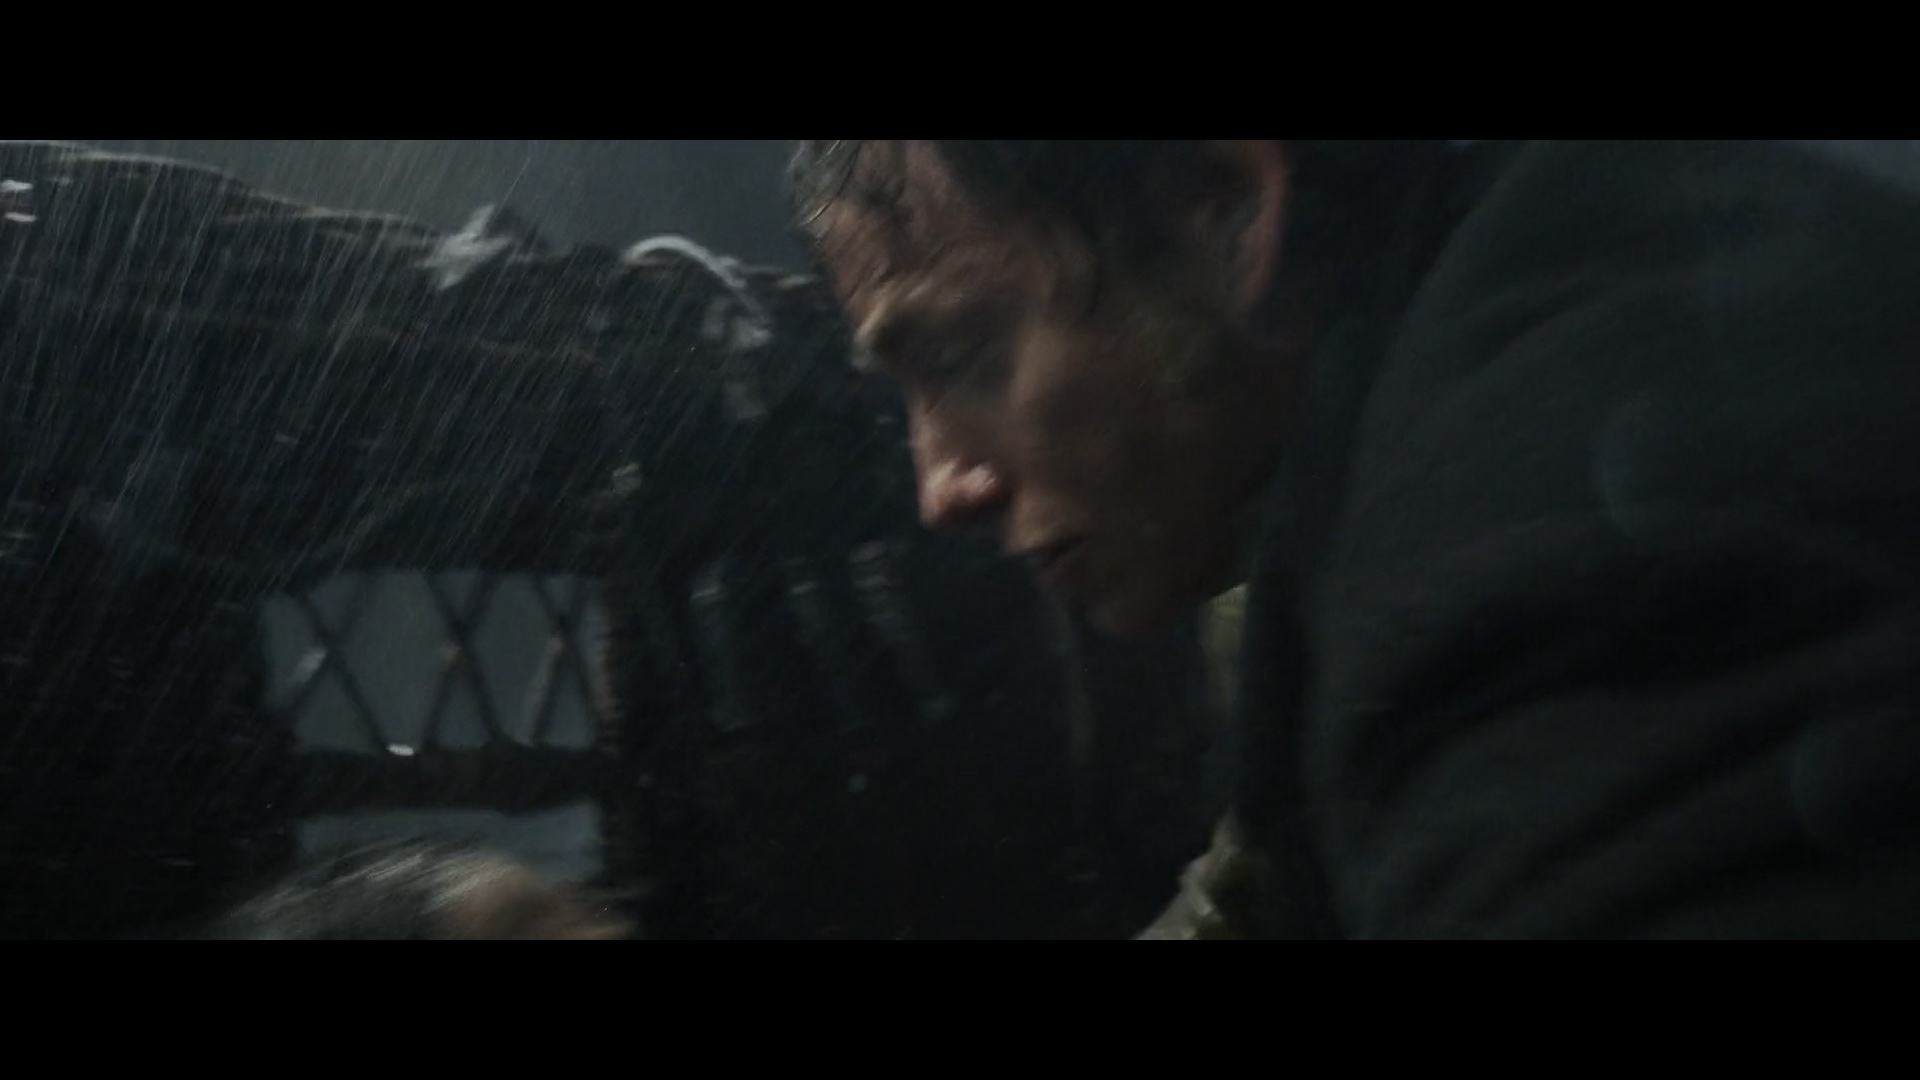
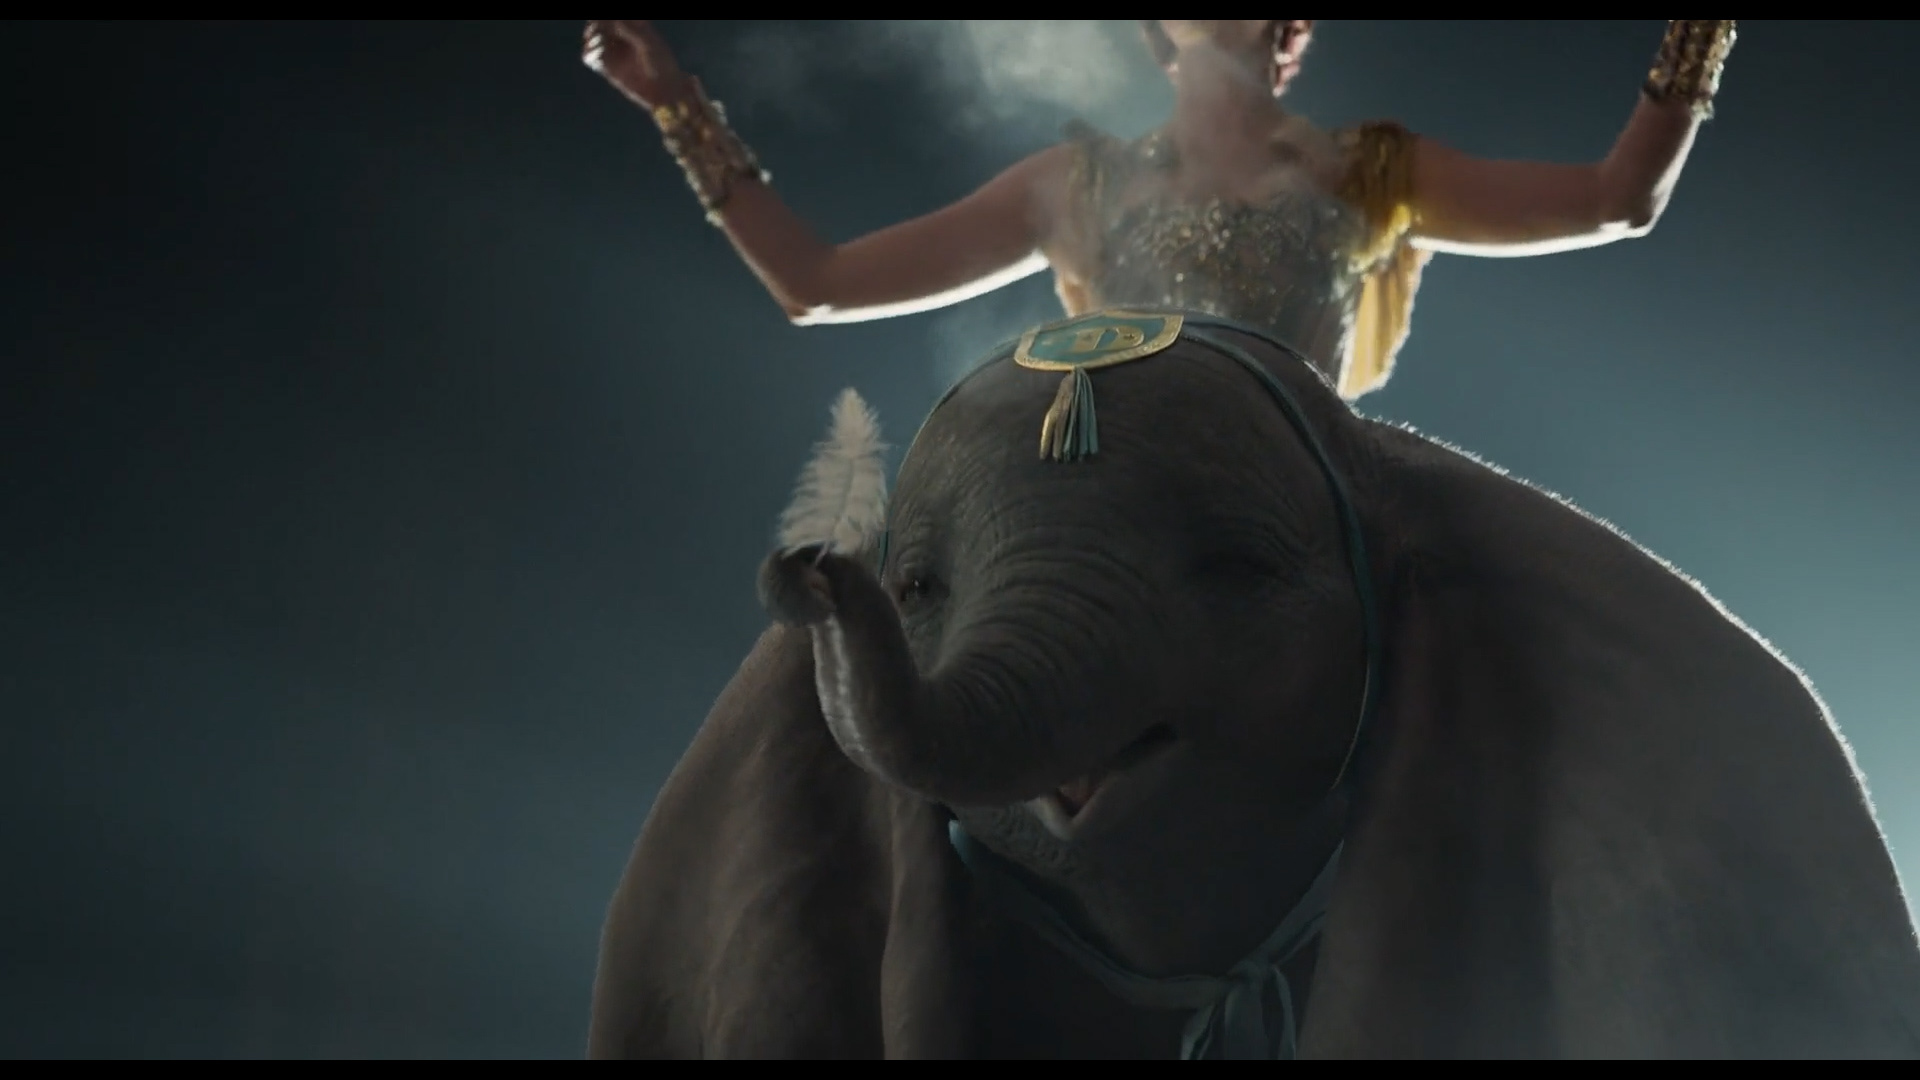
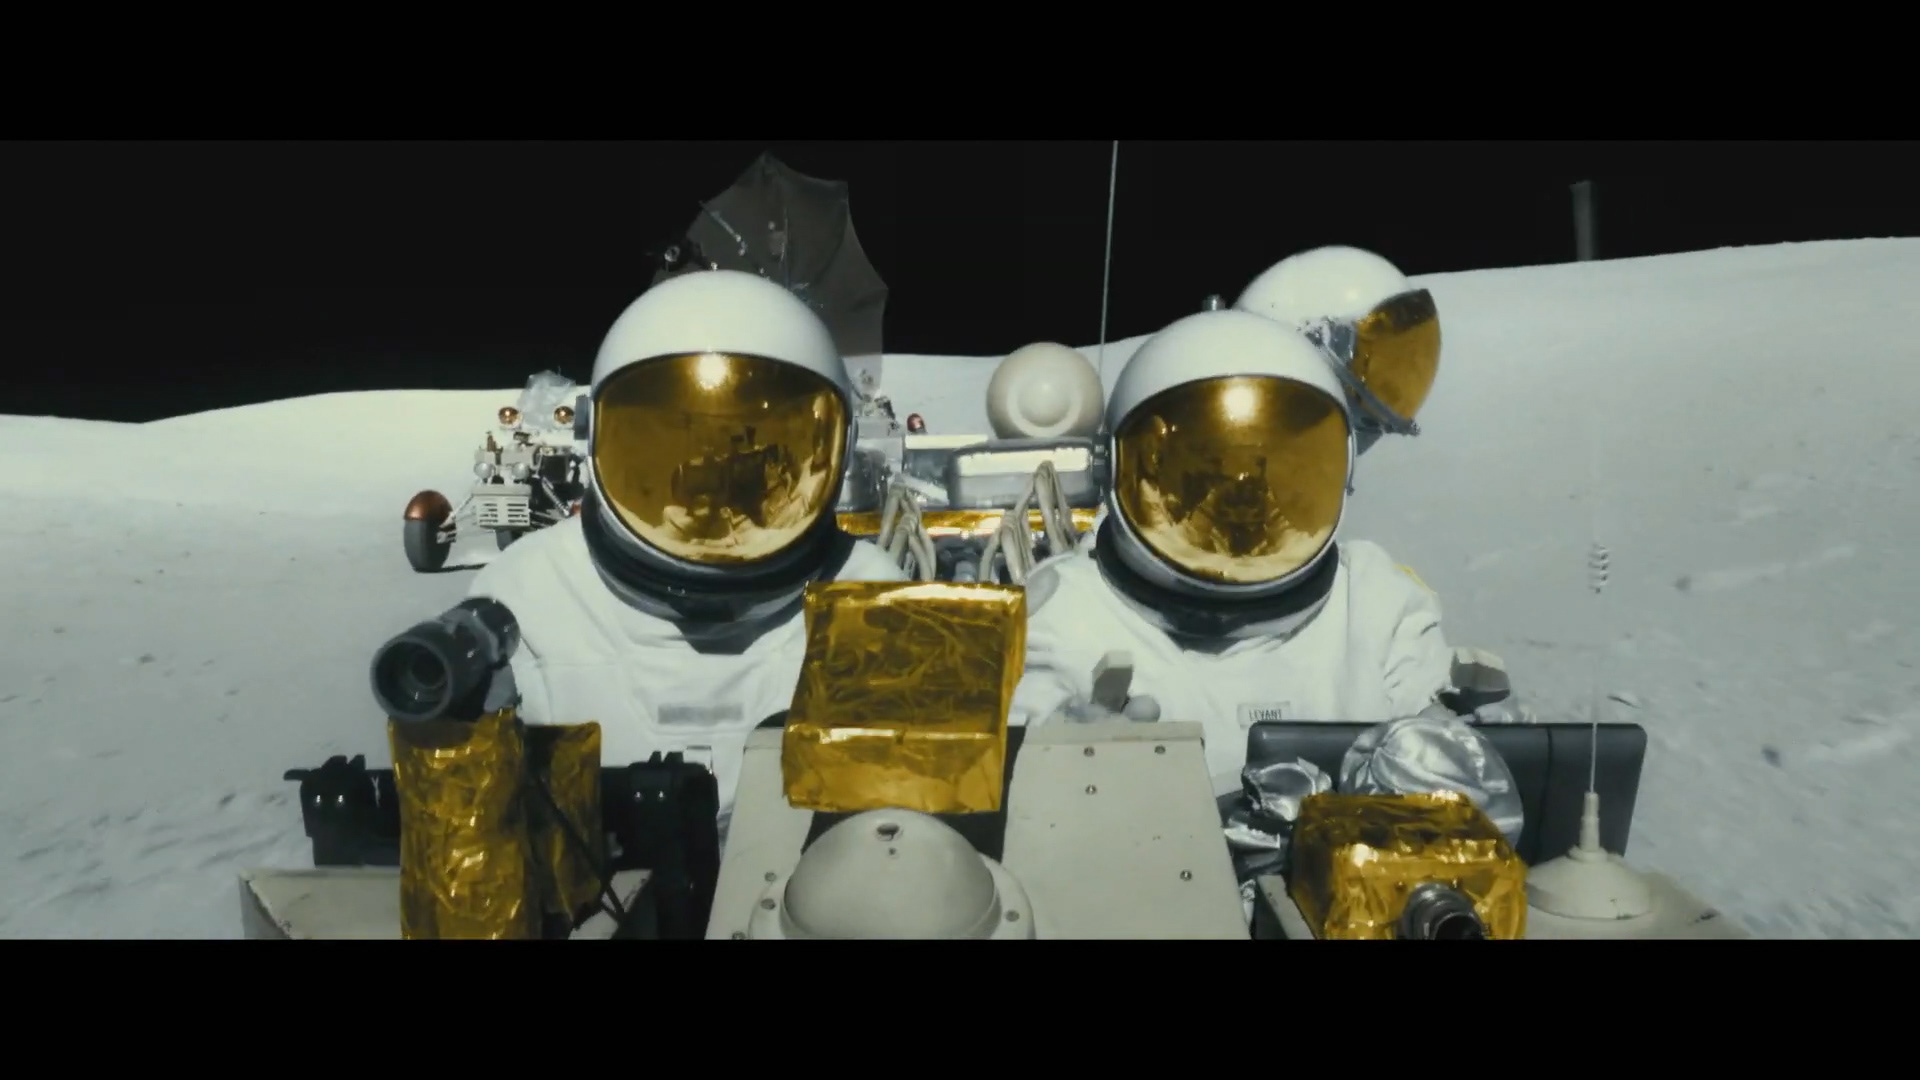
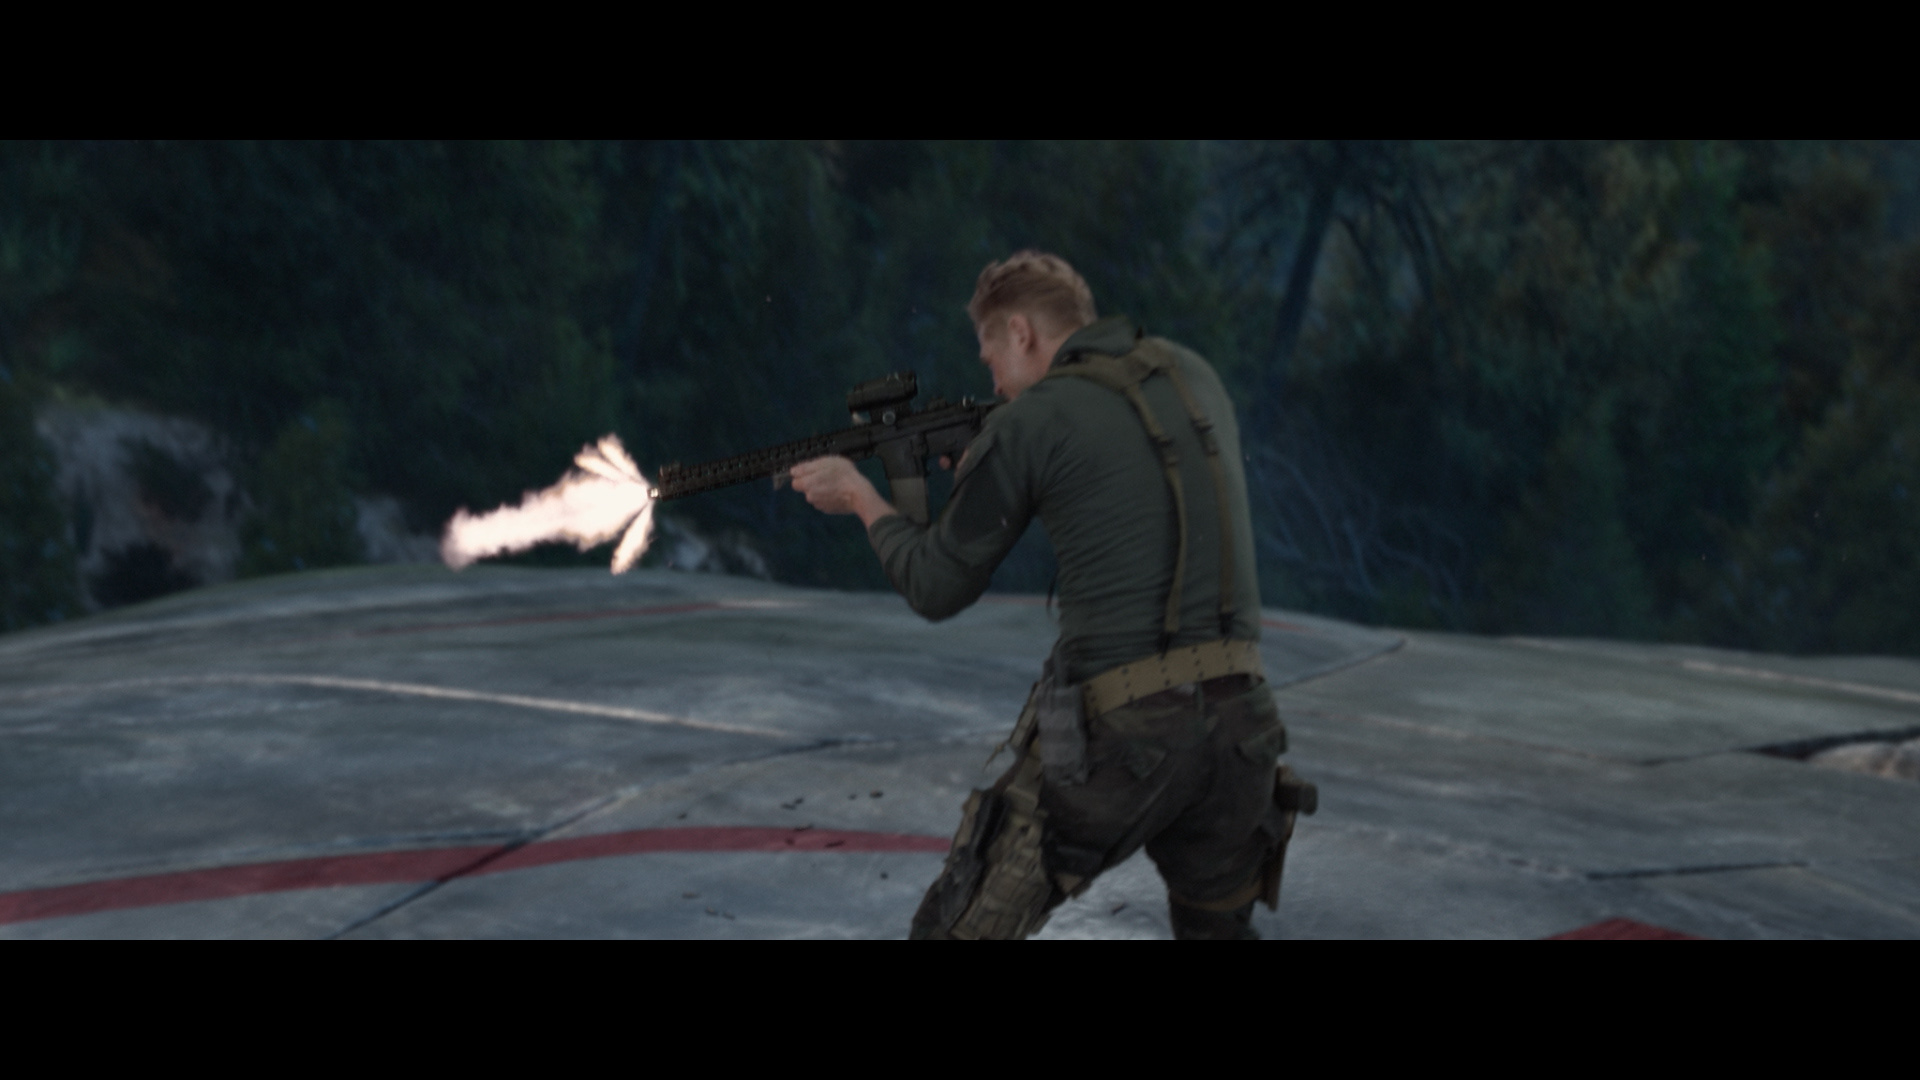
Mulan
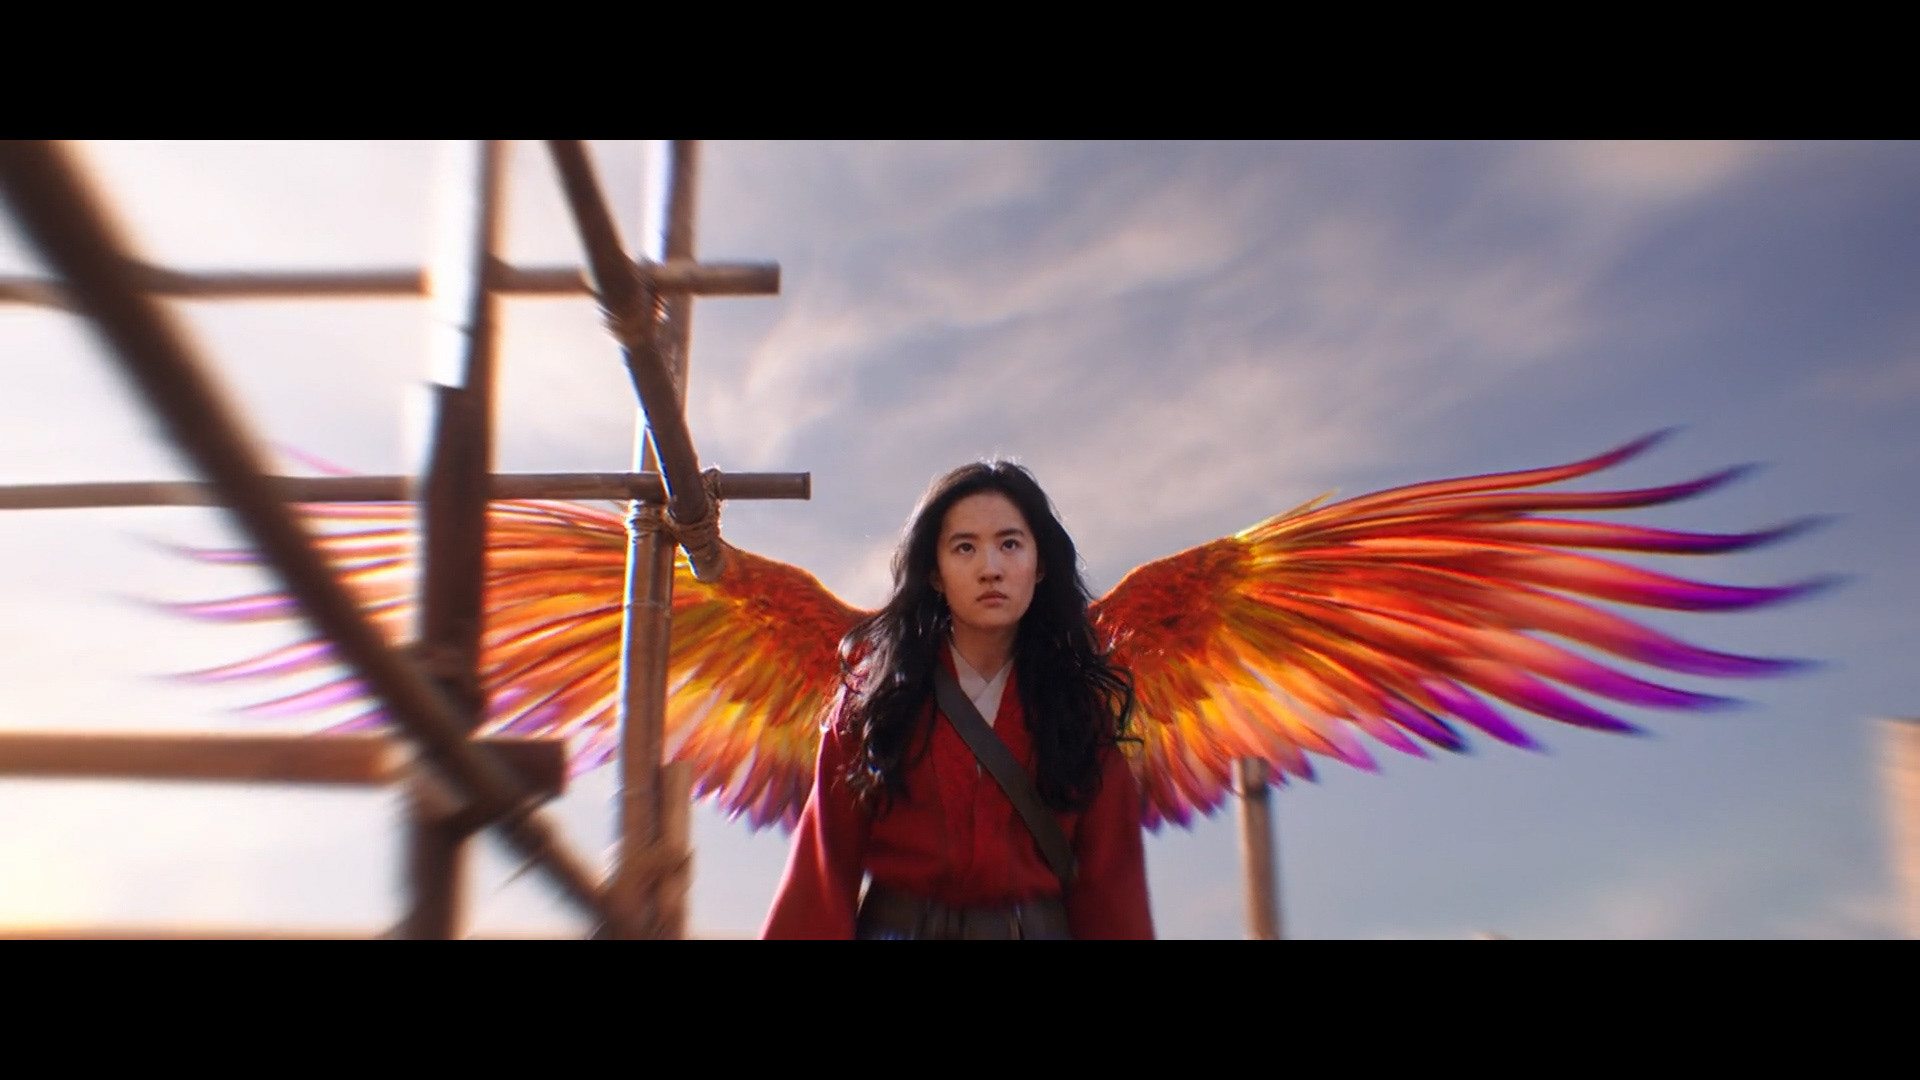
Chromakey, CG Phoenix and DMP sky
Textbook chromakeying and making sure all the hair details are preserved AOV and grading on the colour and sheen on the phoenix wings
- - -
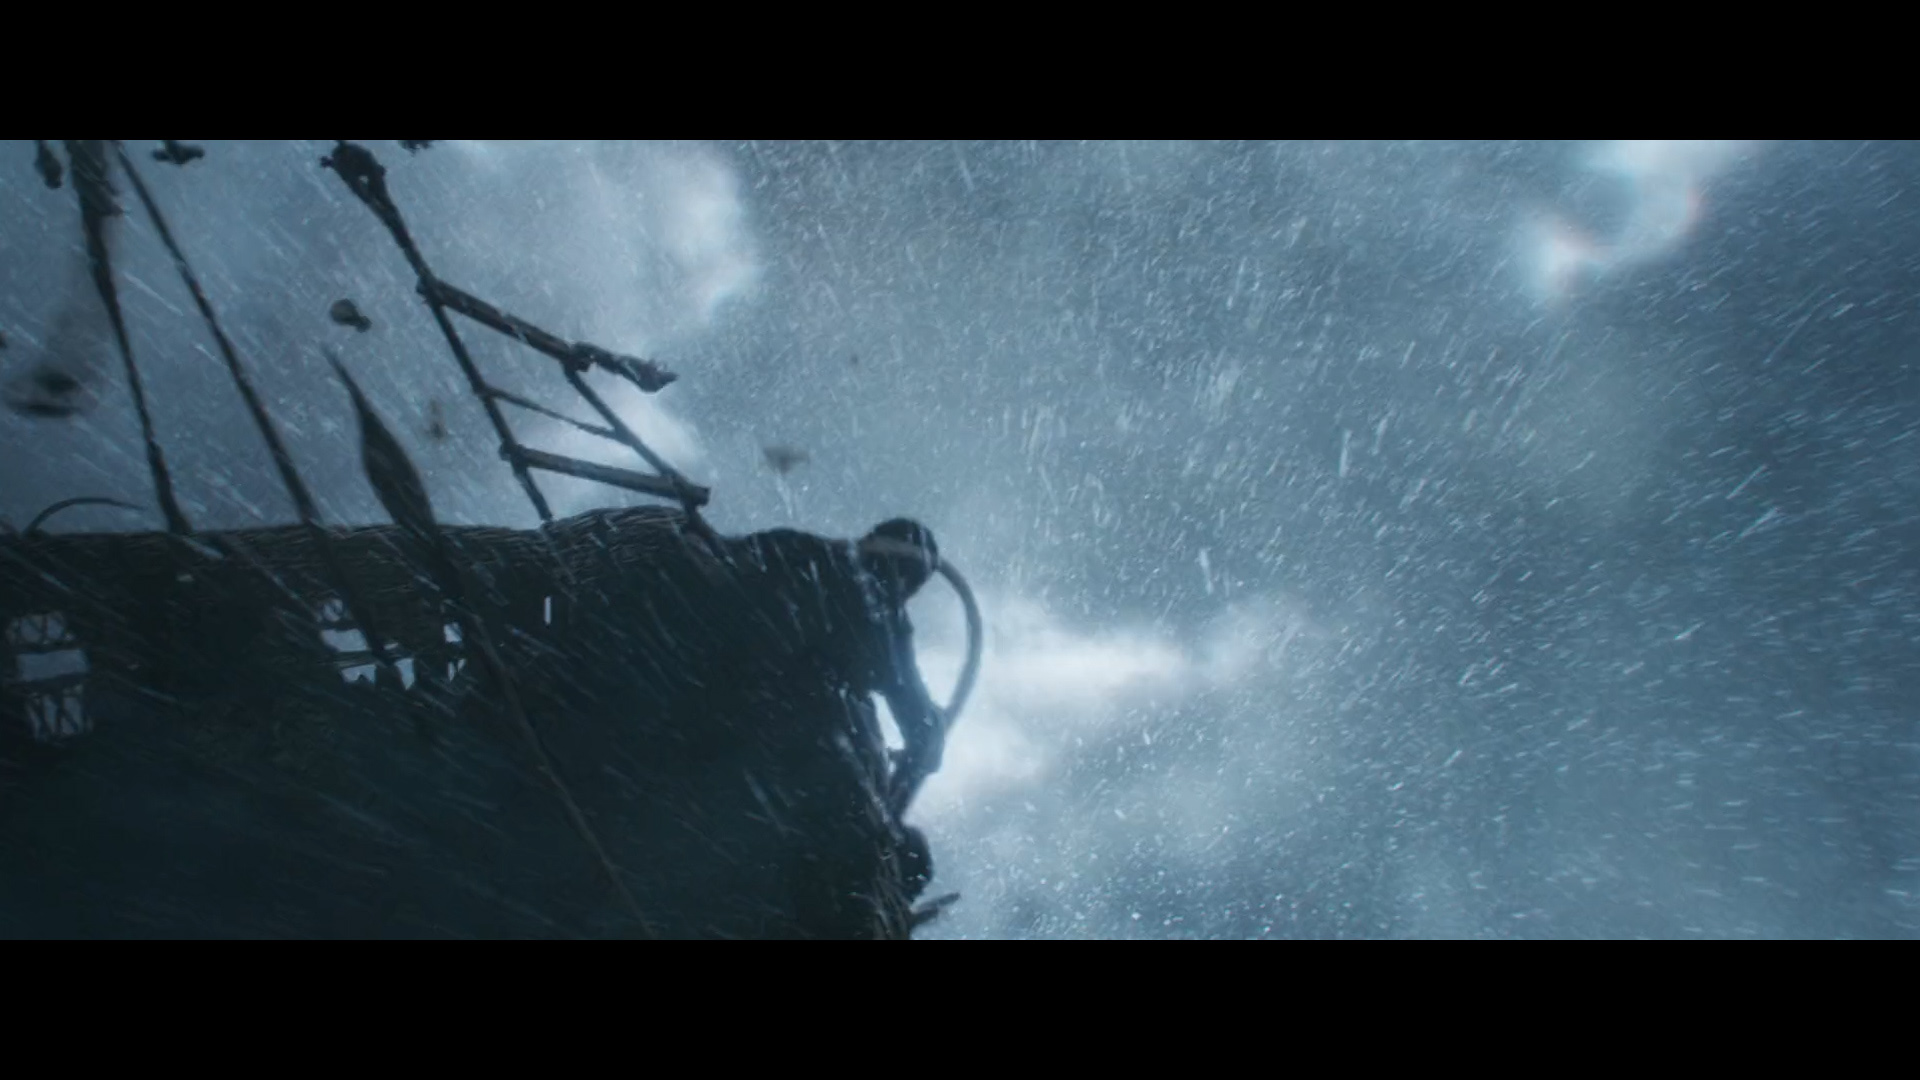
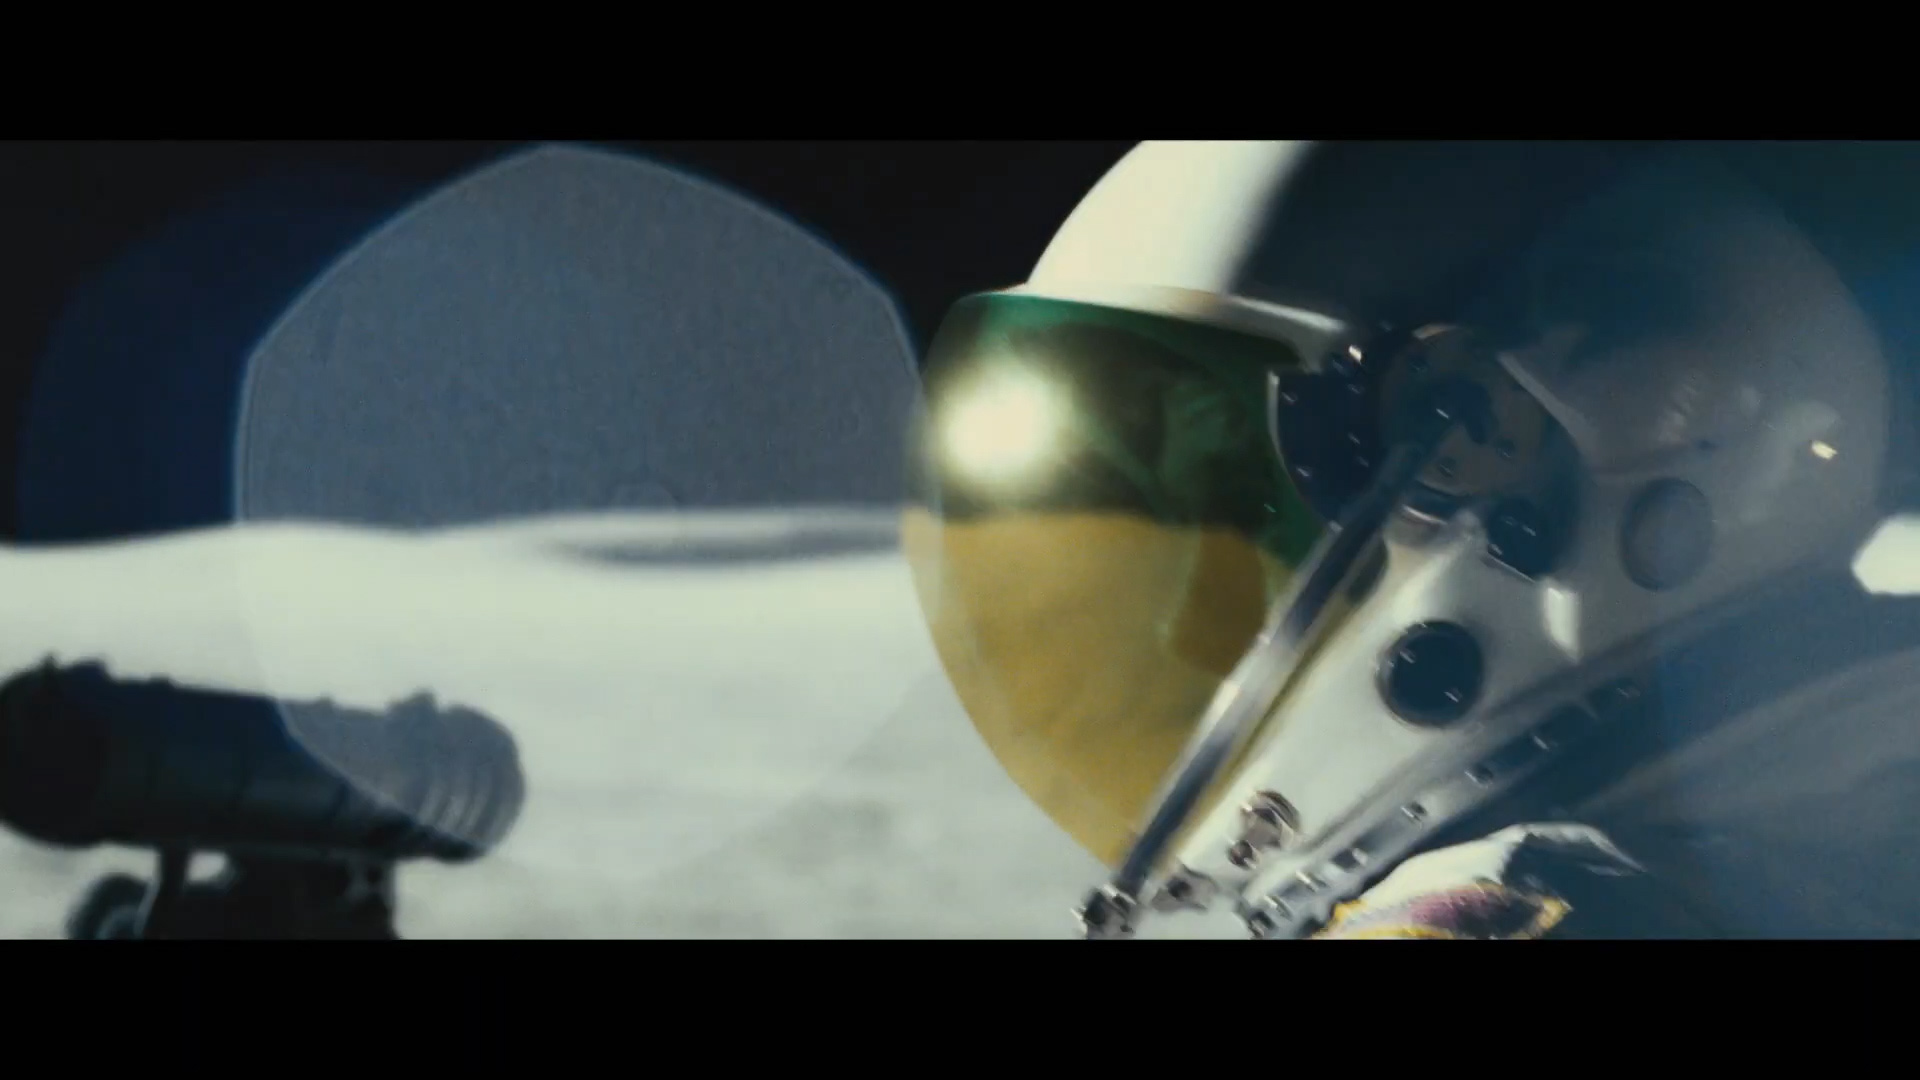
Chromakey, CG mountain and sky
Integration of CG mountain and sky to demonstrate the moon light mood across the sequence and keep continuity. AOV grade to match cg grass with set grass. Water ripples are applied to the the reflection of the cg mountain and sky
- - -
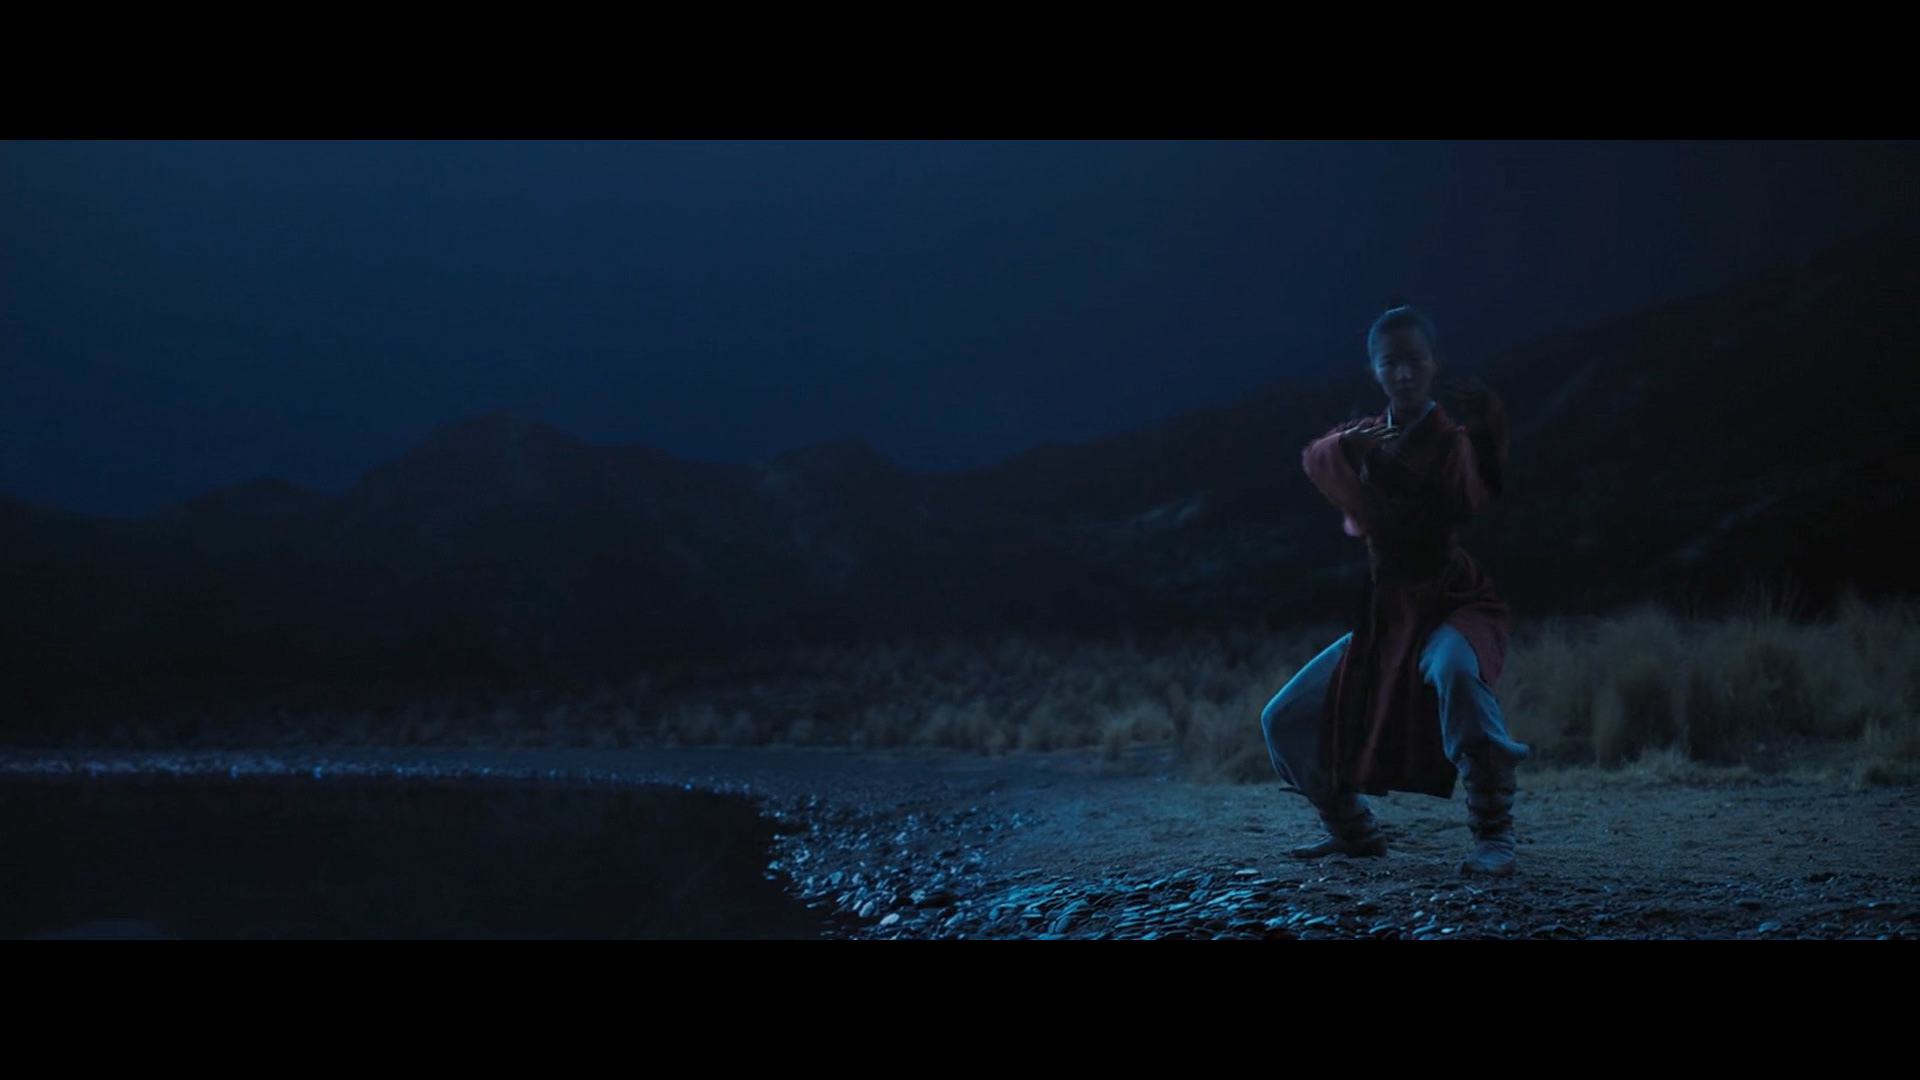
Chromakey, CG mountain and sky
Similar as the previous shot, except there was a giant diffused light behind Mulan. It was technically challenging to remove the light and remove bright edges. A variety of methods are used to remove extremely bright edges: colour dilate, edge nudge, “reverse” exponential glow to remove natural light wrap and few channel math and colourspace swap.
- - -
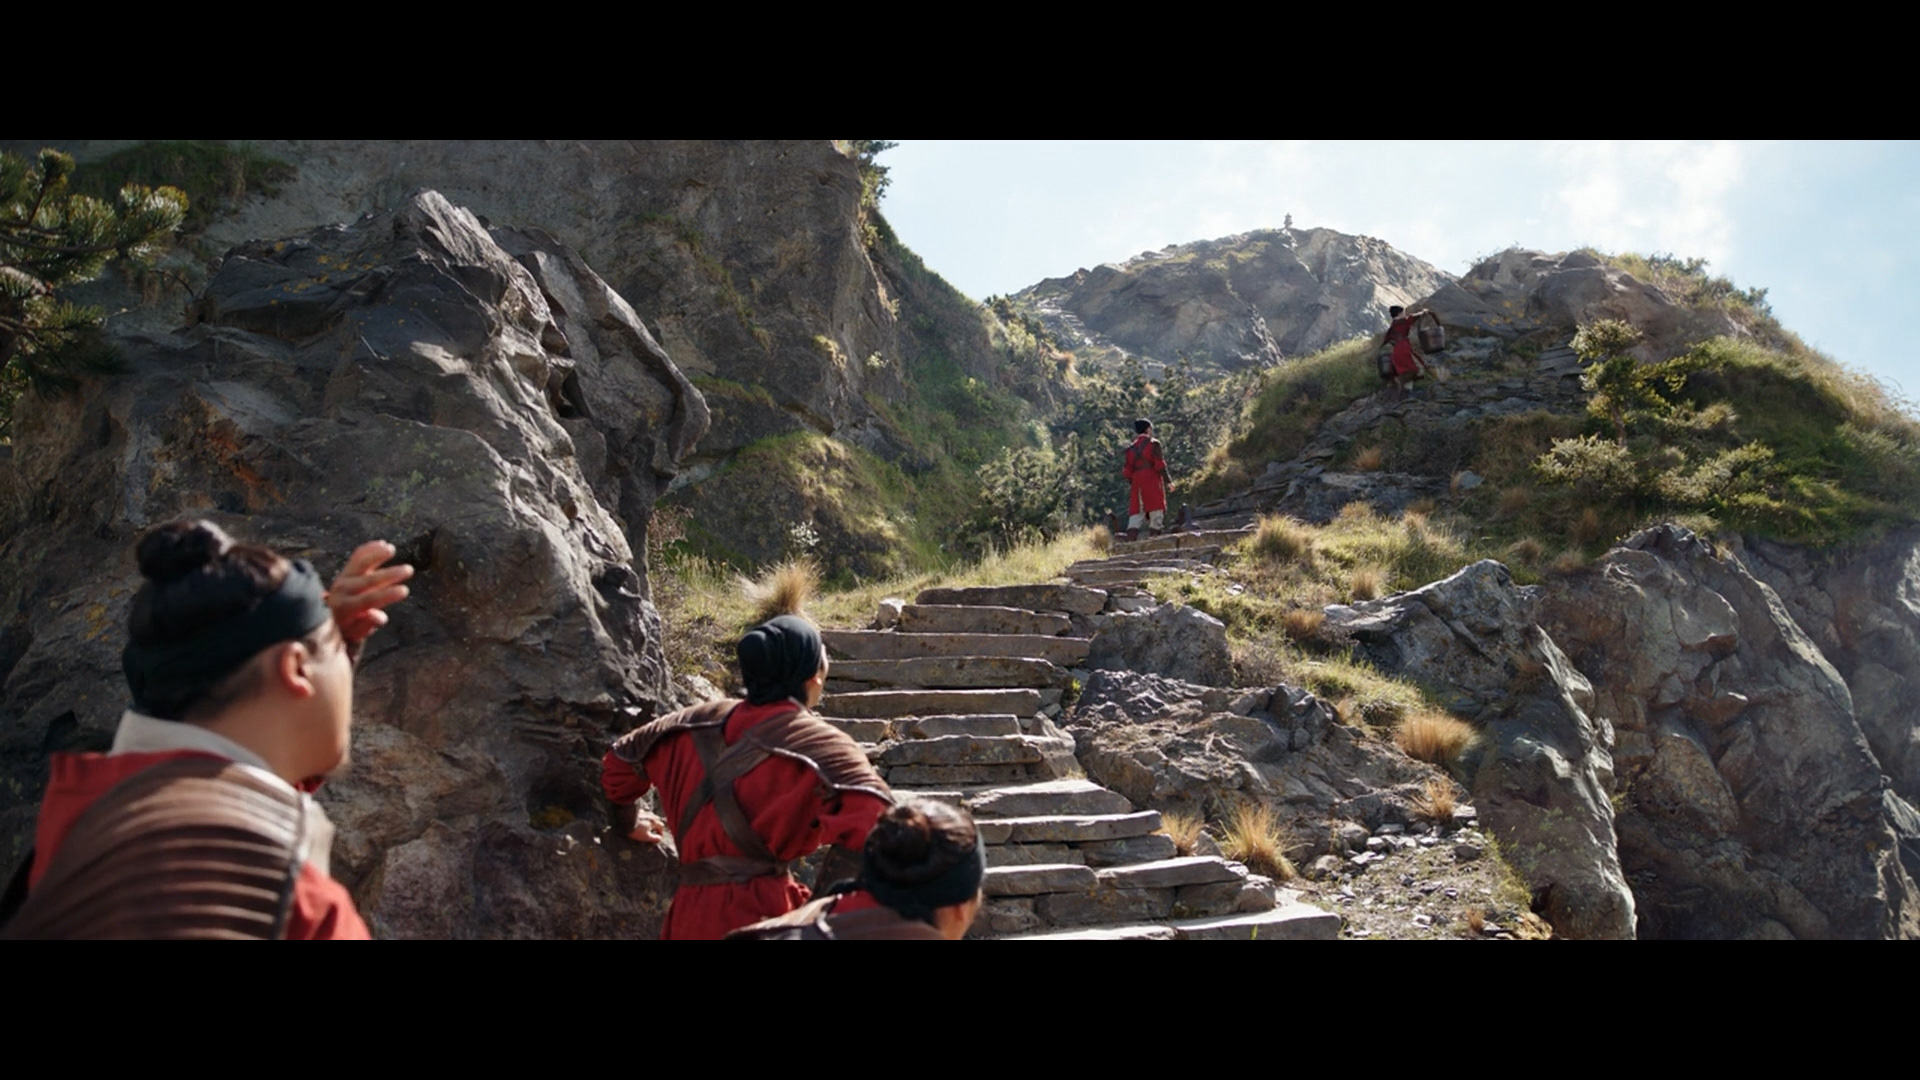
DMP Mountain extension
A mix of 3d projection and 2d track to seamlessly blend the DMP with the plate. The DMP parts are the far mountain hill, mid/SR hill and the SR cliff.
Some of the grass and leafs need to be “keyed” off a bright sky (SR middle ground grass in front of the hill), but the bright edges are tough to remove. My solution is to use the grass alpha as a matte to colour dilate the sky, which creates a somewhat cleanplate. Then divide and plate with the cleanplate, and finally multiply it to the dmp mountains.
- - -
other shots I worked on
Artemis Fowl
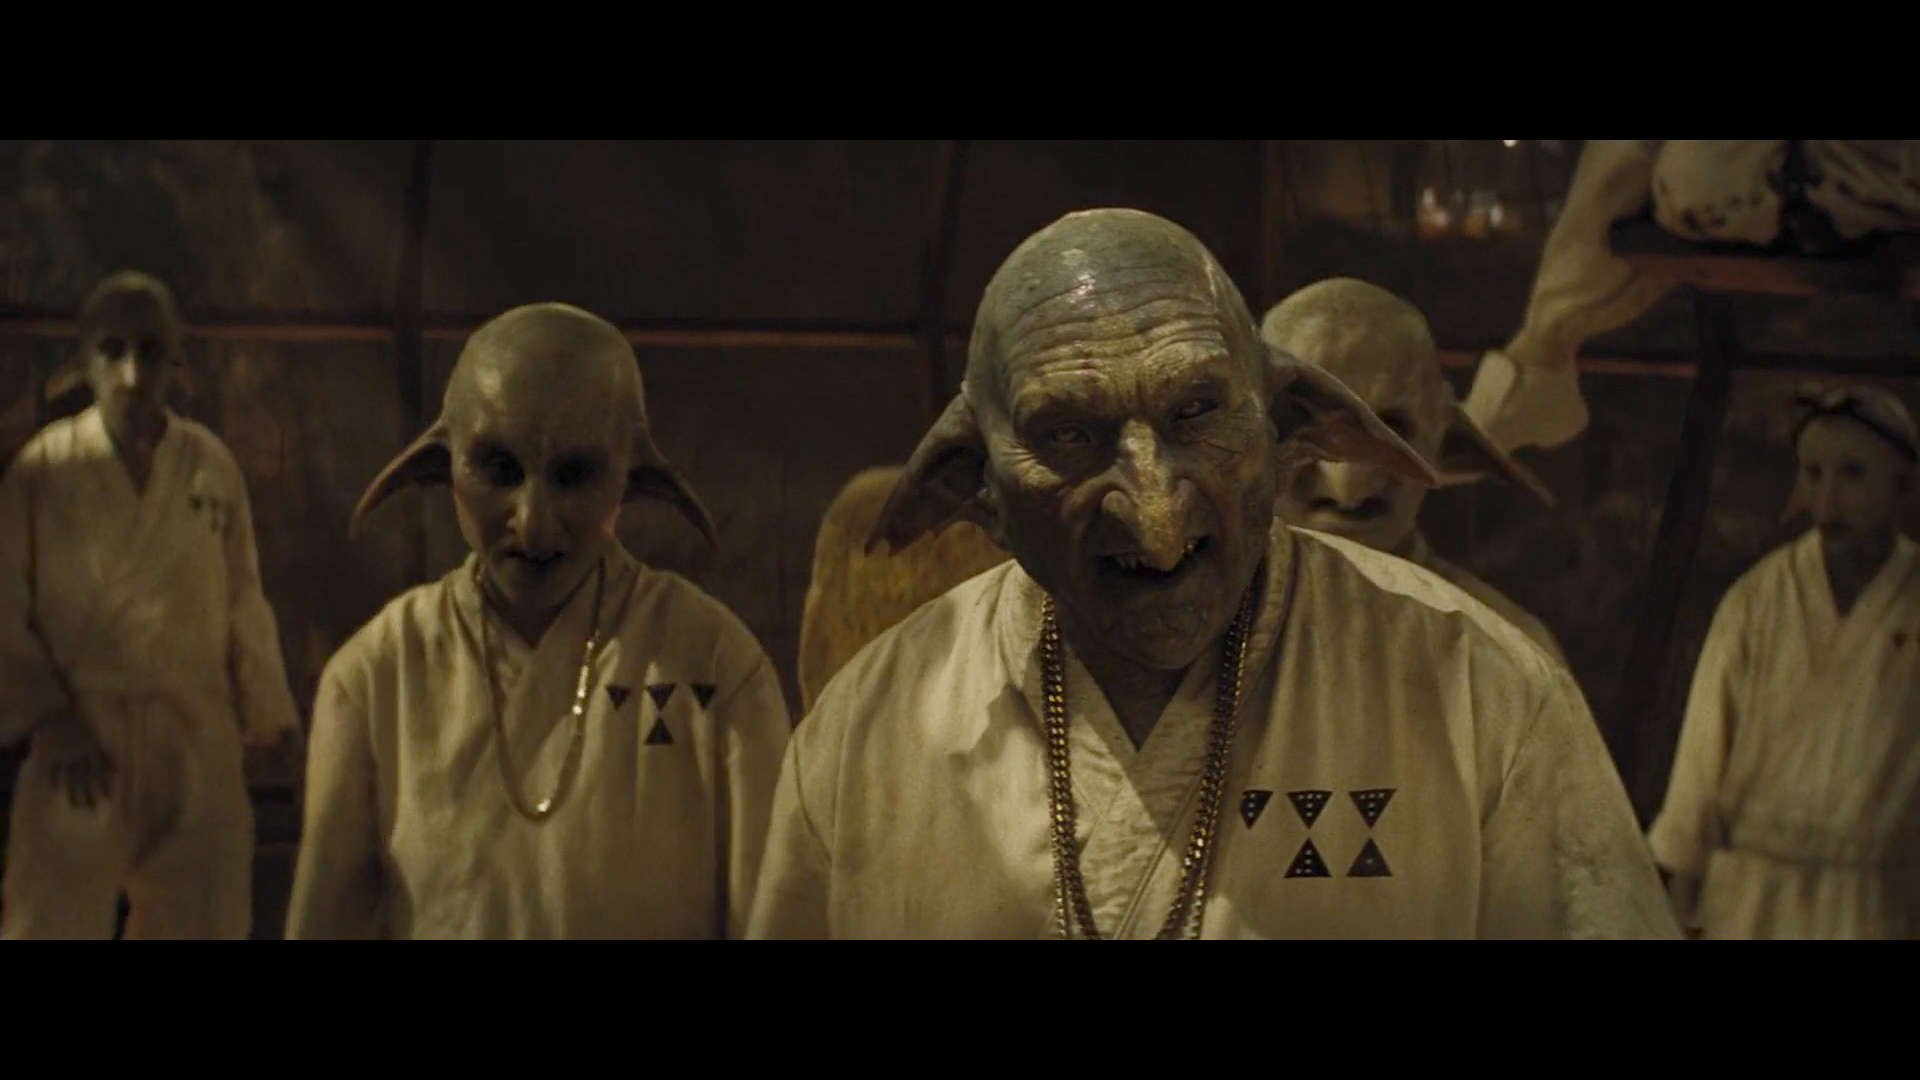
CG Heads replacement, chromakey + BG integration
The middle 3 Goblin heads are replace with CG, with plate preservations on the mouth. The prosthetics special make-up doesn’t have much detail and that’s the reason behind replacing them.
There were tweaks on the CG head to make it looks like skin instead of rubber, which includes breaking up the specular with Pref pass, grade on SSS and general multi-light grading to enhance the form of the head.
The shadow going across were from lighting, which they did a fantastic job. As for comp, I had to remove the plate shadow on the screen-left shoulder and blend in the CG shadow.
A little bit of morph with tracked STMap are used around the mouth to blend better with the actor’s mouth
- - -
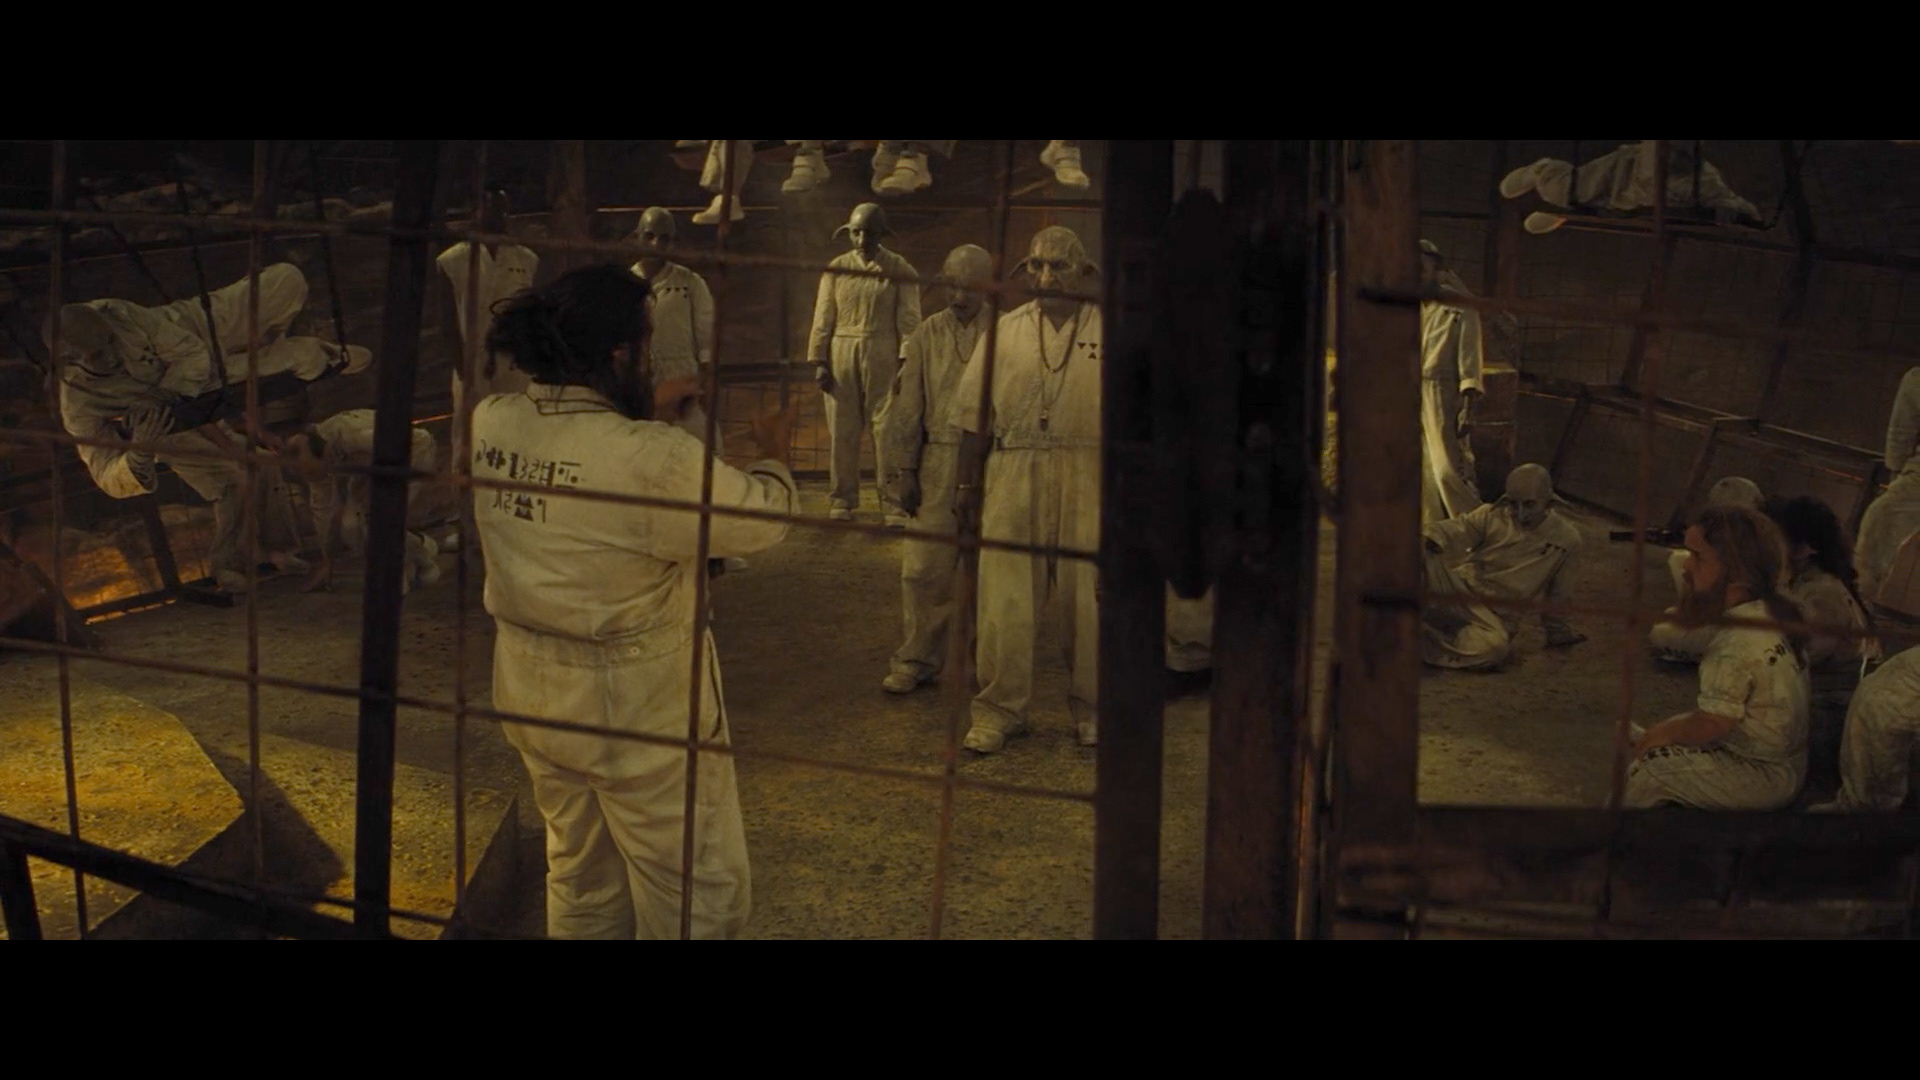
CG Heads replacement, 2D Atmosphere and BG DMP integration
Lots of edge work.
Lots of edge work.
2D smoke and lighting flickering in the background to simulate fire coming from the bottom of the cage
- - -
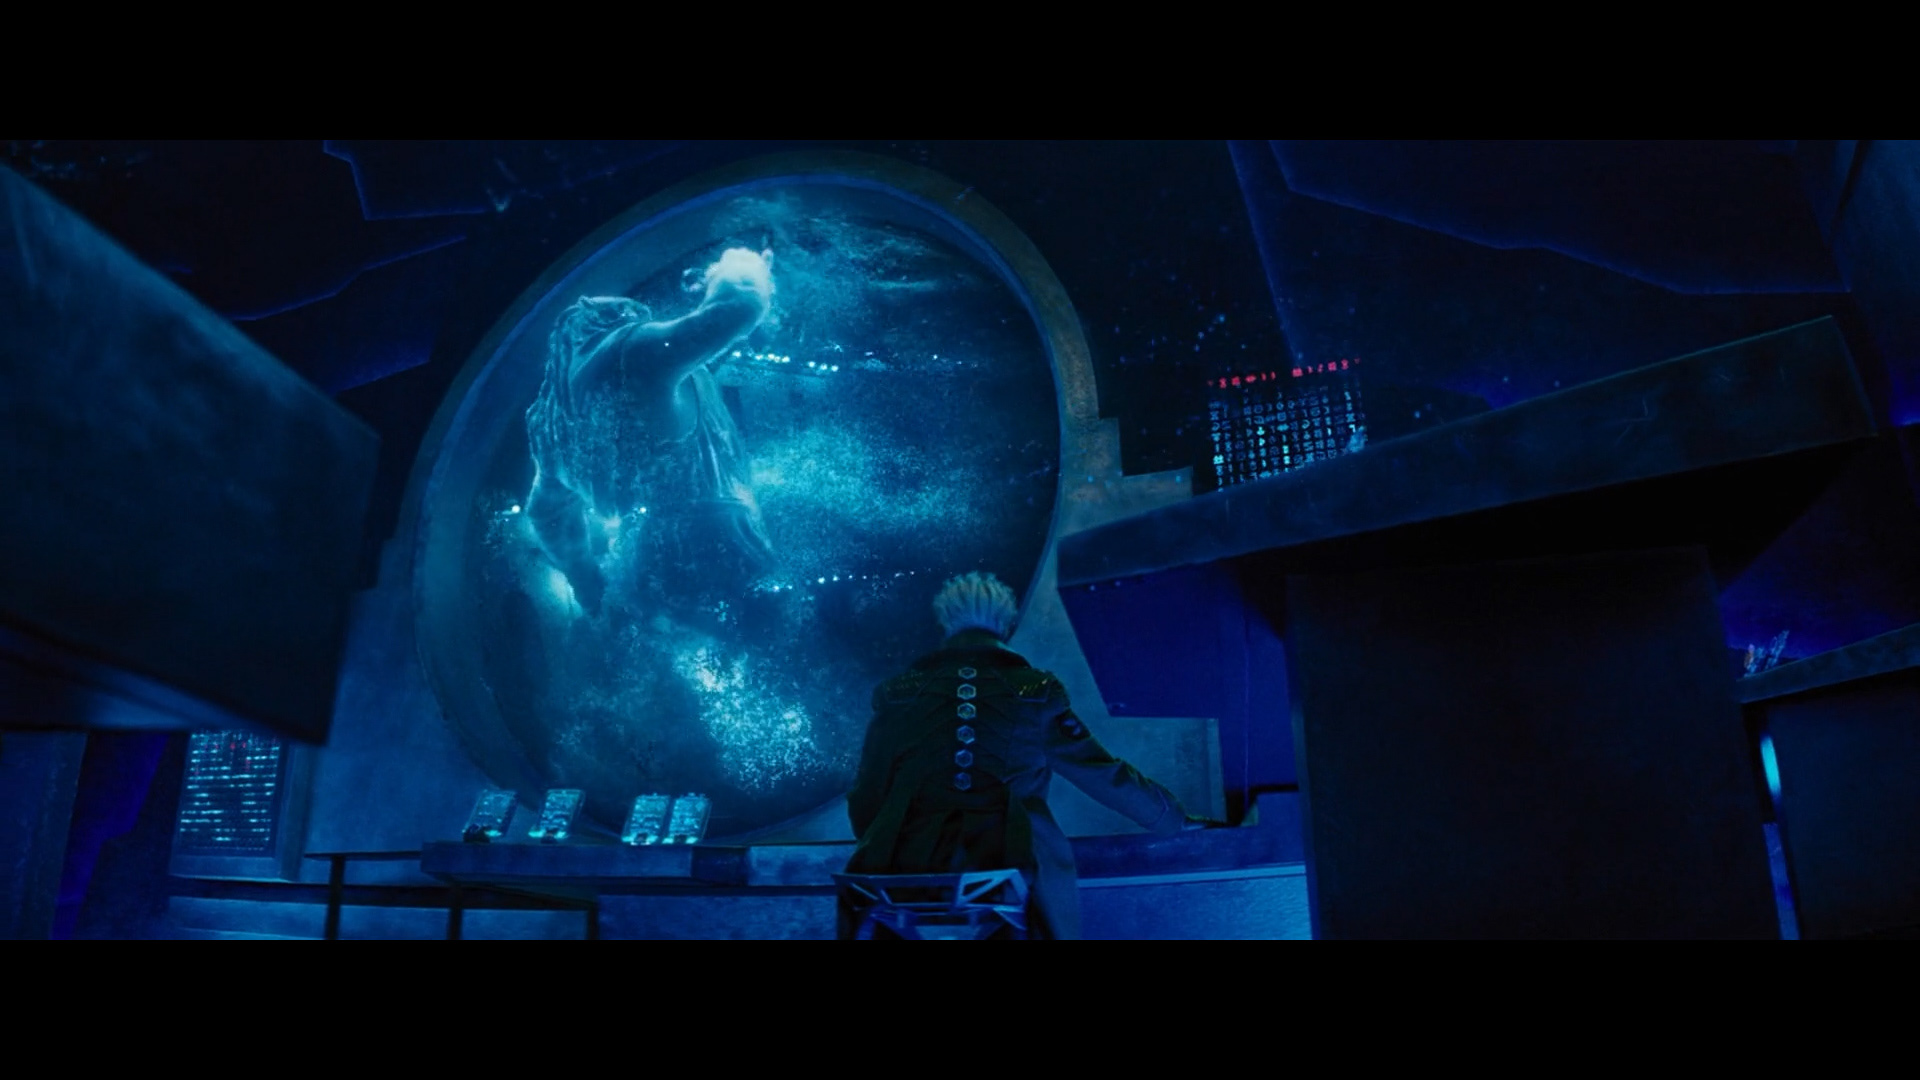
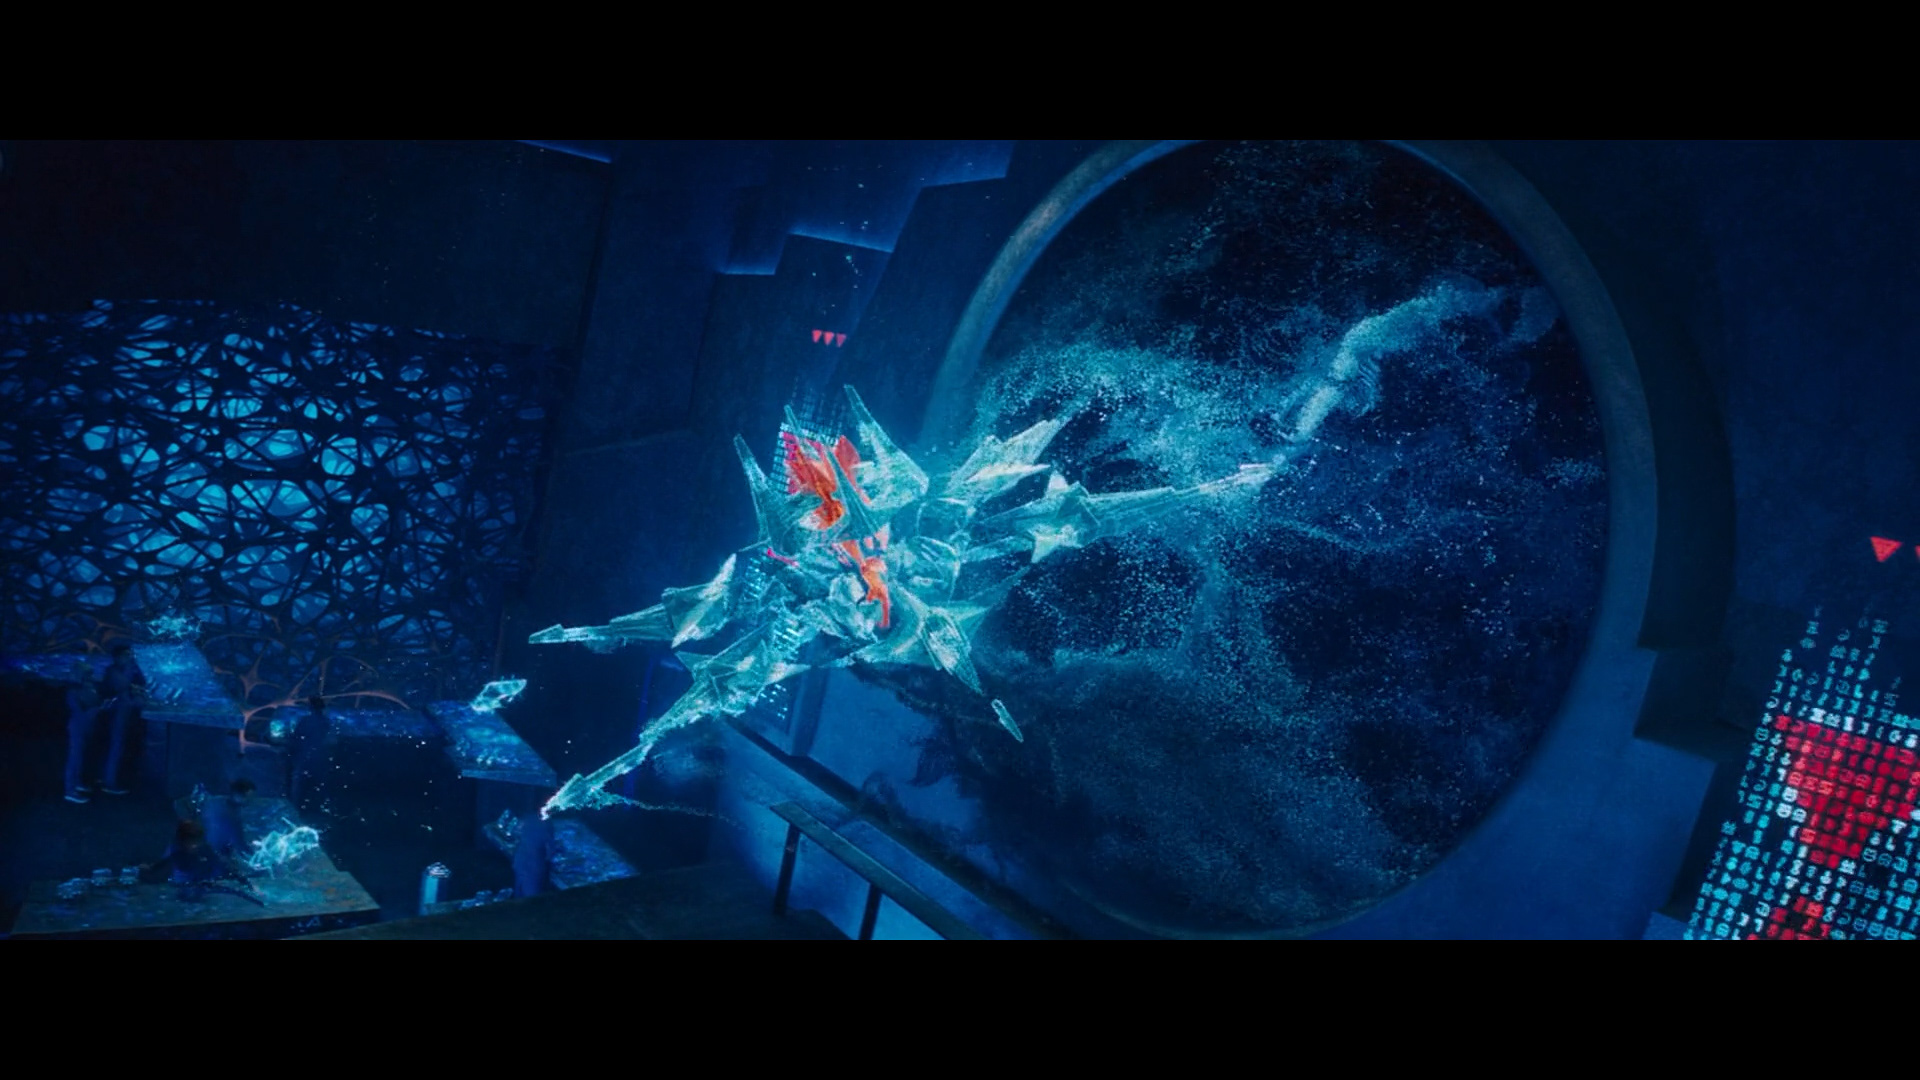
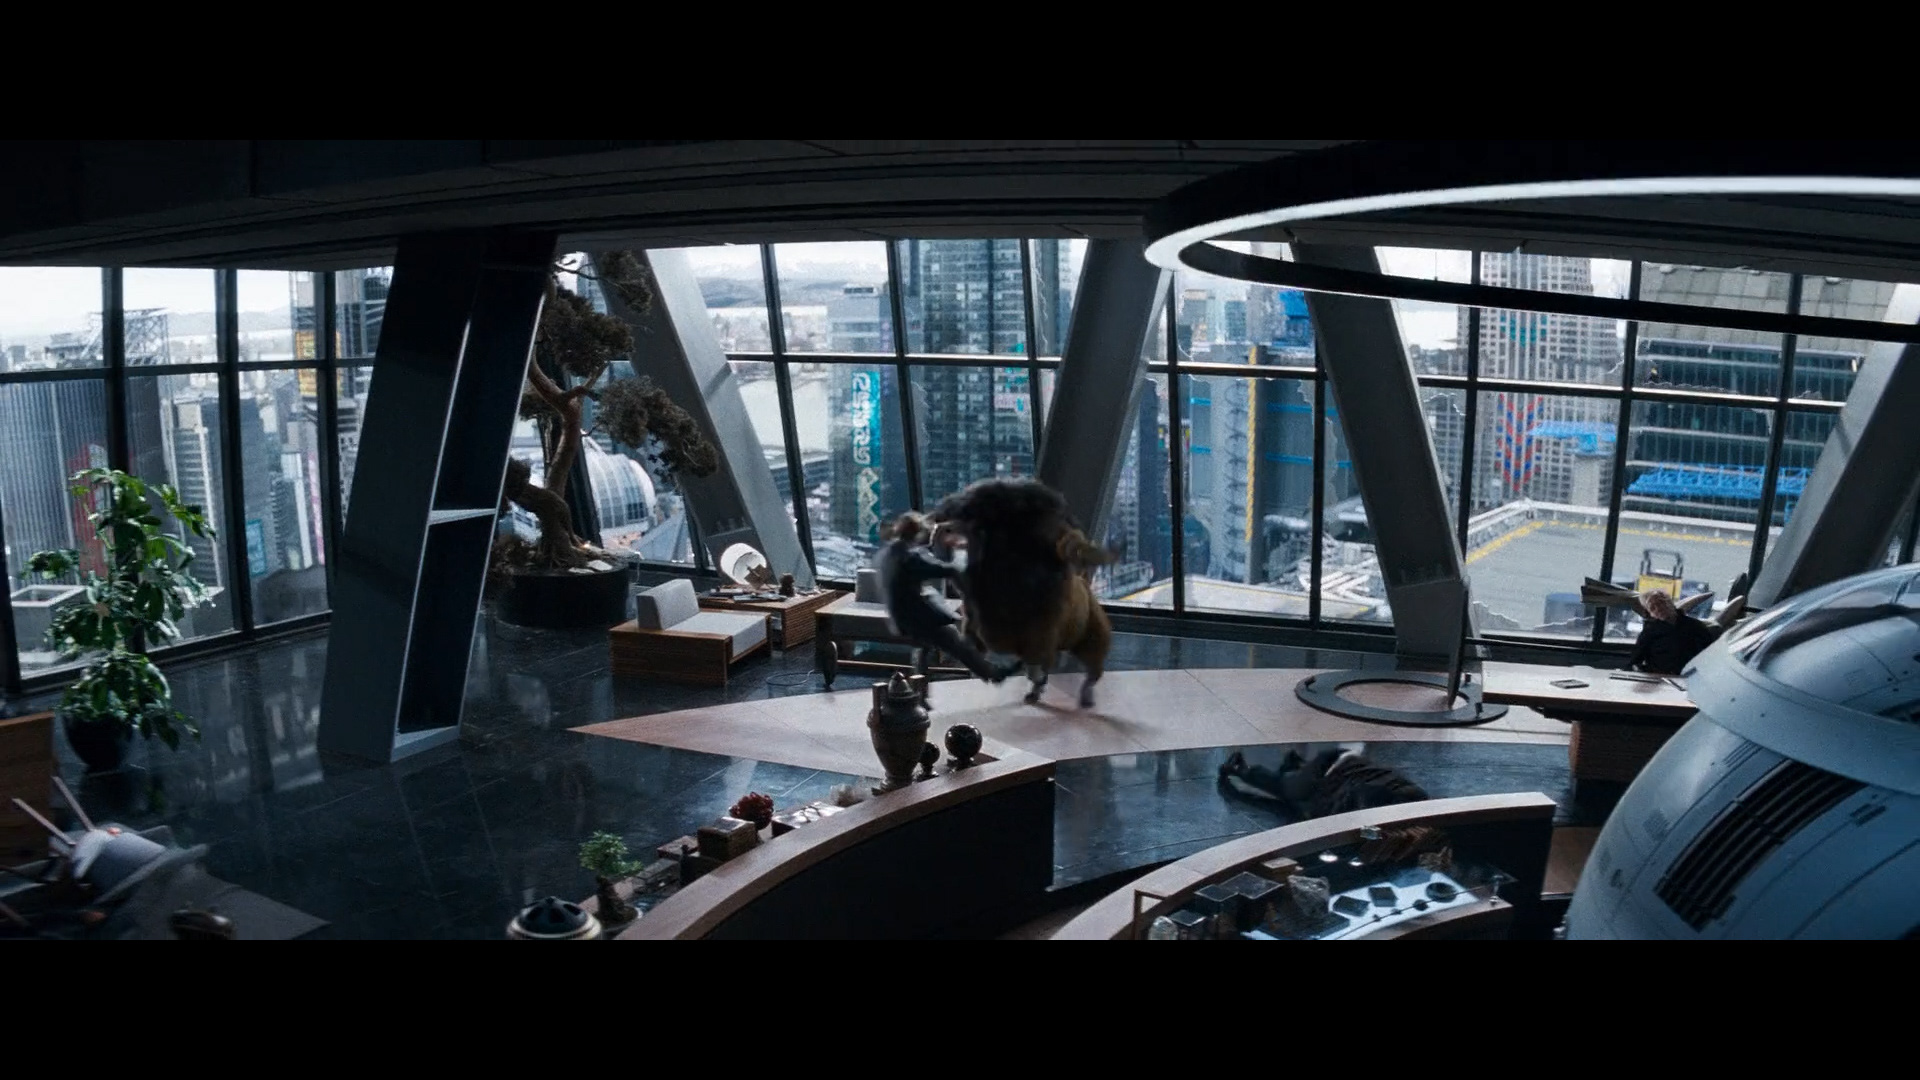
CG Hologram, DMP set extension
The main focus being the look of the hologram.
There were about 15+ iterations on the look, going from big changes to small changes, full colour to monochromatic, silhouetting the Giant to isolating the Giant. It was a collaborative effort among the director, my supervisors and me to get the final look of the hologram. Eventually they finalized a version with an inverse normal look.
The Giant was rendered with FX particles, so the normals and position passes are bit off. In order to get the proper specular highlight, I took the cached geo into nuke, and rendered the normal and position passes from scanline render. It worked pretty well.
- - -
CG Hologram, DMP set extension
Similar techniques and creative process as the above shot.
Differently, the flashing red are done with a combination of change just the colour and reapply the luminance (colourspace node set to HSL sandwiched with a shuffleCopy, to copy in the hue). This way limits the artifacts caused in the over-brights with just using the grade node, and you can control the colour hue much more easily, especially when it changes over time.
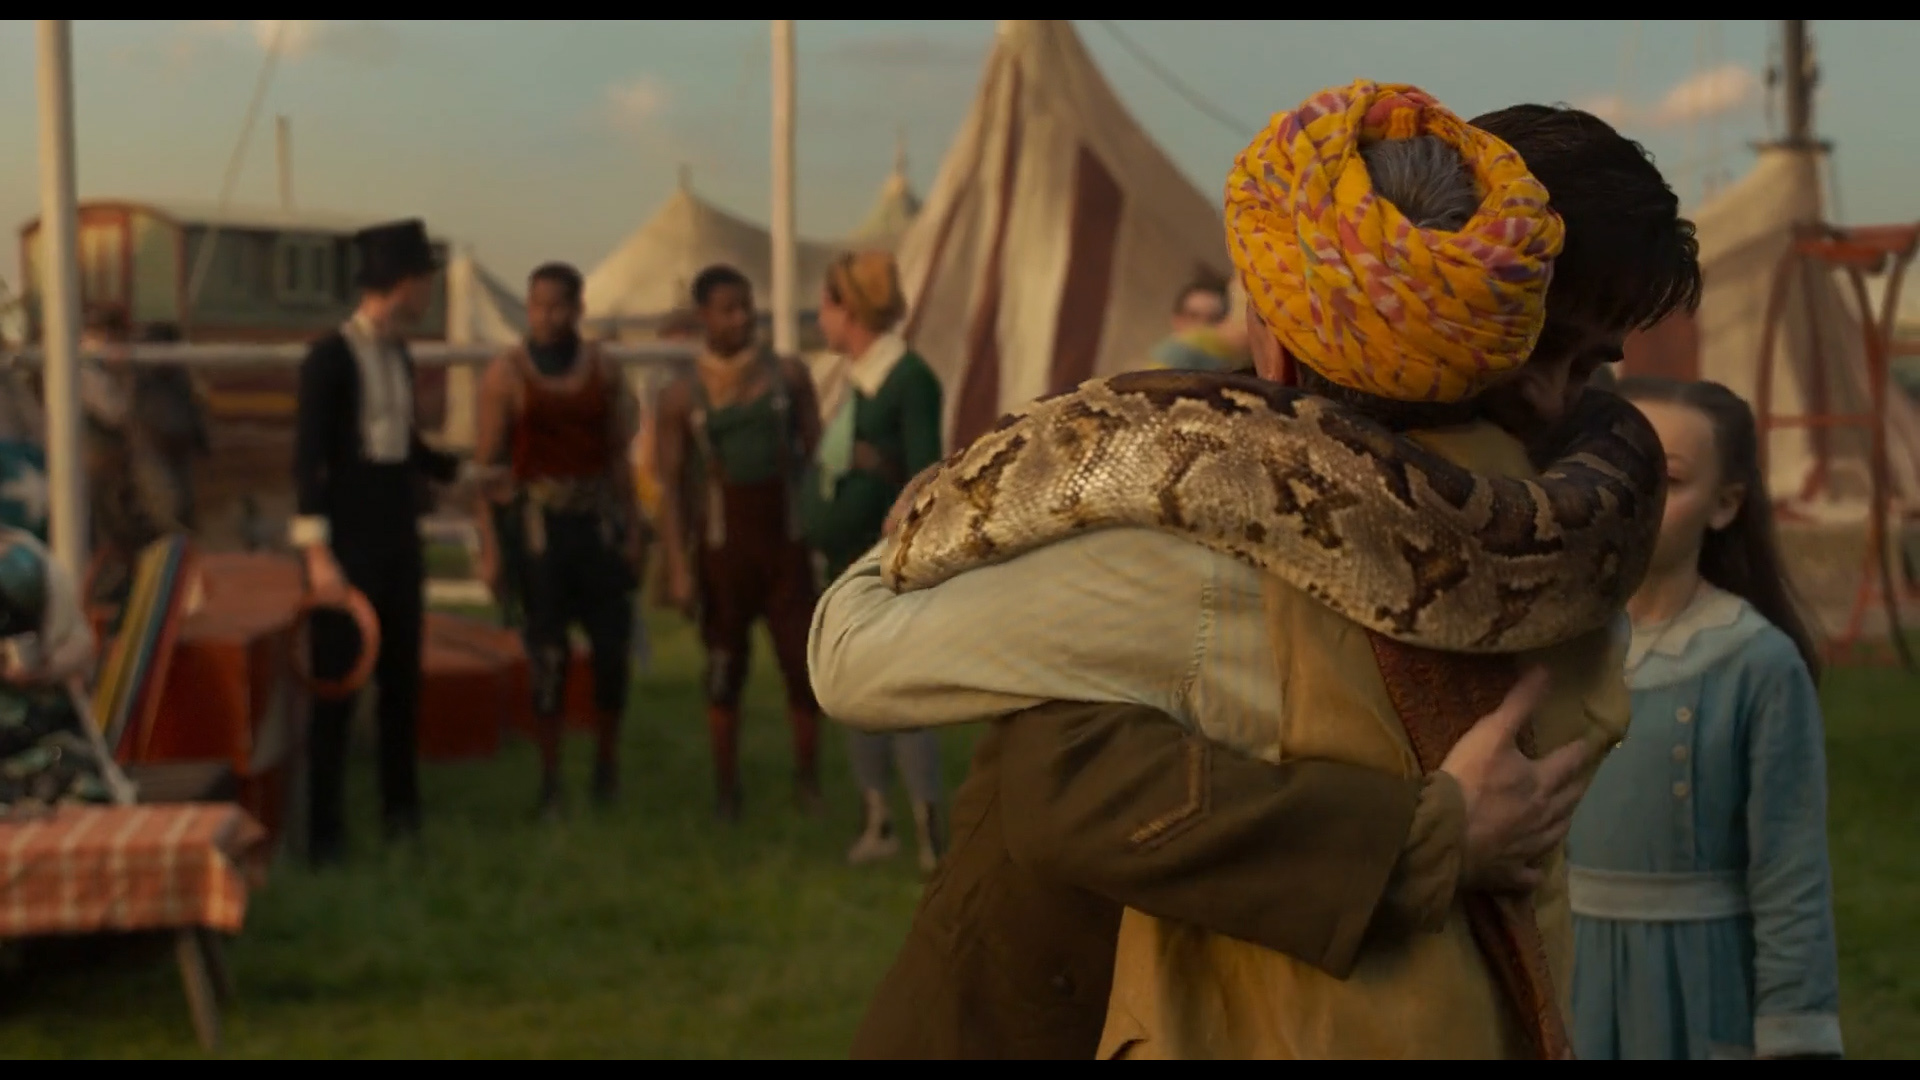
His Dark Materials
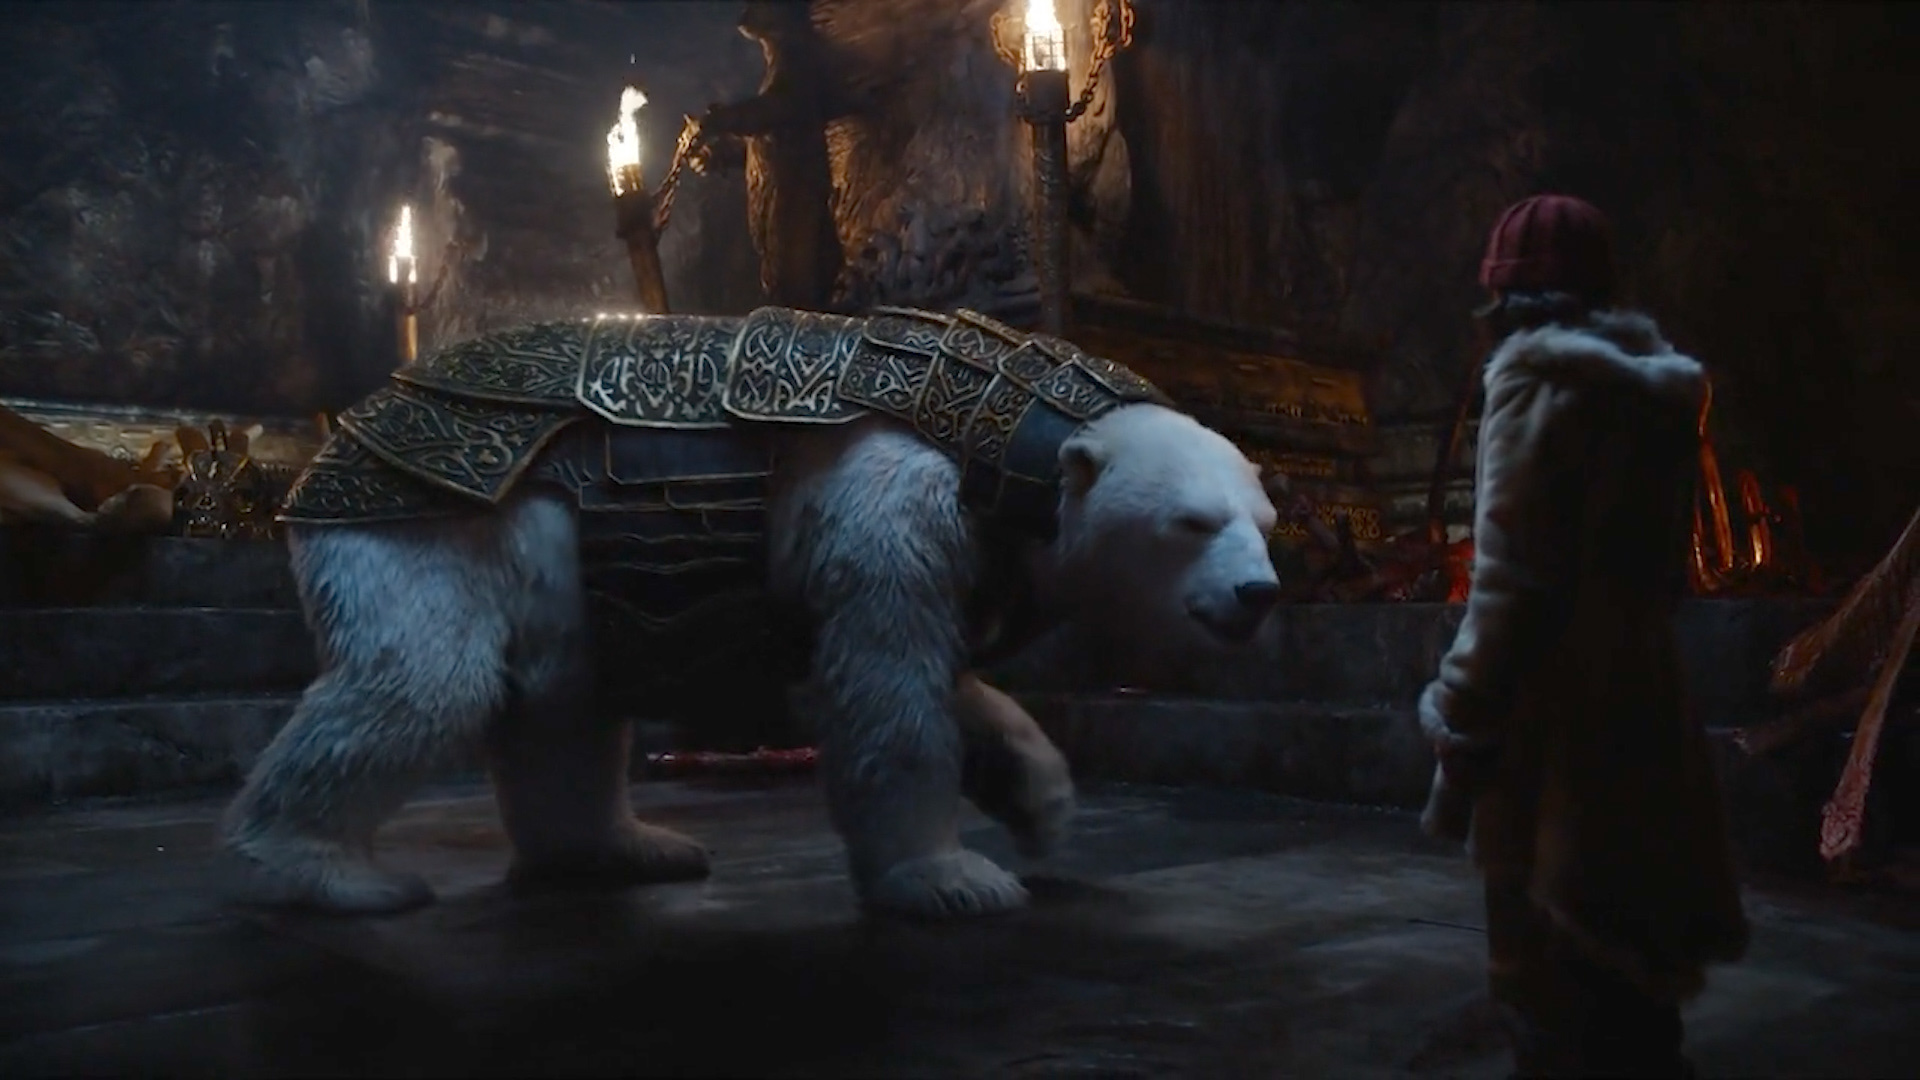
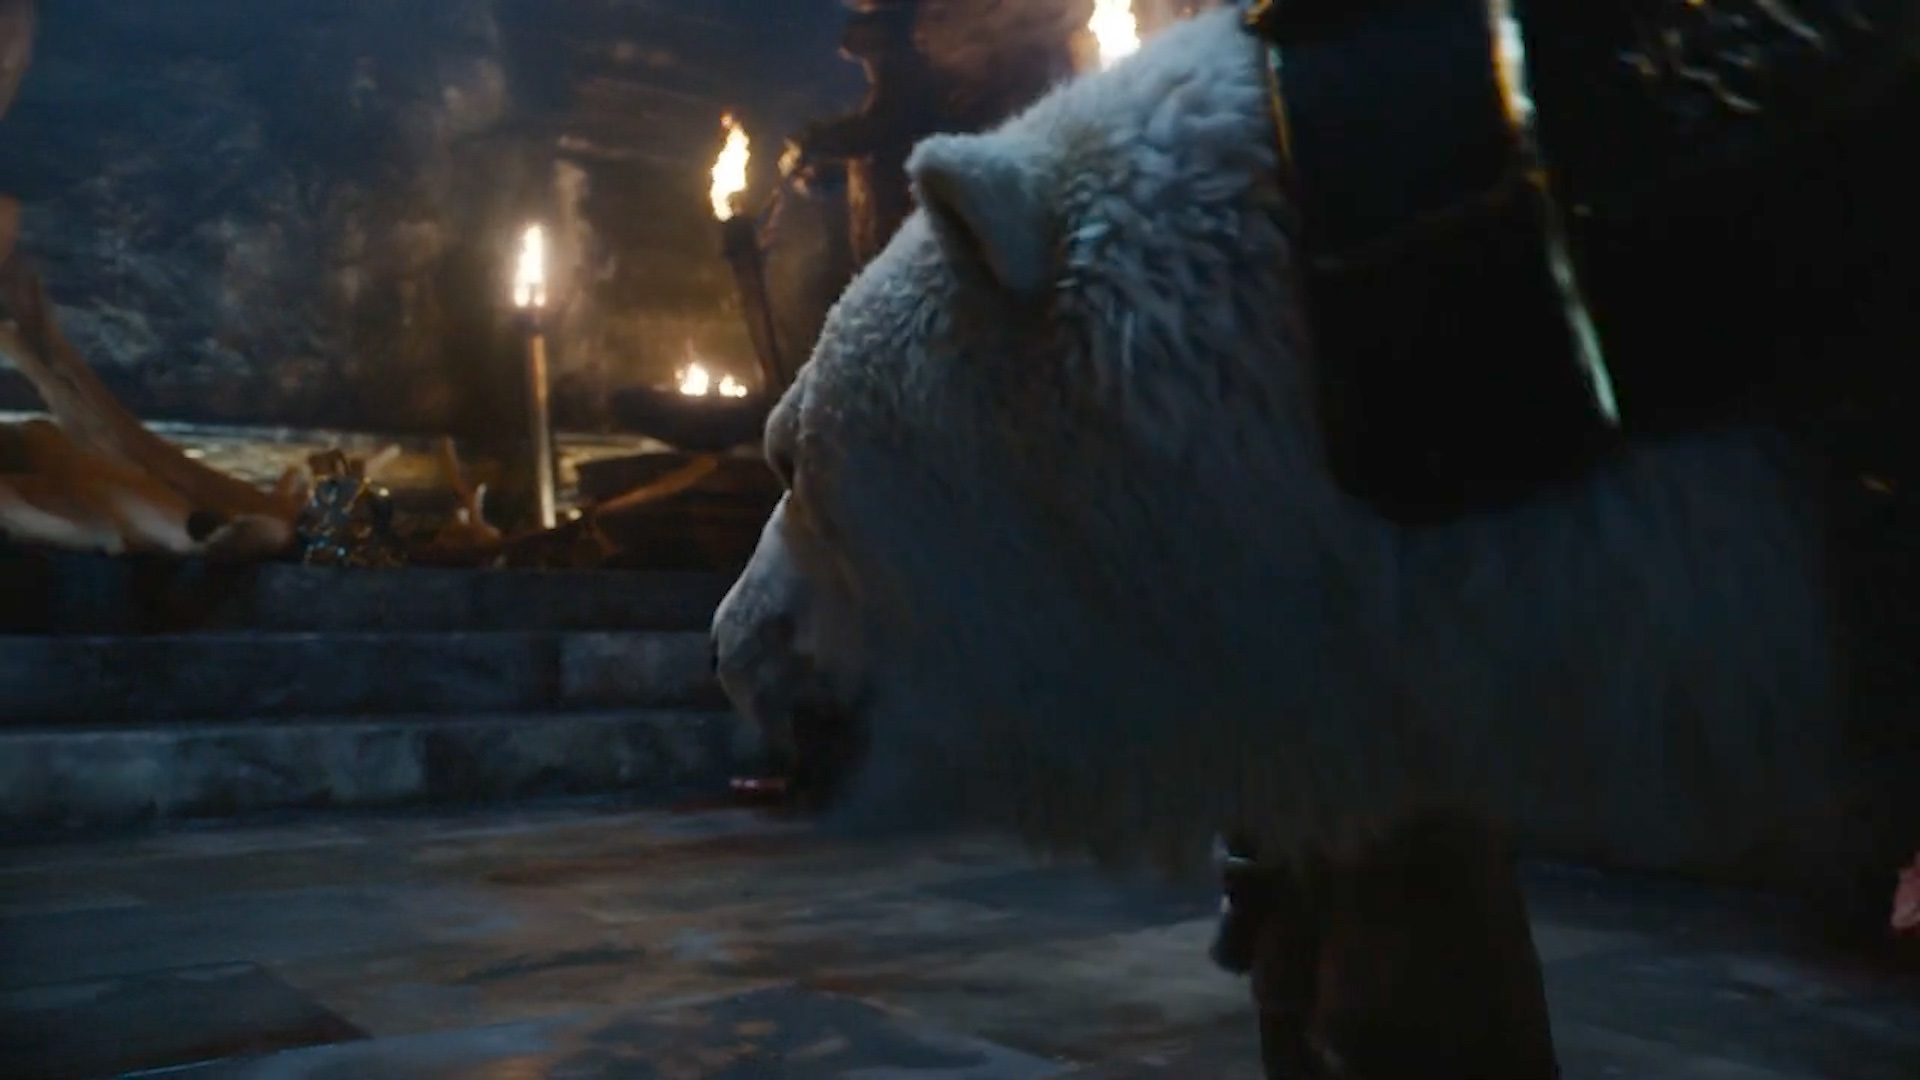
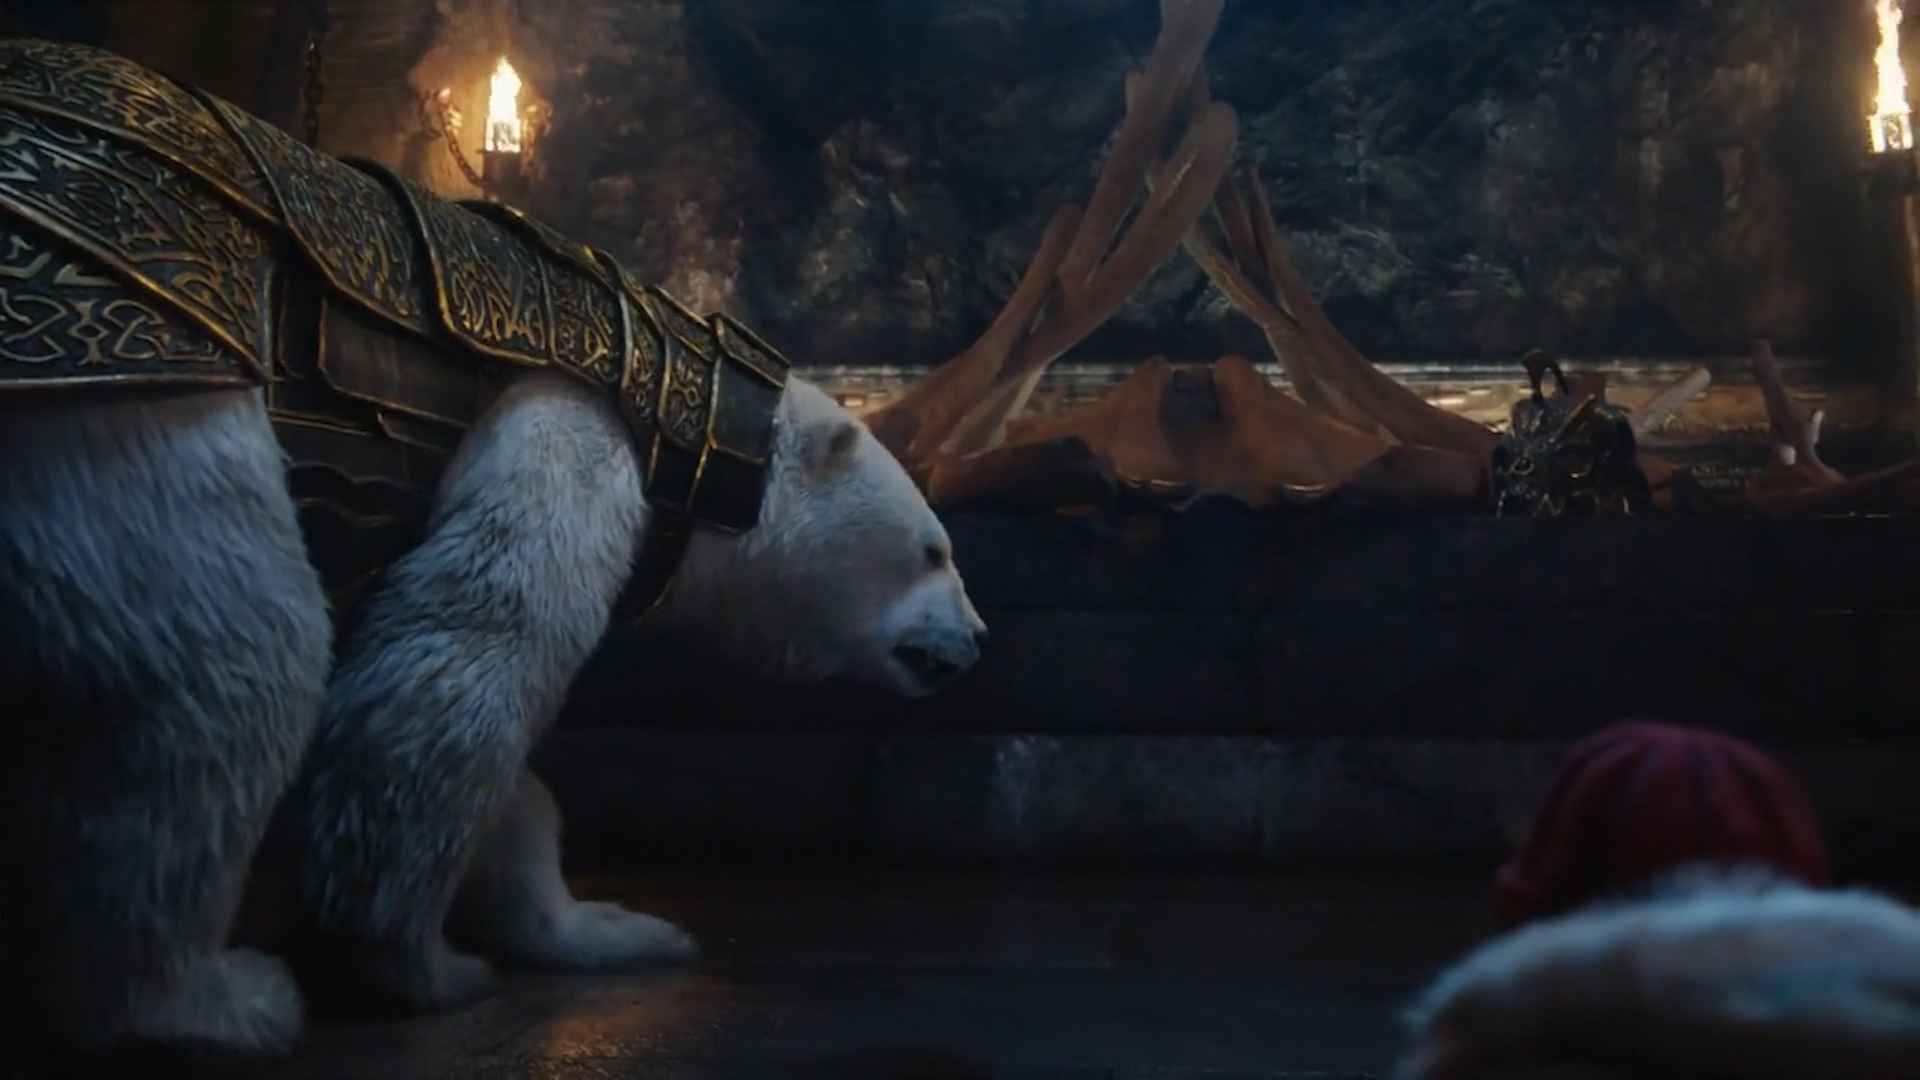
CG Bear and 2D atmosphere integration
CG bear from Lighting already looks pretty good, but due to denoising, some of the fur details are lost. So in comp, I added a bit more specular details back to the fur with normal pass.
There is also a gradient applied to the bear to darken the bottom part, so the bear feels big and occludes more of the ambient light and overall feels better integrated.
Last is to add 2D atmosphere that interact with the flickering torches, to grade the armour make it feels like metal with tuning on the specular reflection and adding breakups.
Other shots that I worked on:

The Aeronauts
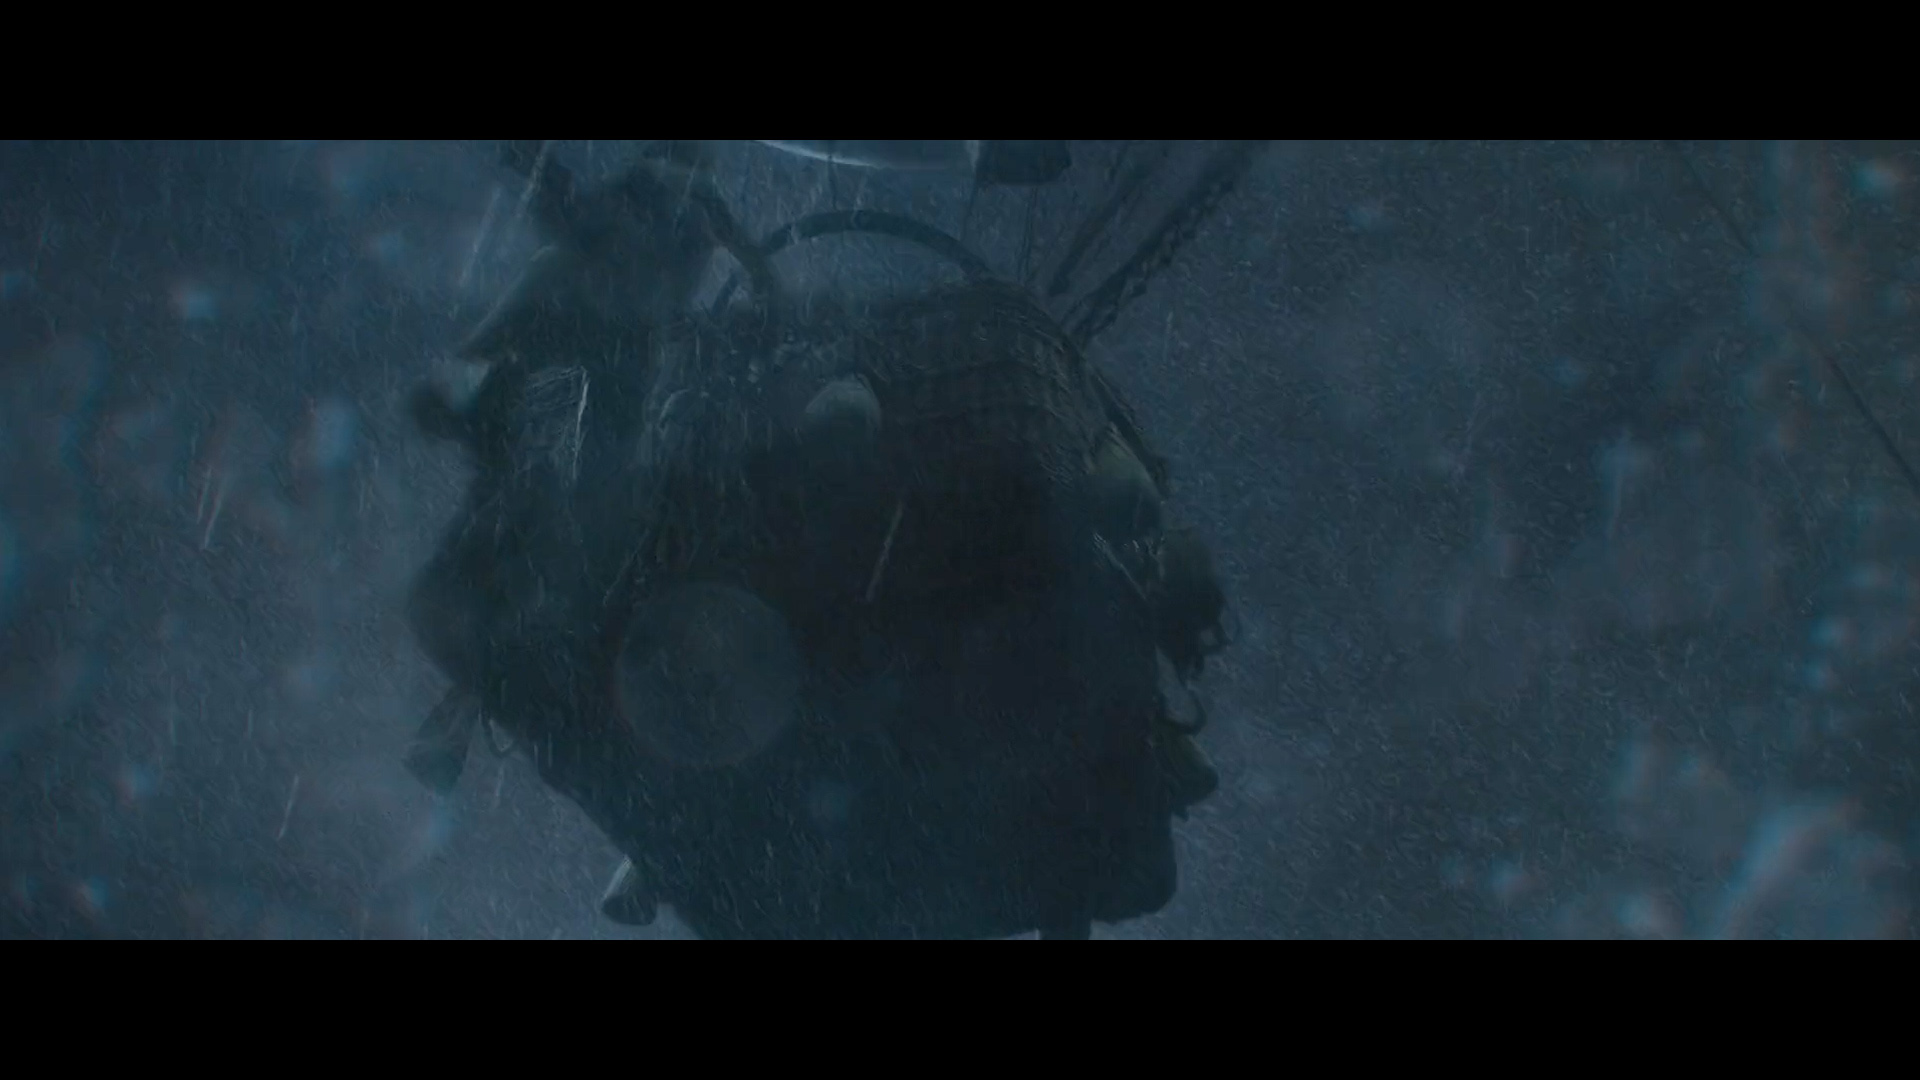
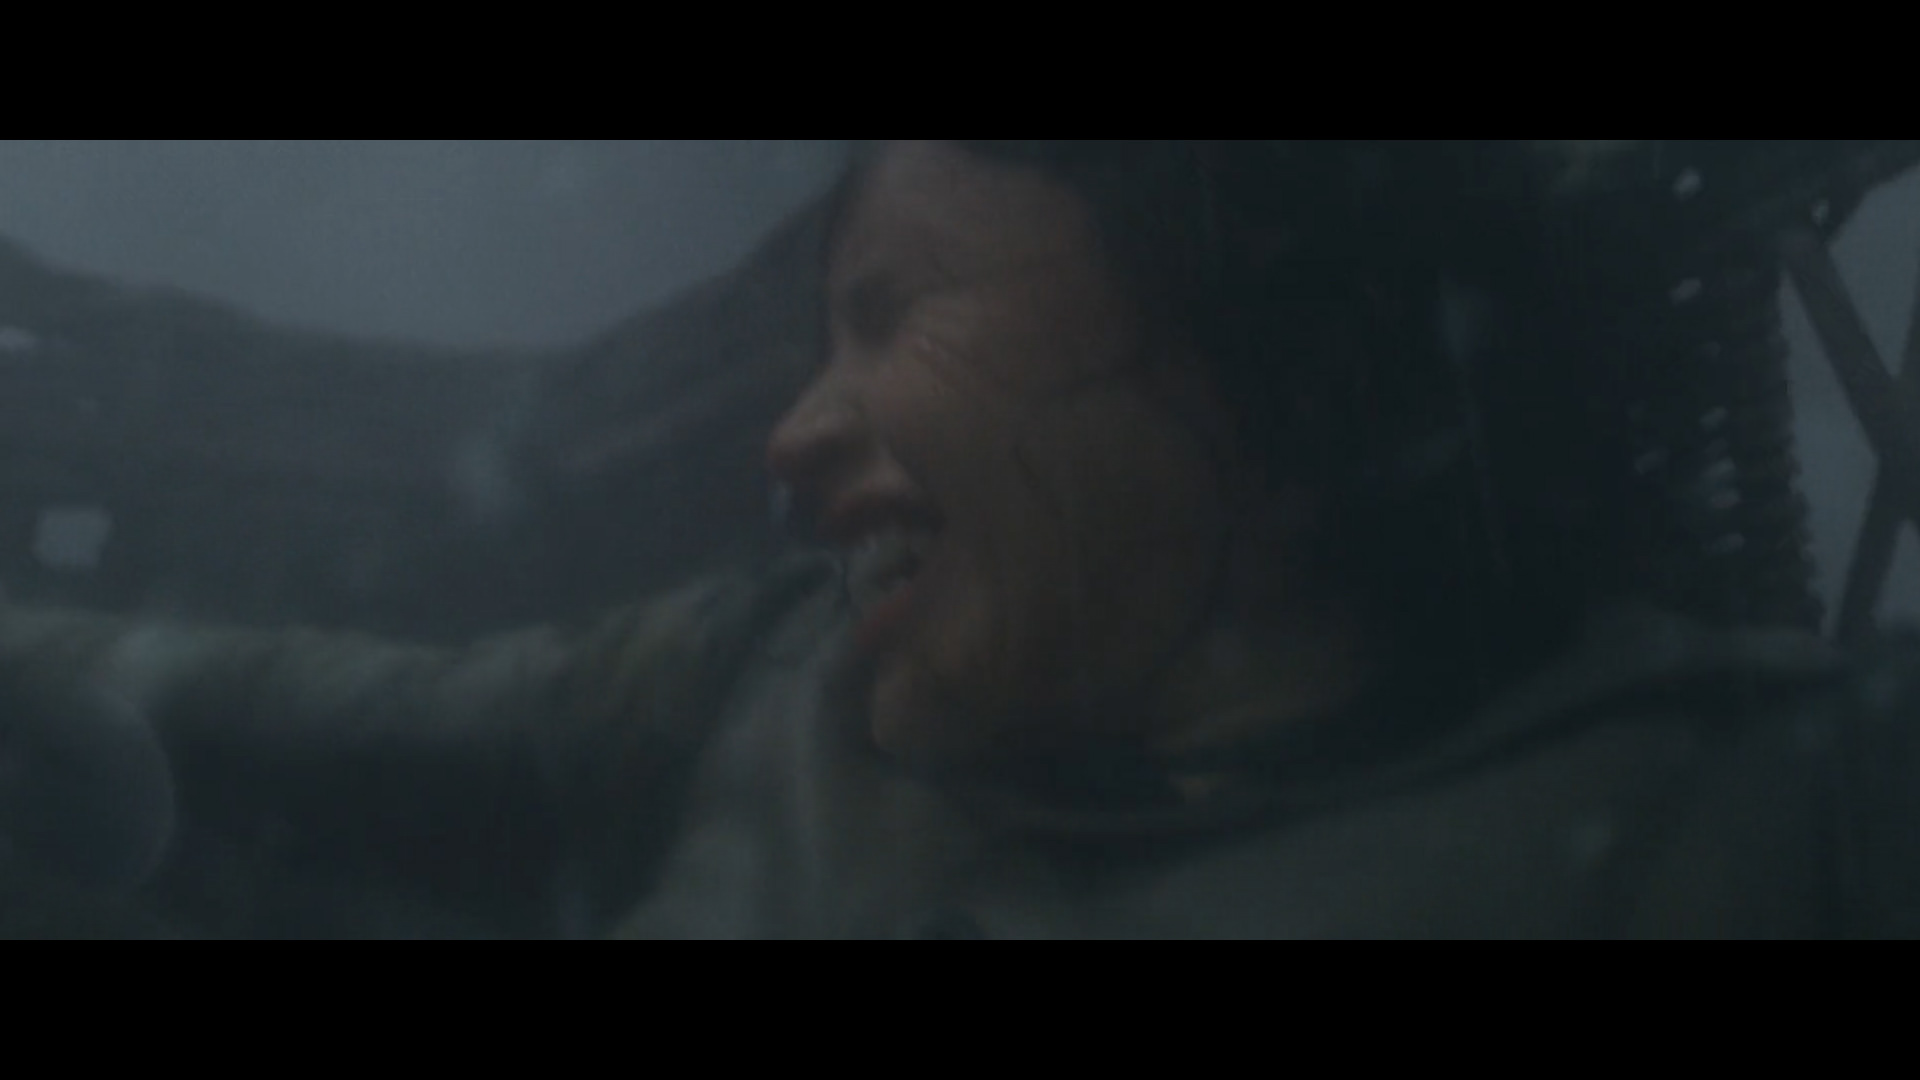
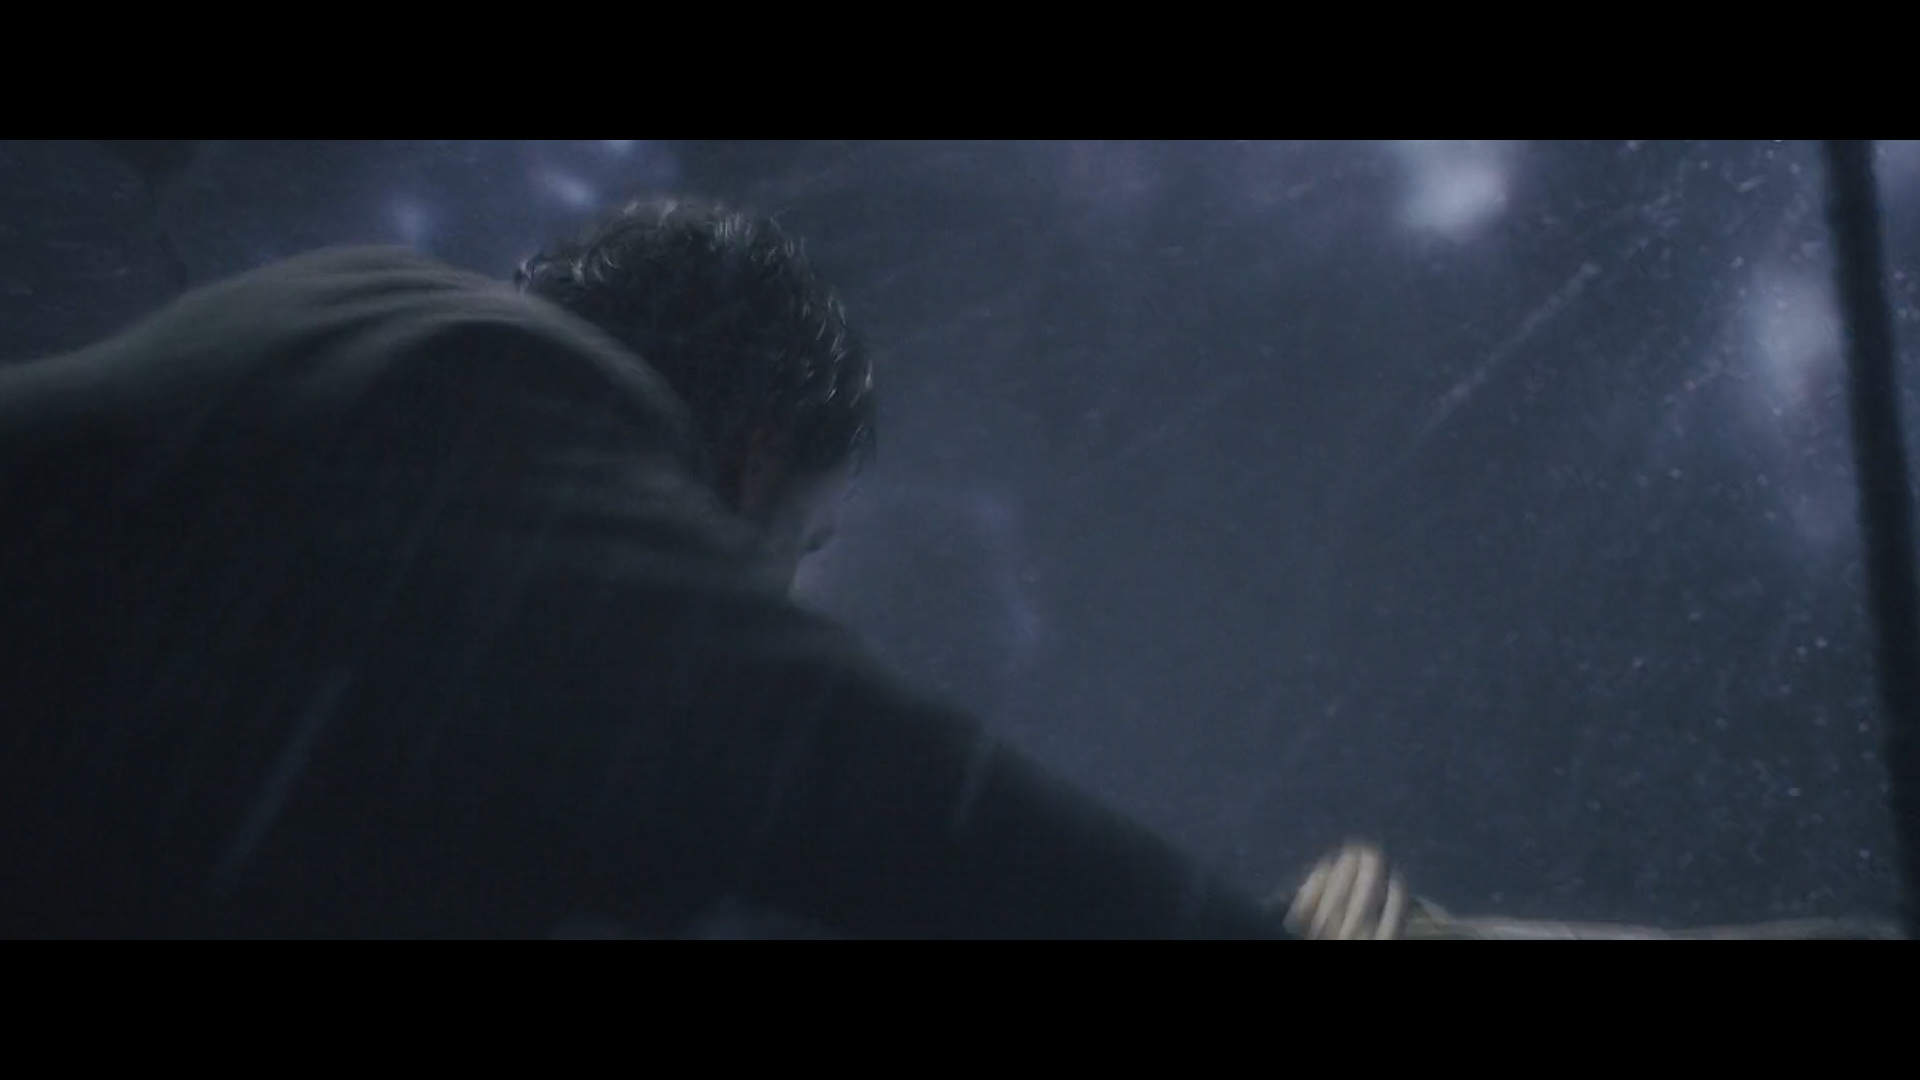
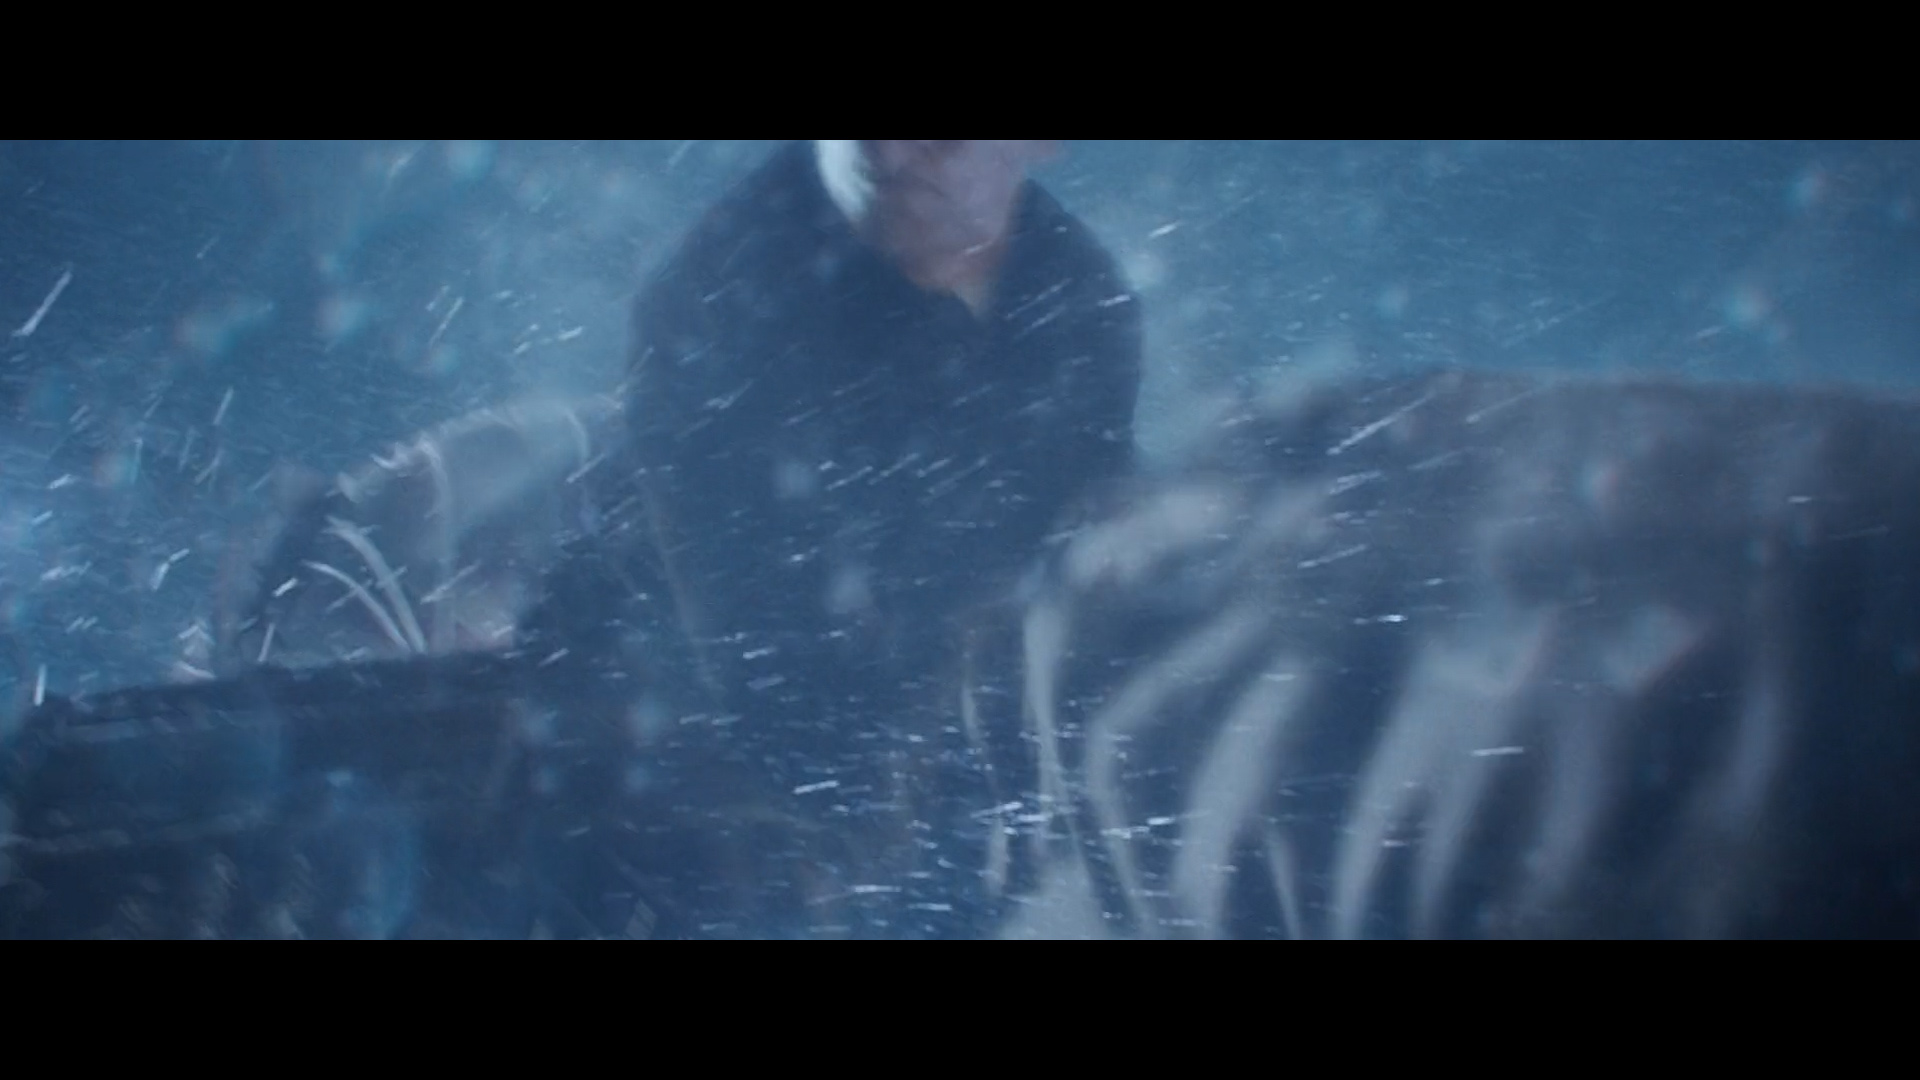
Chromakey, CG Balloon, CG/2D rain and atmosphere integration
This shot took me about more than a month to do from beginning to end. Compositing plays a major role to sell the shot and it shows in the final result. It was challenging and very fun to do. There are a lot of art directing on the look of the rain, atmosphere, water on the lens and the positioning of lightening.
Especially when lightening flashes, the position and direction of the rain, position of the water on the lens have to be framed in a way that it feels like you are falling inside a storm, fully immersed in the chaos of rain and fog.
It was also very technically challenging too. When she falls from the basket, a light fixture behind her had to be removed, along with the glow that it comes with. I did a reverse exponential glow to subtract it from the plate, it worked surprisingly well.
Other shots that I worked on
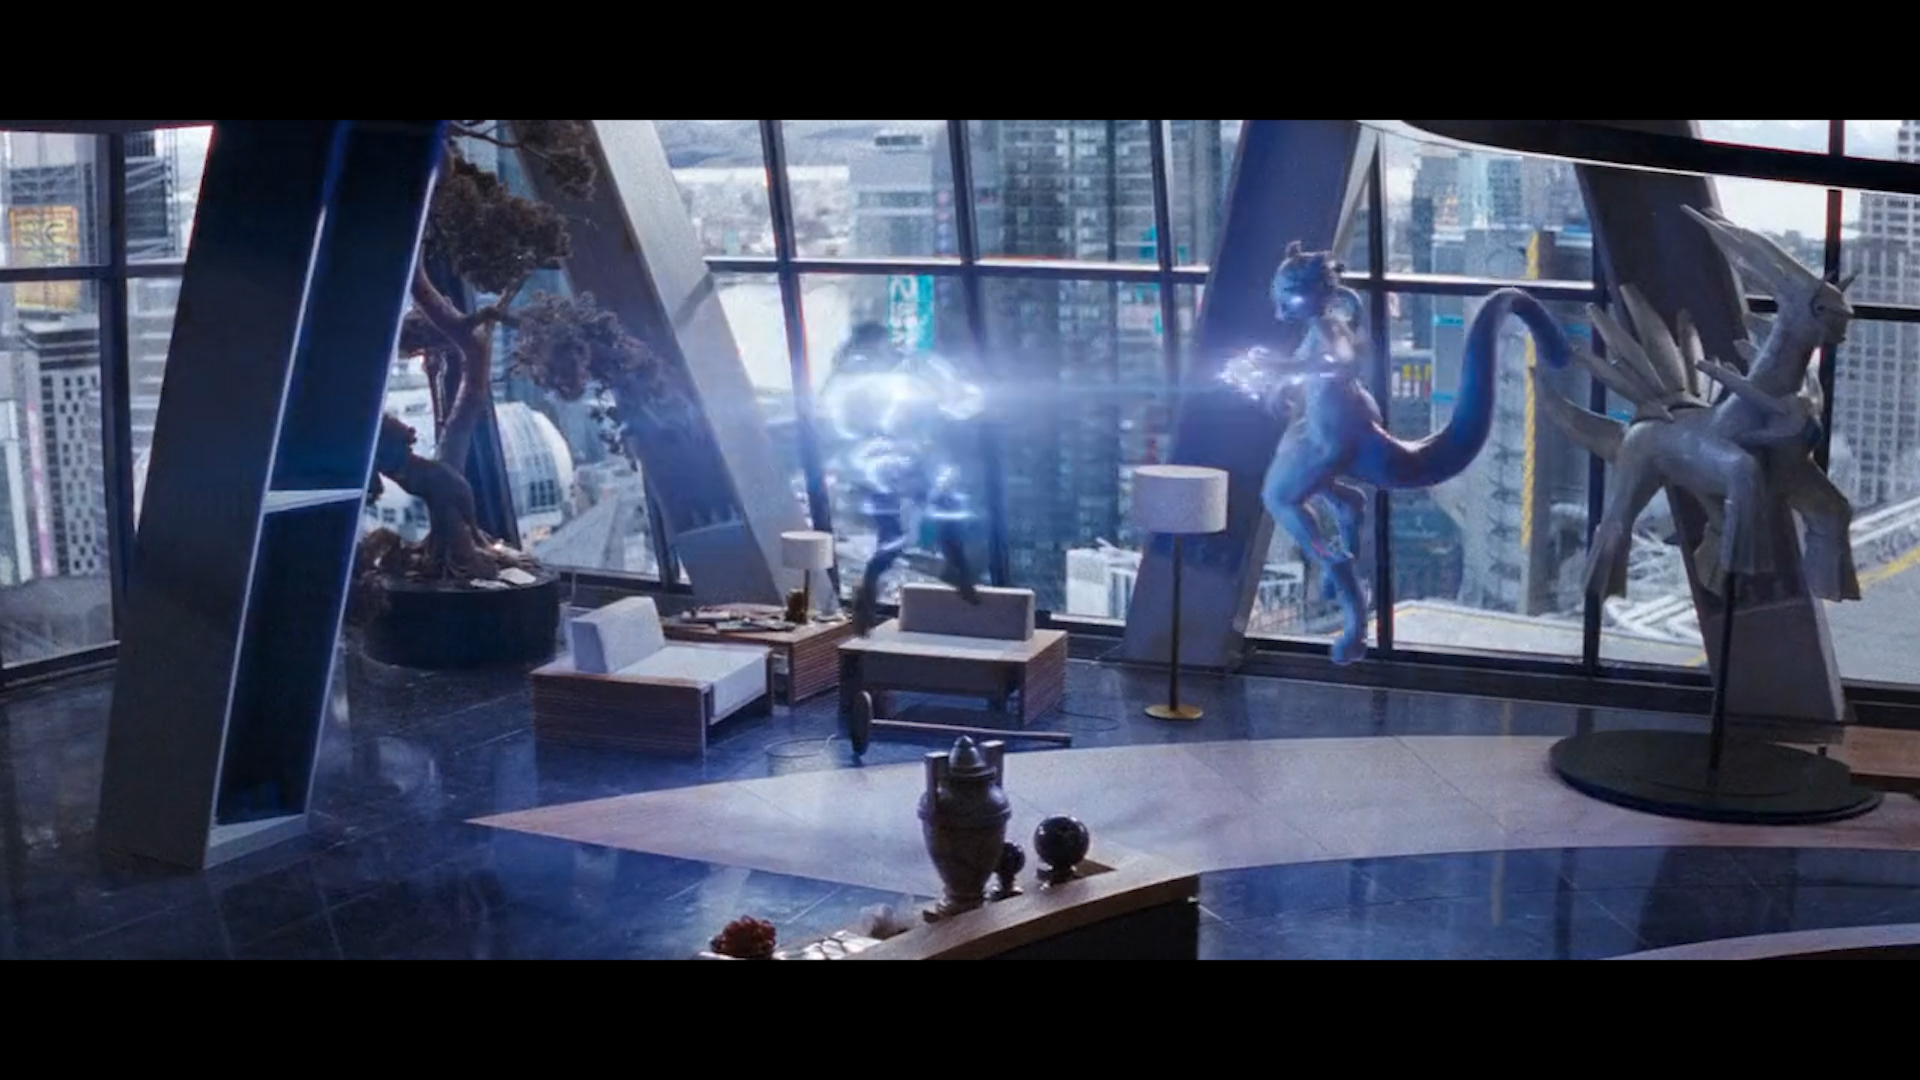
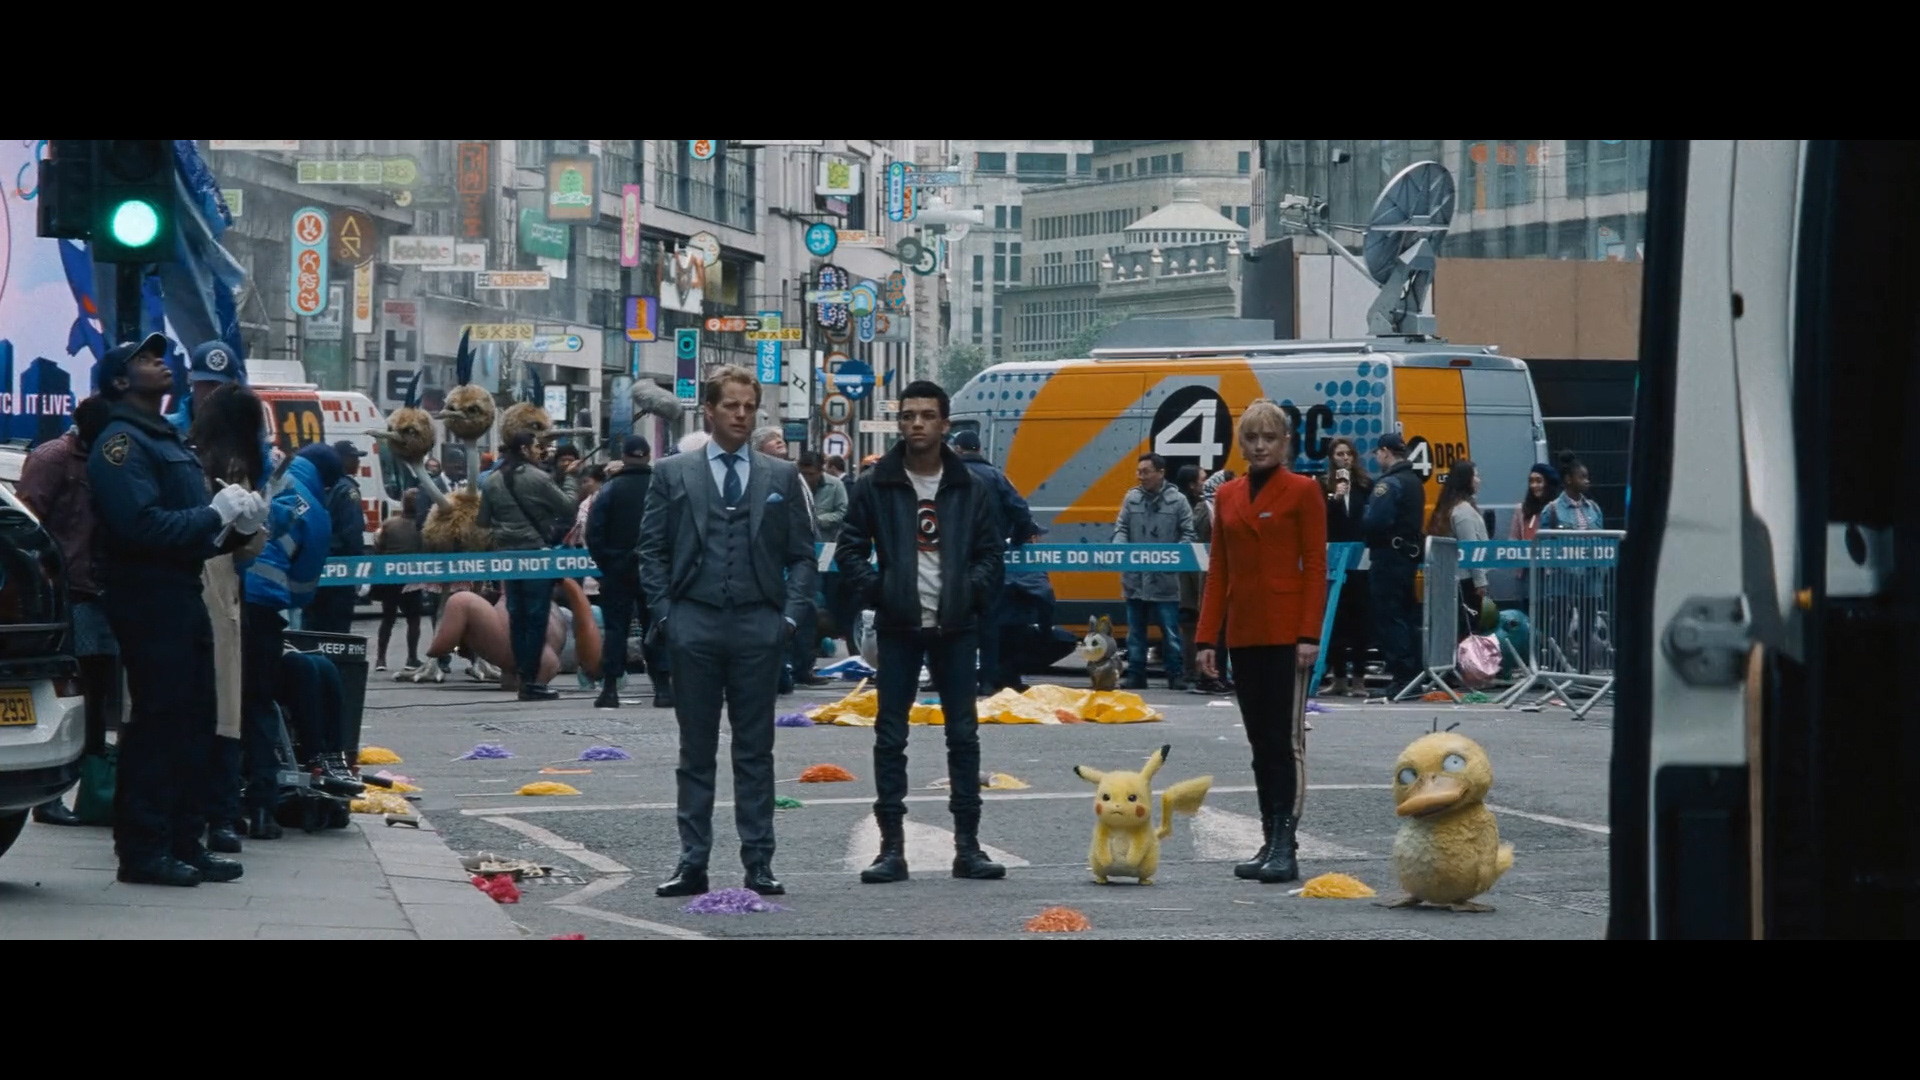
Pokémon Detective Pikachu
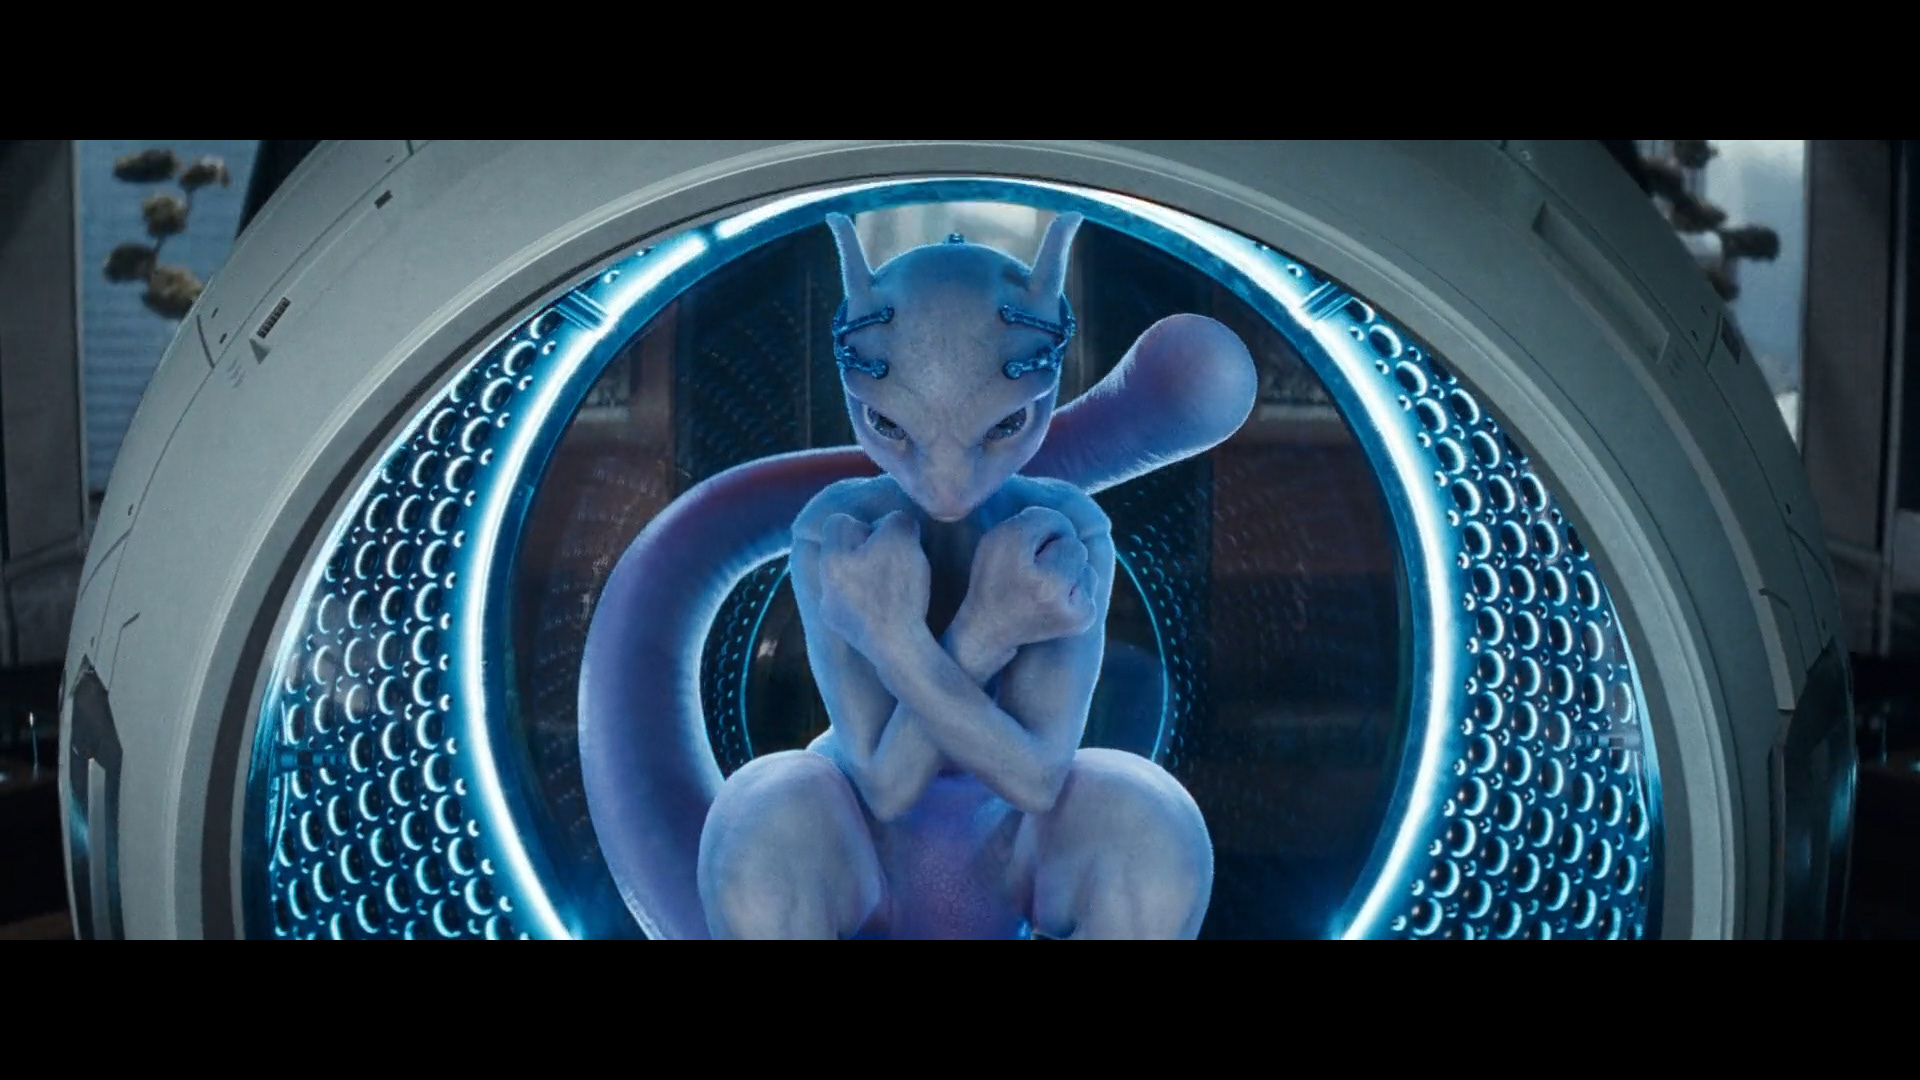
CG Mewtwo, Pod, Smoke integration
Fine tuning multi-lighting passes to better integrate mewtwo and also give it an artistic touch as if it’s a portrait photograph. To give it more shape and form.
Specular were enhanced with the normal pass to sell the skin/bone details, or Mewtwo will be way to flat with the nature of the lighting setup (lights coming from all directions). My main references for the look are the athlete photographs, which often have a very strong side and front lighting.
It was bit tricky to get the smoke looking right, to make it feels like it has volume, and to art direct how the smoke is covering up Mewtwo. Lots of deep compositing used to have Mewtwo holding out the smoke and blurring of the background to create illusion of light scatters though the smoke.
- - -
CG Mewtwo, CG Double, Energy FX, Chromakey, BG DMP integration, 2D interactive lighting
Lots of elements that need to be comped in this shot, and I have 3 of them (and consequently contributed to my 100-hourish working week)
Chromakey and dmp integration took me relatively least amount of time to finish, mainly finding the exposure balance between the interior and exterior (about 5 stop difference) and my years of photography experiences contributed to make it feels natural.
Fun part comes to the energy fx, there were numbers of iterations on how Mewtwo is charging up, which parts of its body lit up, the look of the glow and how the energy fades. Unfortunately some parts are in the handles and cut out by the edit)
- - -
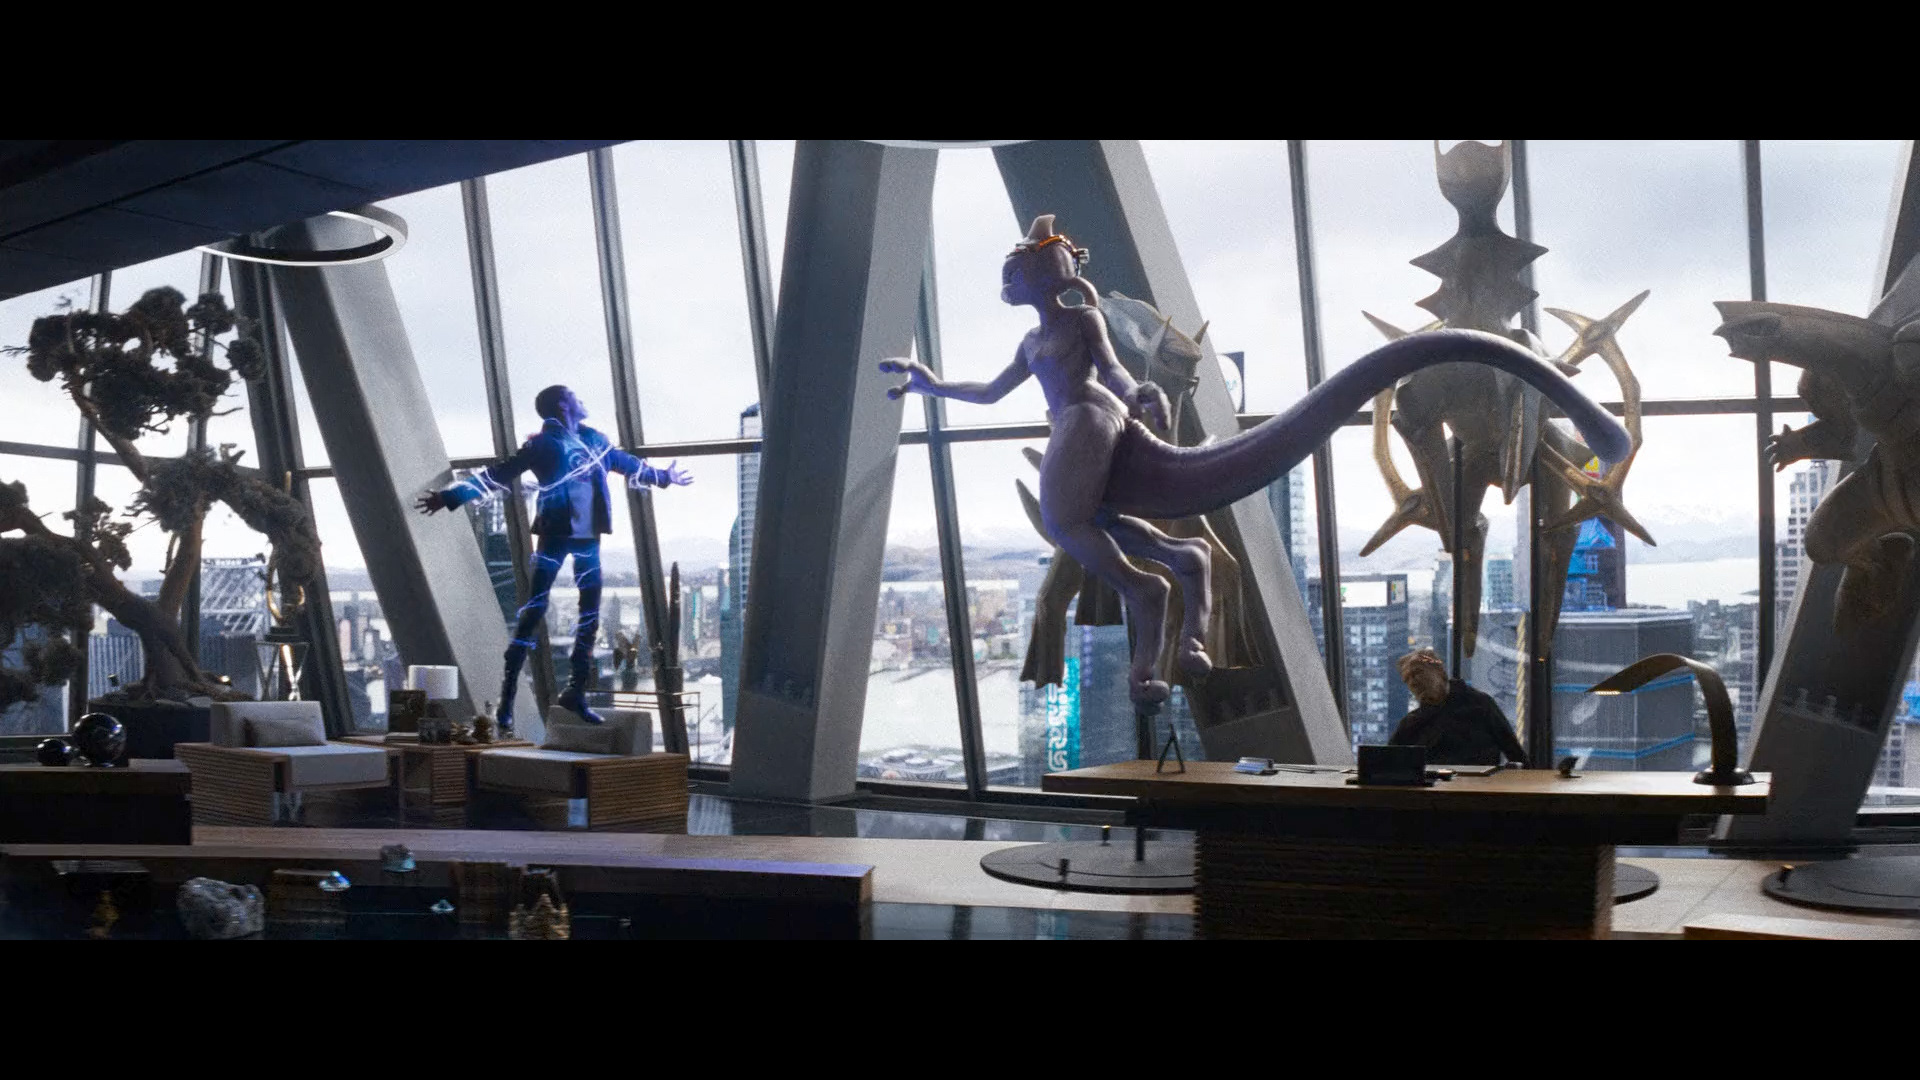
CG Mewtwo, Energy FX, Chromakey, BG DMP Integration
This shot is similar to the previous one in this breakdown: interior and exterior exposure balance and interactive lighting from the energy fx
As for this one specifically is the grading on Mewtwo, it was a challenging to make the skin looks like skin instead of rubber. It was a fine balance between too much SSS and no SSS with the very strong backlight from the window. and also when Mewtwo float around the actor, lighting angle changes, and the grade needs to change a bit.
Additionally, The actor was on a wire and he swing slightly when he moves. So I was asked to stabilize his body, and consequently I need to paint a clean plate around him. Luckily, there were reference plate without actors for me to paint in and with some perspective adjustment. It end up took me few hours, where production would thought it would take much longer
- - -
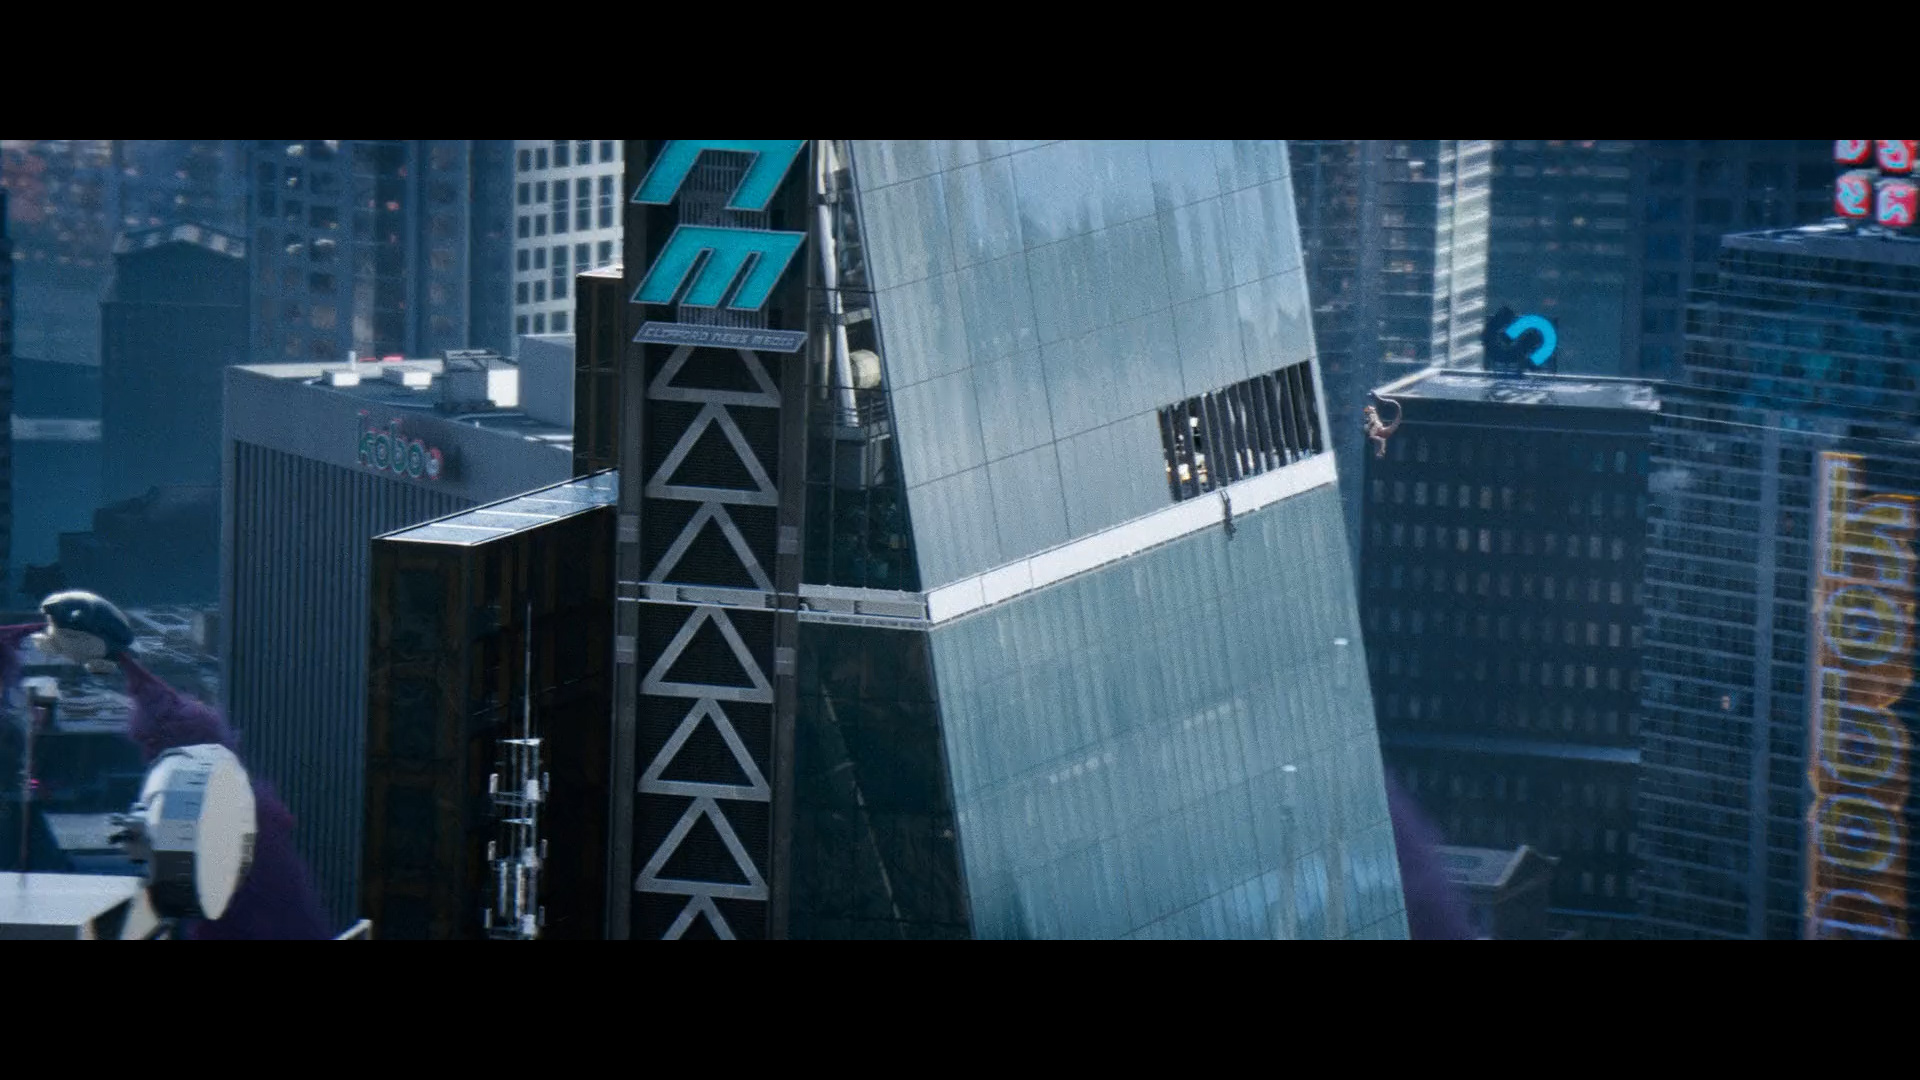
CG Env, Main Building half CG half plate.
When I received the lighting, all the building were fully lit with no shadow and contrast. (I assume it’s a fix in comp situation because the show was ending in few weeks) So the light and shadow and contrast are all done in comp with combinations of cryptomatte and normal relighting.
The window reflections on the BG buildings are also done in comp, because the passes are missing. I ended up taking the RGB beauty, framehold tiled it, and project it onto a sphere, scanline rendered with scene camera and finally masked it with the cryptomatte.
other shots I worked on

Dumbo
CG Dumbo CG and Plate water splash, 2D smoke integration
Integration between CG and plate splashes. In the plate, there was a pendulum swing down to cause the splash and it needed to be preserved. So I did a rough difference key to key out part of the splash that goes in front of Dumbo. In terms of the CG slash, it was rendered with 2 separate parts, in front and behind the dumbo.
The main integration part will be deep comp the get the holdout correctly, adding water reflection in comp, matching CG water with plate water (lots of tweaks with the opacity and specularity).
Other part of the comp is adding 2D interactive smoke when Dumbo flies over the cave to make the set look not so static. As well as the CG water reflection are also done in comp with a vertical flip and wrap distortion.
- - -
CG Crowd, CG set extension
This shot took me almost the entirety of time spent on Dumbo (while I have few other shots in between). It was very technically challenging and labour intensive. Top half of the frame is replaced with CG while preserving the lens flare in the plate, which means top part of the flare needs to be regenerated in comp to blends with the plate flare on the bottom half.
Flare from the plate also flickers when it passes thorough the light fixture, the colour of the flare also changes as the light falloff to a more greenish hue.
To pull it off was not an easy task. I used exponential blur to create the base of the flare and the rest were pretty much constant colour with animated roto masks. One setting in the roto node that saved me is the mask falloff, the “Smooth2” setting matches how the real light falloff.
I tried to do it smartly, but after a few tries, manually do it frame by frame is the easiest way. Total frame length is about 200 frames with handles. While the first third was the hardest, because there is a lot of flickering, unfortunately it was cut in the final edit.
other shots I worked on
Ad Astra
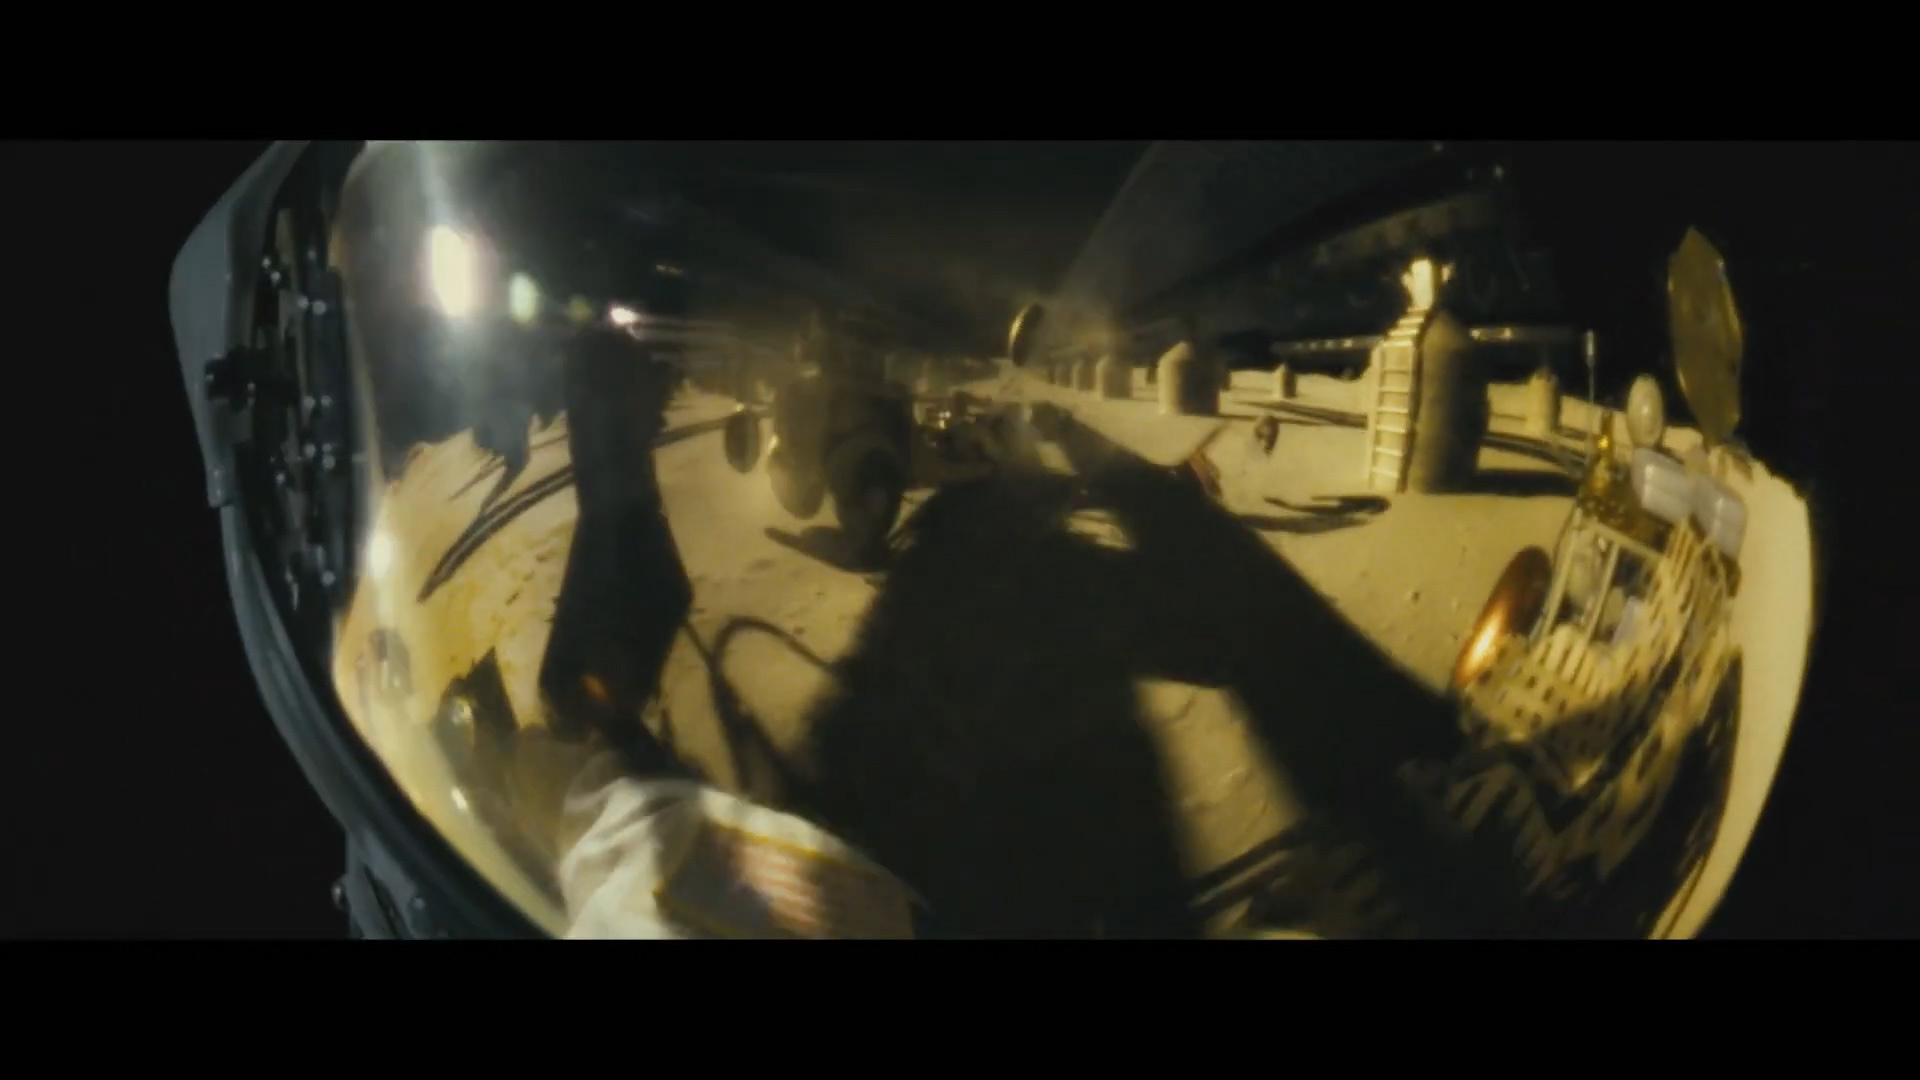
Helmet CG Reflection integration
All passes are rendered as reflections. I find it interesting, but I don’t know what’s the lighting set up. The supervisors decide to do the bulged reflection in lighting because it gave the best physically accurate result.
Since everything has this bulge distortion, Compositing becomes bit tricky. Apart from regular cg integration, the smoke in the reflections are 2D smoke elements done in comp. It moves across the helmet with volume rays cast from the solar panel.
In order to match the distortion and curvature of the helmet glass. I end up made a tool to solve this issue: using stmap and radial mask plus transform scale to create a fake bulge effect.
other shots I worked on

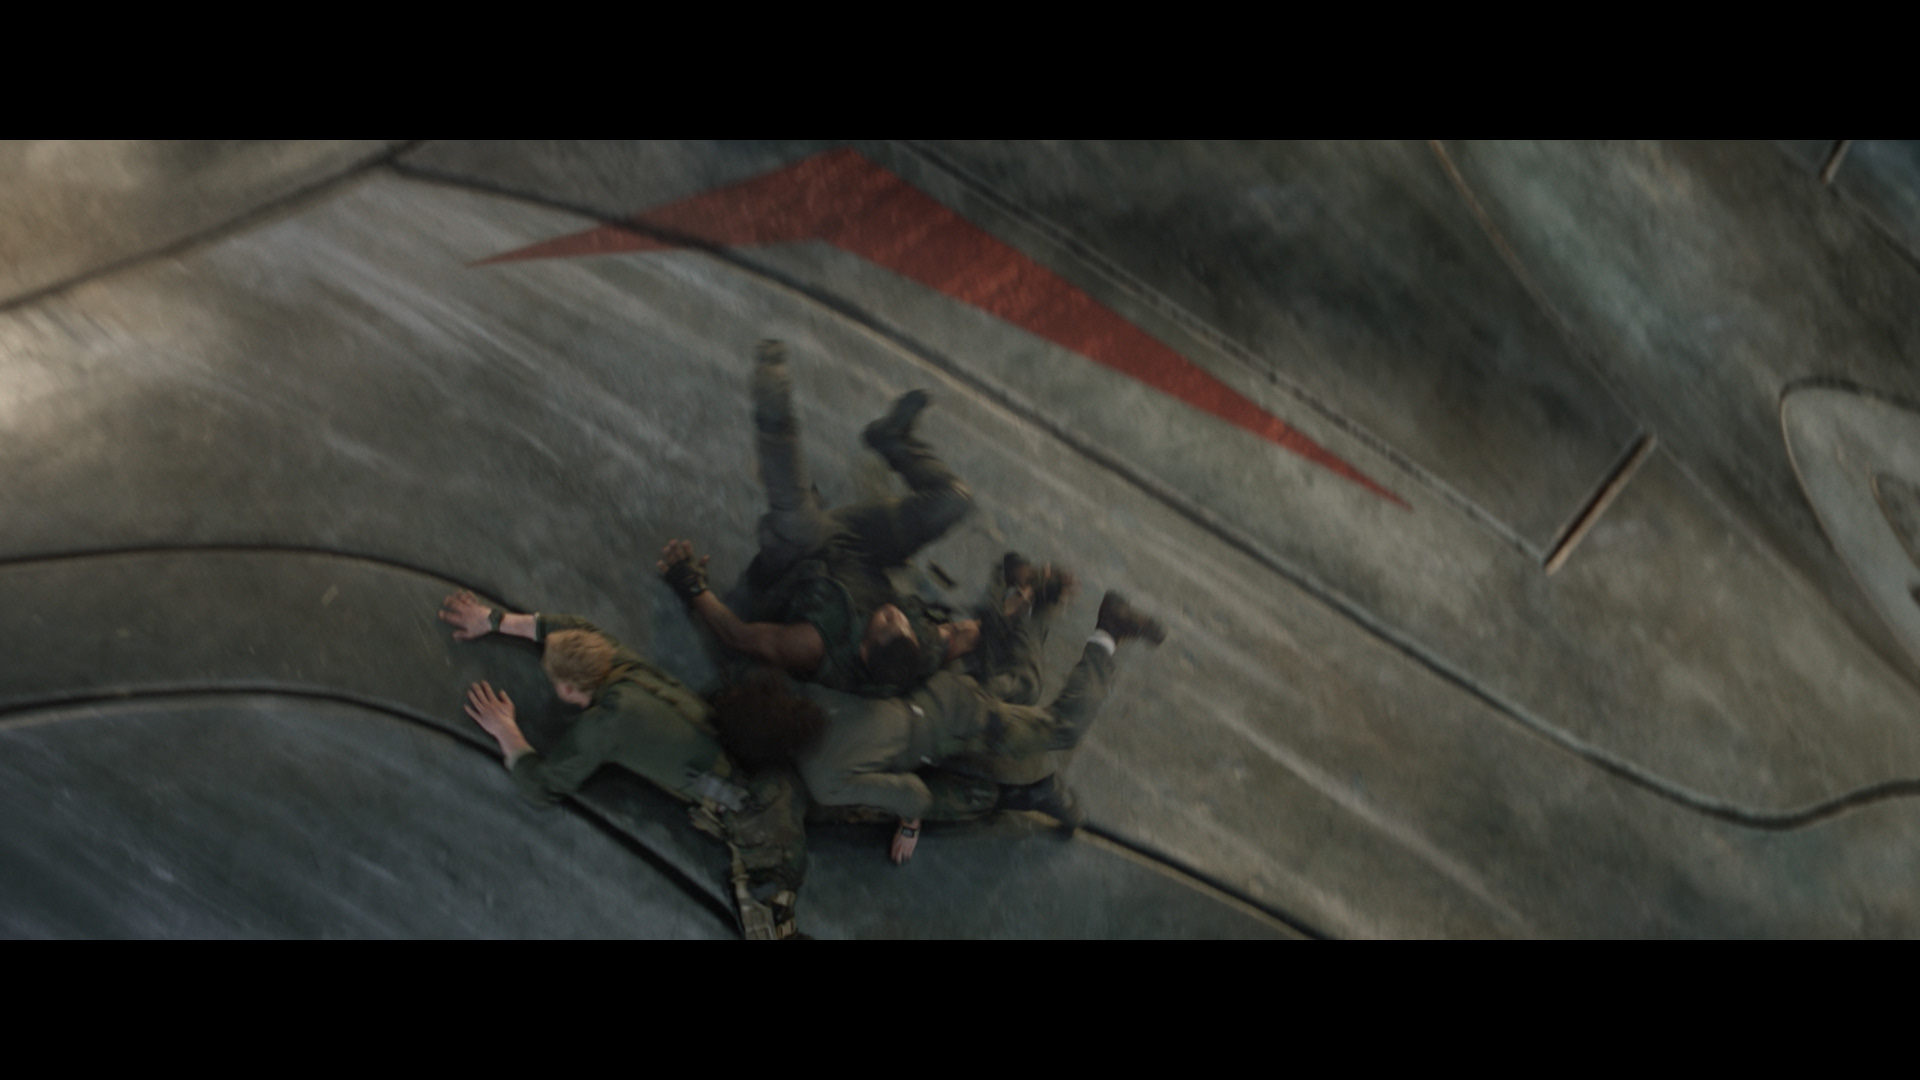
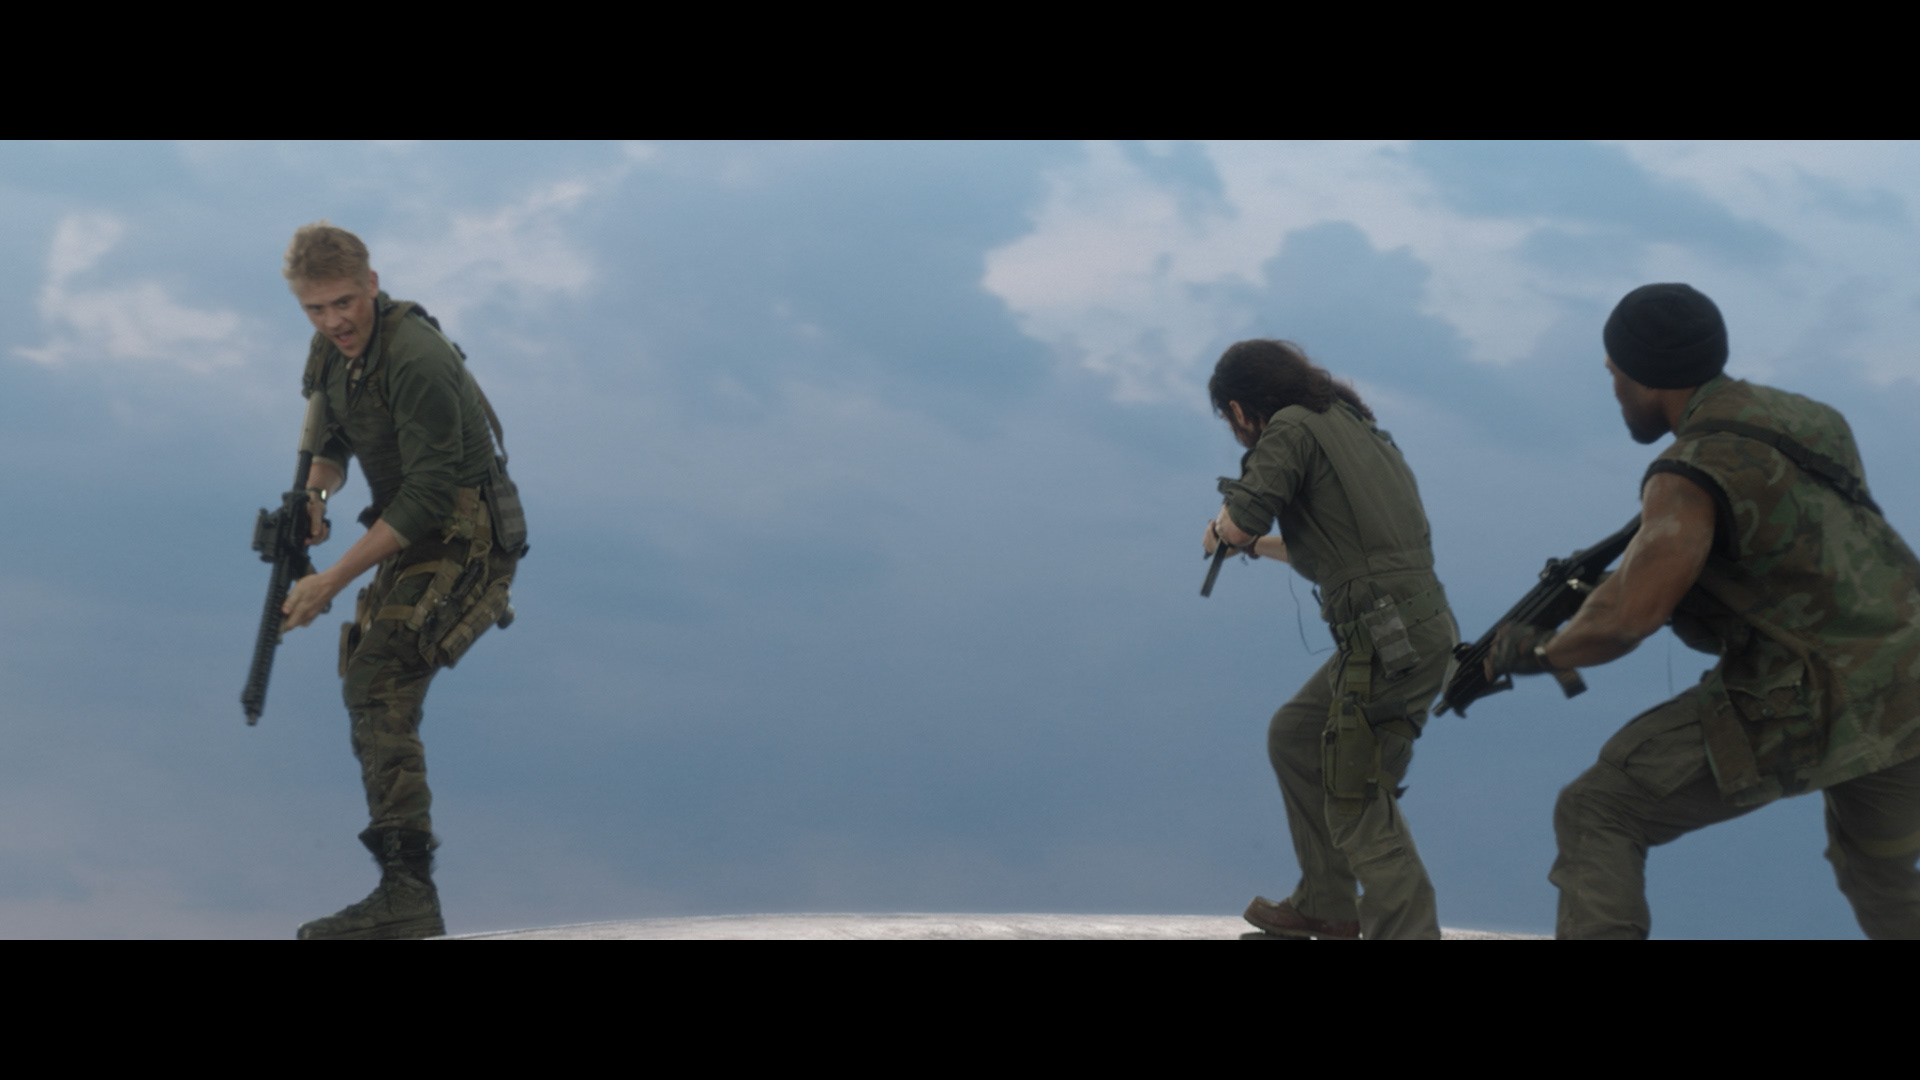
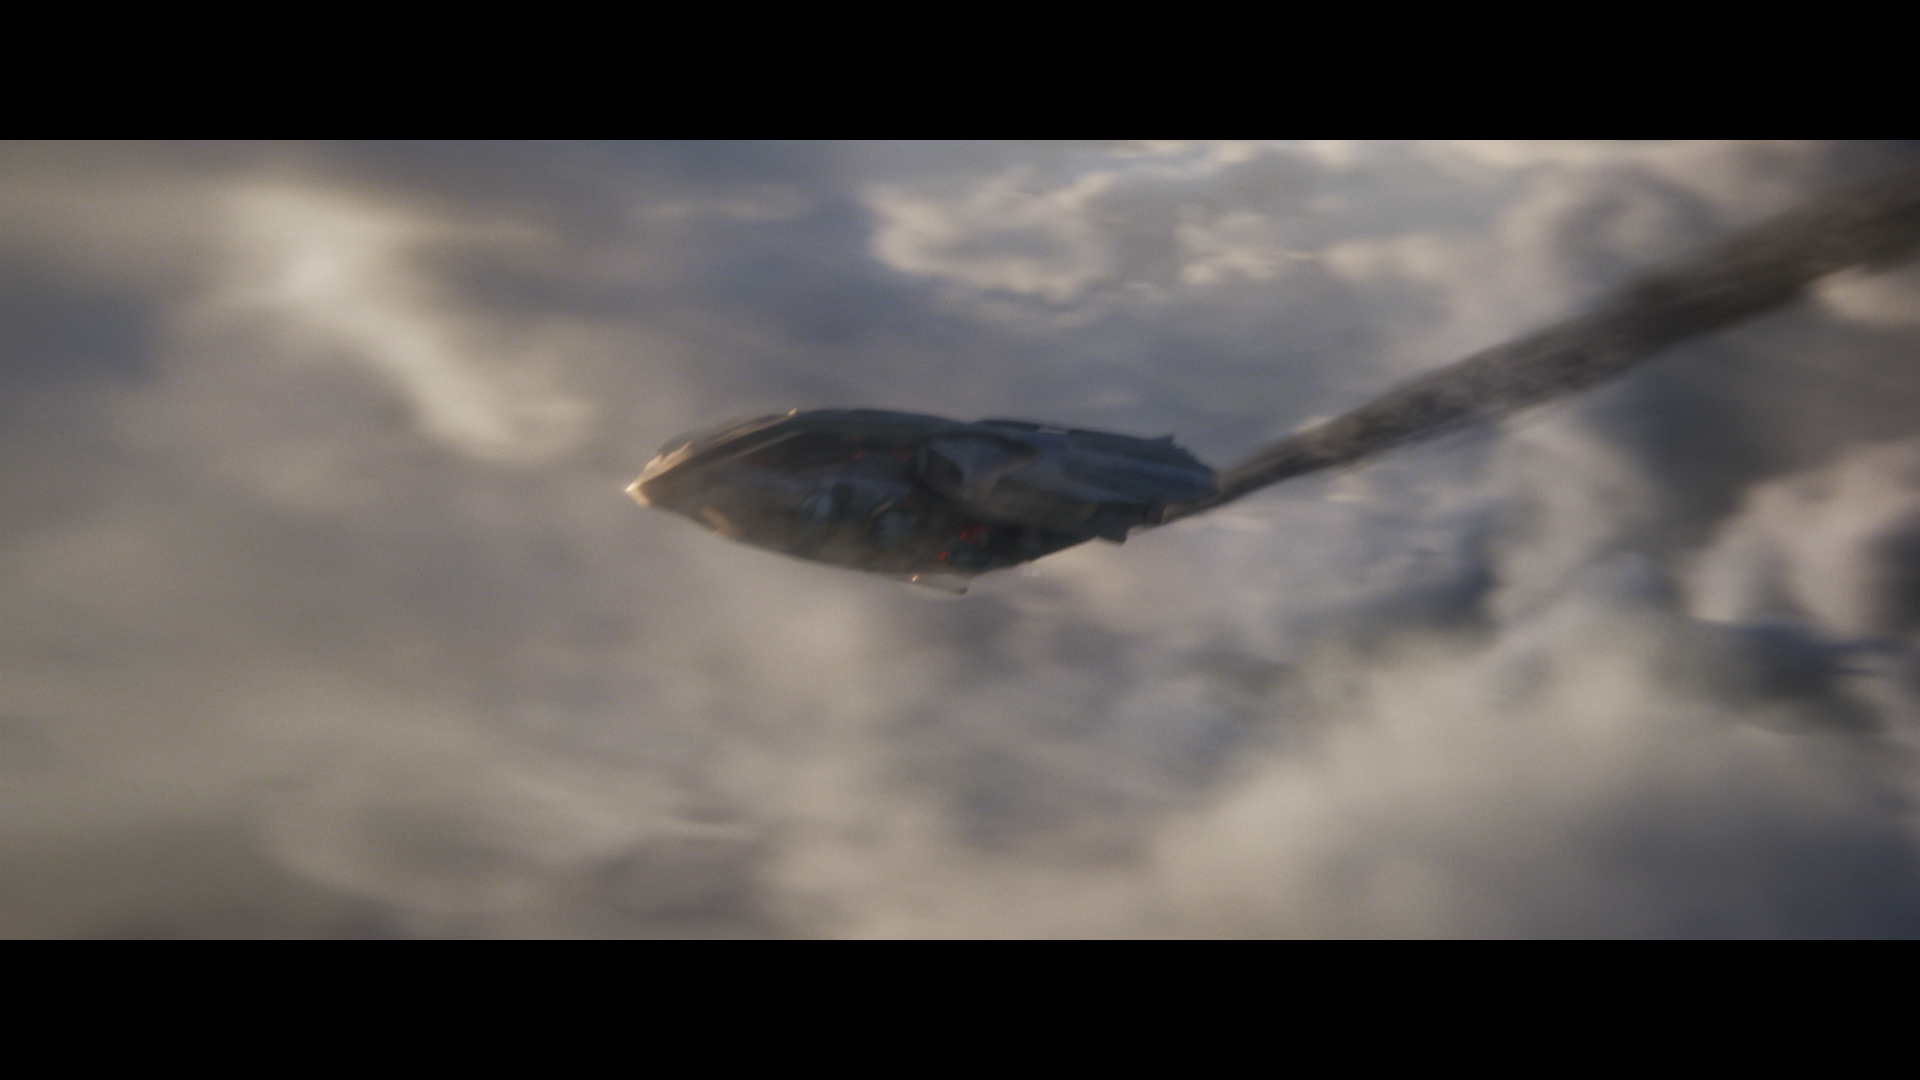
The Predator
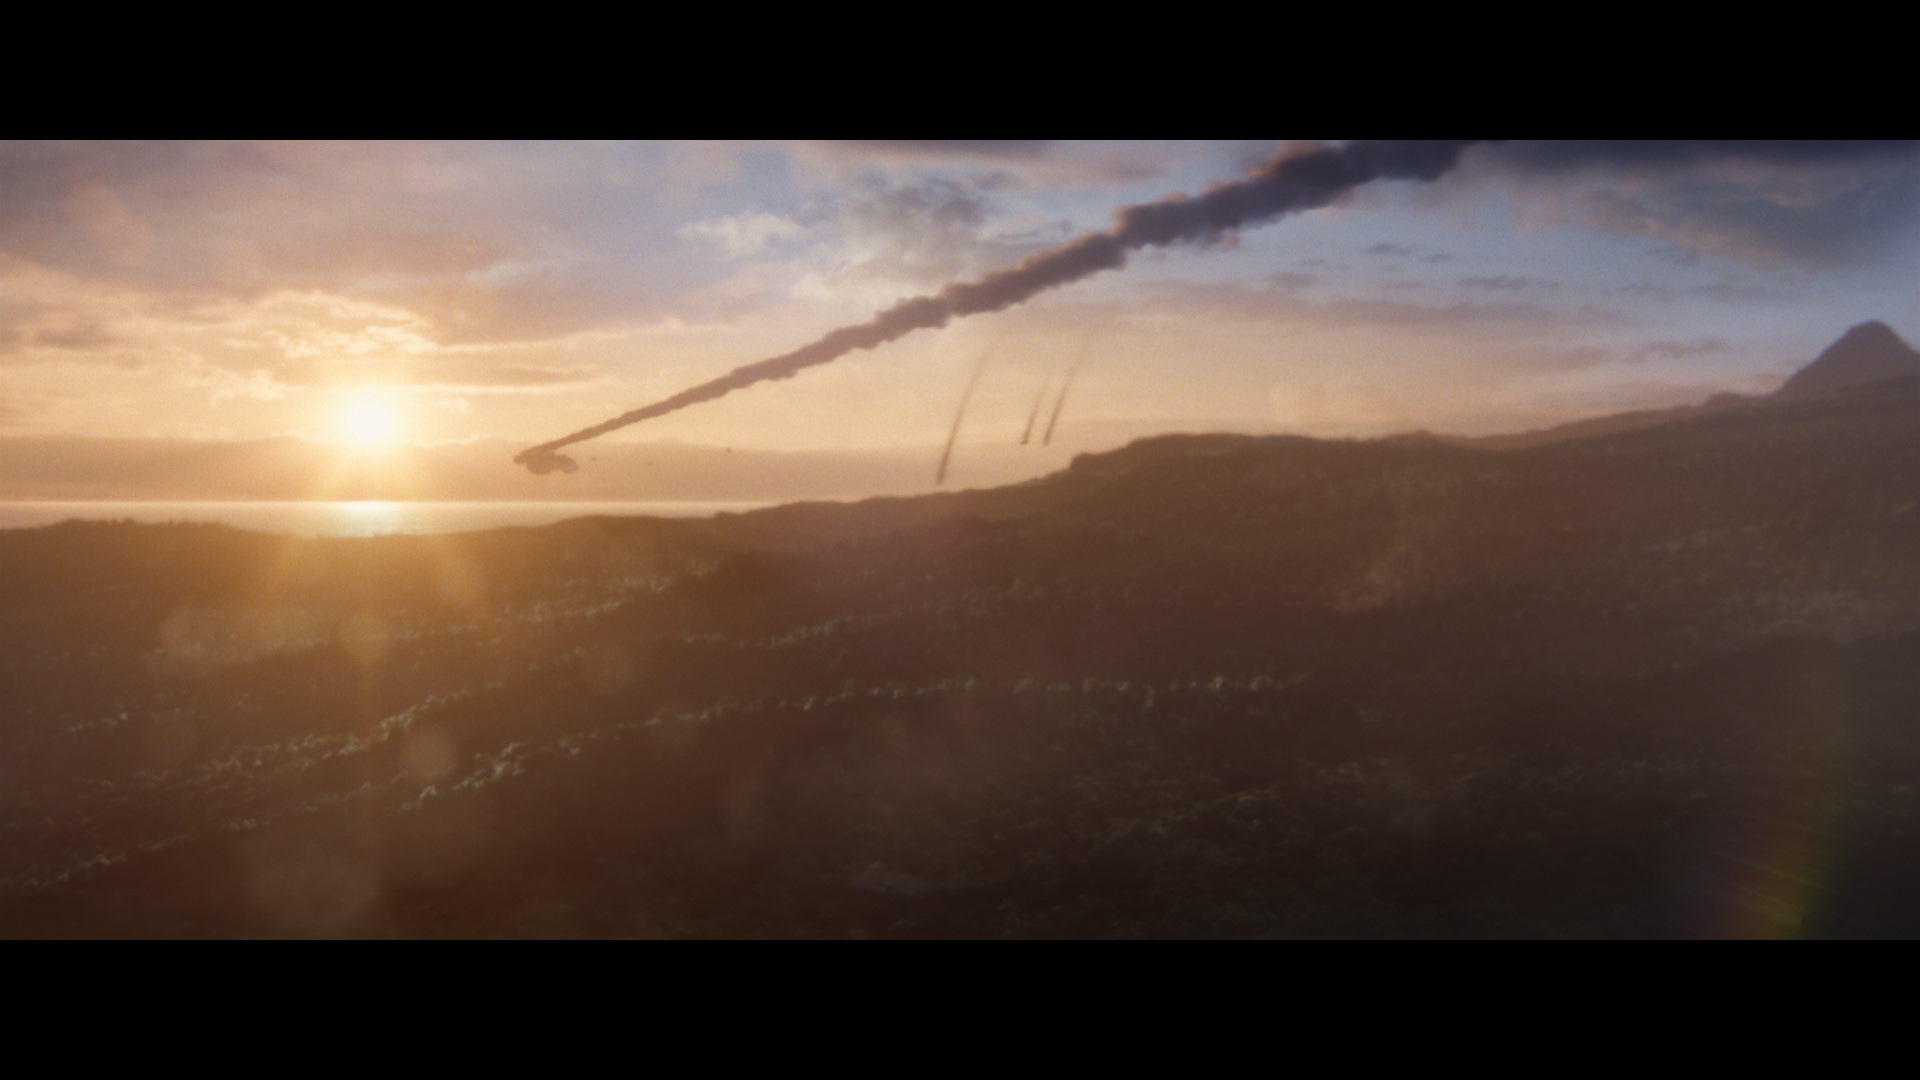
Full CG + Sky DMP
Went though quite a few iterations of the mood of the sunset with the director and supervisor, going from a full realistic look (a much cooler tone) to more stylized touch like what you would see in a landscape photograph.
Apart from the lens fx, the mountain smokes and fogs and comped with cards in 3D space, plus the distance atmosphere are generated with deep passes with deep expressions to extend front and back of the deep data.
- - -

Full CG, DMP Integration
The charging up of plasma gun is done in comp. As the energy charging up and gets brighter, there are slight heat distortion becomes more obvious. There wasn’t much iteration on that part at all, my supervisor approved it right away.
Use of STMap and iDistort to make the ship shield feels bit like glass.
When the gun fires, the plasma ball FX are also done in comp frame by frame to make sure each frame shows the progression of the energy being expanded or exploded.
- - -
Full CG, DMP Integration
The effects of the plasma ball was done in comp. Basic shape of the mesh was rendered from FX department. Glow and trail fx are comp
FG interactive smoke was done with 2D smoke element from comp.
There were numbers of iterations on cloud grade, a balance between being lit but not too bright.
- - -
CG Ship integration, Chromakey, CG BG integration, 2D Atmosphere, 2D sparks
Most of the time are spent grading the BG and adding atmosphere to it. Deep compositing is used to get the fog and giving more depth. Also find a balance between the FG and BG exposure.
Other shots that I worked on